Kids have a lot going on—school, sports, playdates, chores, and the occasional spontaneous dance party. A simple weekly planner can turn chaos into something that actually makes sense. And if you can print it, edit it, and make it cute?
Even better. Let’s build a DIY weekly planner for kids that’s printable, editable, and actually gets used (by them, not just you).
Why a Weekly Planner Works for Kids
Kids love structure, even if they pretend they don’t. A weekly planner gives them control over their time and helps them see what’s coming next.
That alone reduces drama—yours and theirs. Plus, you can turn it into a mini life-skills lesson. Planning teaches responsibility, time awareness, and follow-through.
FYI, it also gives kids a tiny dopamine hit when they check something off. We love a brain hack.
What Your DIY Planner Should Include
You don’t need bells and whistles. Keep it simple and kid-friendly.
Here’s what to include:
- Days of the week: Obvious, but make them bold and easy to scan.
- Time blocks or sections: Morning, afternoon, evening works well for younger kids. Hourly blocks work for older kids.
- Top 3 priorities: What absolutely needs to happen this week.
- Homework/reading tracker: Quick checkboxes beat long lines.
- Chores: Simple, visual, and bribery-supportive (hello, sticker economy).
- Notes for adults: Reminders like “bring library books” or “pajama day.”
- Wins of the week: A small box to celebrate something they did well.
Optional but Fun Add-ons
- Mood tracker: Tiny emoji faces for each day.
- Hydration tracker: Water droplets to color in.
- Movement goal: “20 minutes outside” or “bike ride” checkboxes.
Printable & Editable: Your Format Options
You want flexibility. That means you need both print and digital versions.
Here’s how to set it up:
- PDF (fillable): Great for typing directly on a tablet or computer. Easy to print too.
- Google Docs/Slides template: Shareable, editable, cloud-based. Perfect for older kids or classrooms.
- Canva template: Drag-and-drop icons, cute colors, and easy customization.
Kids love it.
- Plain printable PDF: For the “markers and stickers” crowd.
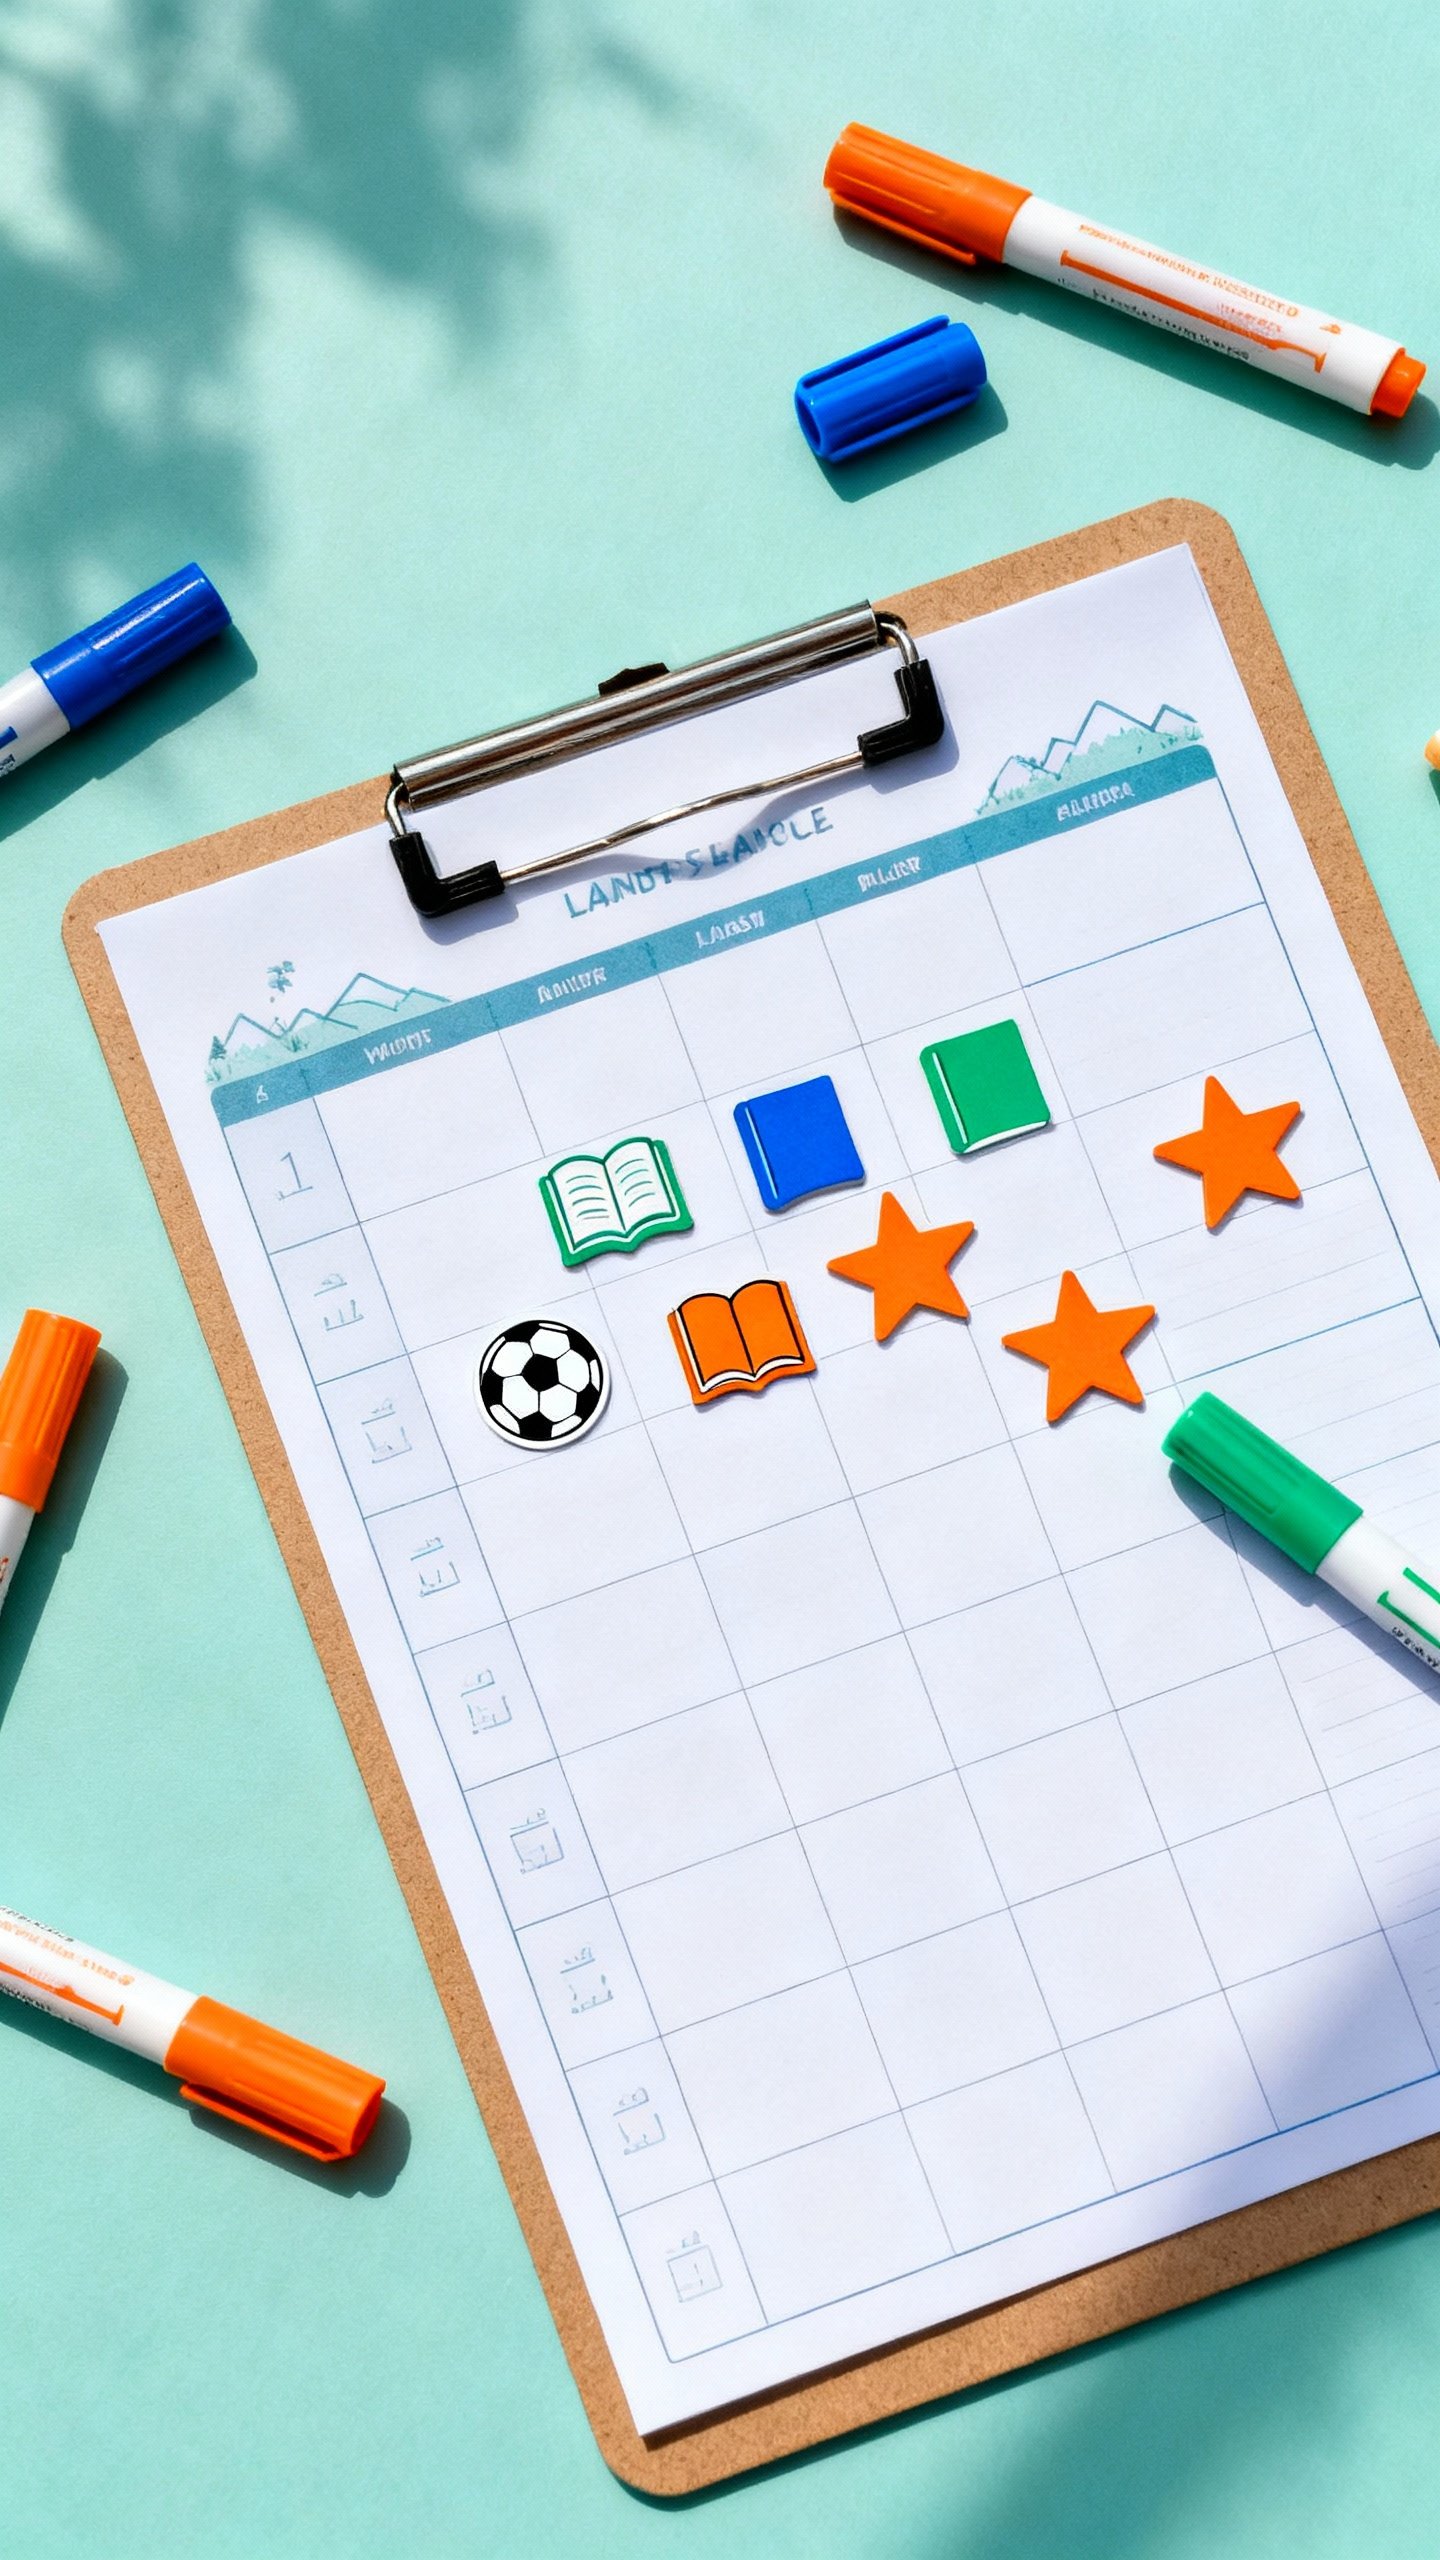
Paper Size & Layout Tips
- Letter/A4: Standard size for home printers.
- Landscape layout: Gives more space for daily blocks.
- Color + grayscale: Design it so it looks good either way.
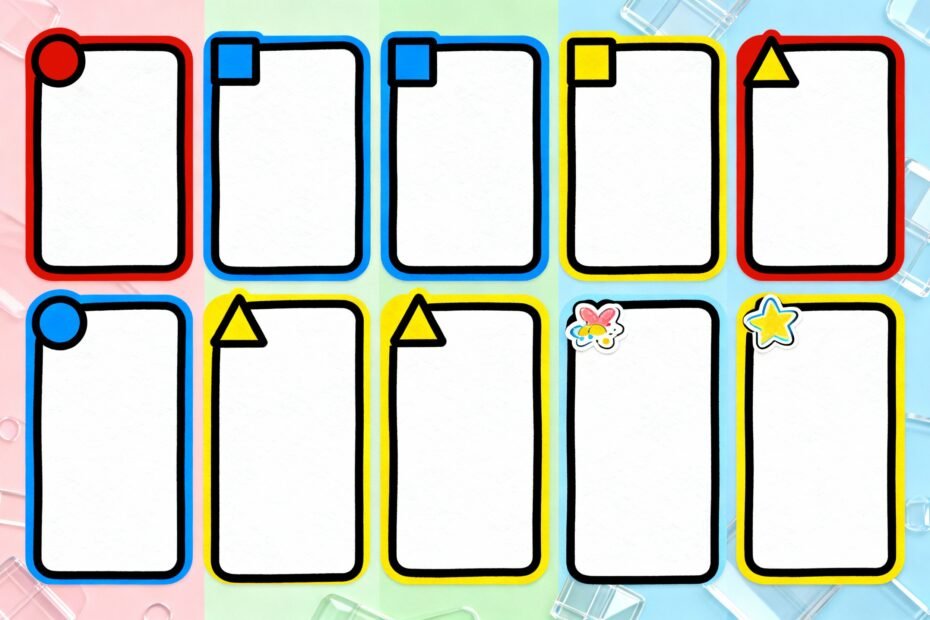
Design That Kids Actually Like
Make it inviting so they’ll actually use it. You don’t need to be a designer. Try this:
- Big headers: MON, TUE, WED… big and bold.
- Clear fonts: Use one playful font for headers and a clean one for everything else.
- Color coding: Blue for school, green for chores, orange for fun.
Simple and consistent.
- Graphics: Tiny icons—book, soccer ball, star—sprinkled in, not everywhere.
- Whitespace: Don’t cram. Kids need room to write, doodle, and occasionally draw a dragon.
Templates That Work by Age
- Ages 4–7: Morning/afternoon/evening boxes, big icons, lots of checkboxes.
- Ages 8–10: Hour blocks after school, homework tracker, chores, weekly goals.
- Ages 11–13: Hourly or half-hour blocks, subject-specific homework space, habit tracker.

Set It Up: Step-by-Step
Short on time? Here’s the quick path to planner glory.
- Pick your format: Printable PDF, fillable PDF, or editable doc/template.
- Customize the sections: Add headings your kid will use—“Practice,” “Fun,” “Chores,” “Screens.”
- Choose colors: Assign colors to categories.
Keep it consistent week to week.
- Print 10 copies or save a digital master: Put it in a clipboard or plastic sleeve (dry-erase markers are magic).
- Do a Sunday reset: Fill in appointments and big tasks together in 10 minutes.
- Review nightly: Quick check-in: “What’s tomorrow?” Helps them (and you) sleep.
Pro Tips for Buy-In
- Let them choose: Layout, colors, stickers. Ownership = usage.
- Keep it visible: Fridge, bedroom door, or near the backpack zone.
- Reward consistency: Not perfection. Stickers, extra story time, or choosing Friday dinner.
- Model it: Use your planner alongside theirs.
IMO, kids copy what they see.
Smart Sections You Can Copy-Paste
Use these as labels or boxes in your template:
- Top 3 for the Week: “Math test Friday,” “Finish book report,” “Practice piano 3x.”
- Daily Must-Do: Read 20 minutes, pack lunch, water bottle.
- Homework by Subject: Math, Reading, Science, Other.
- Chores: Room tidy, feed pet, trash, dishes.
- Screen Time Plan: Set expectations to avoid “one more episode” debates.
- Notes to Grown-Ups: Sign permission slip, bring $2 for field trip.
- Wins of the Week: “I nailed my spelling test!” or “Helped my brother.”
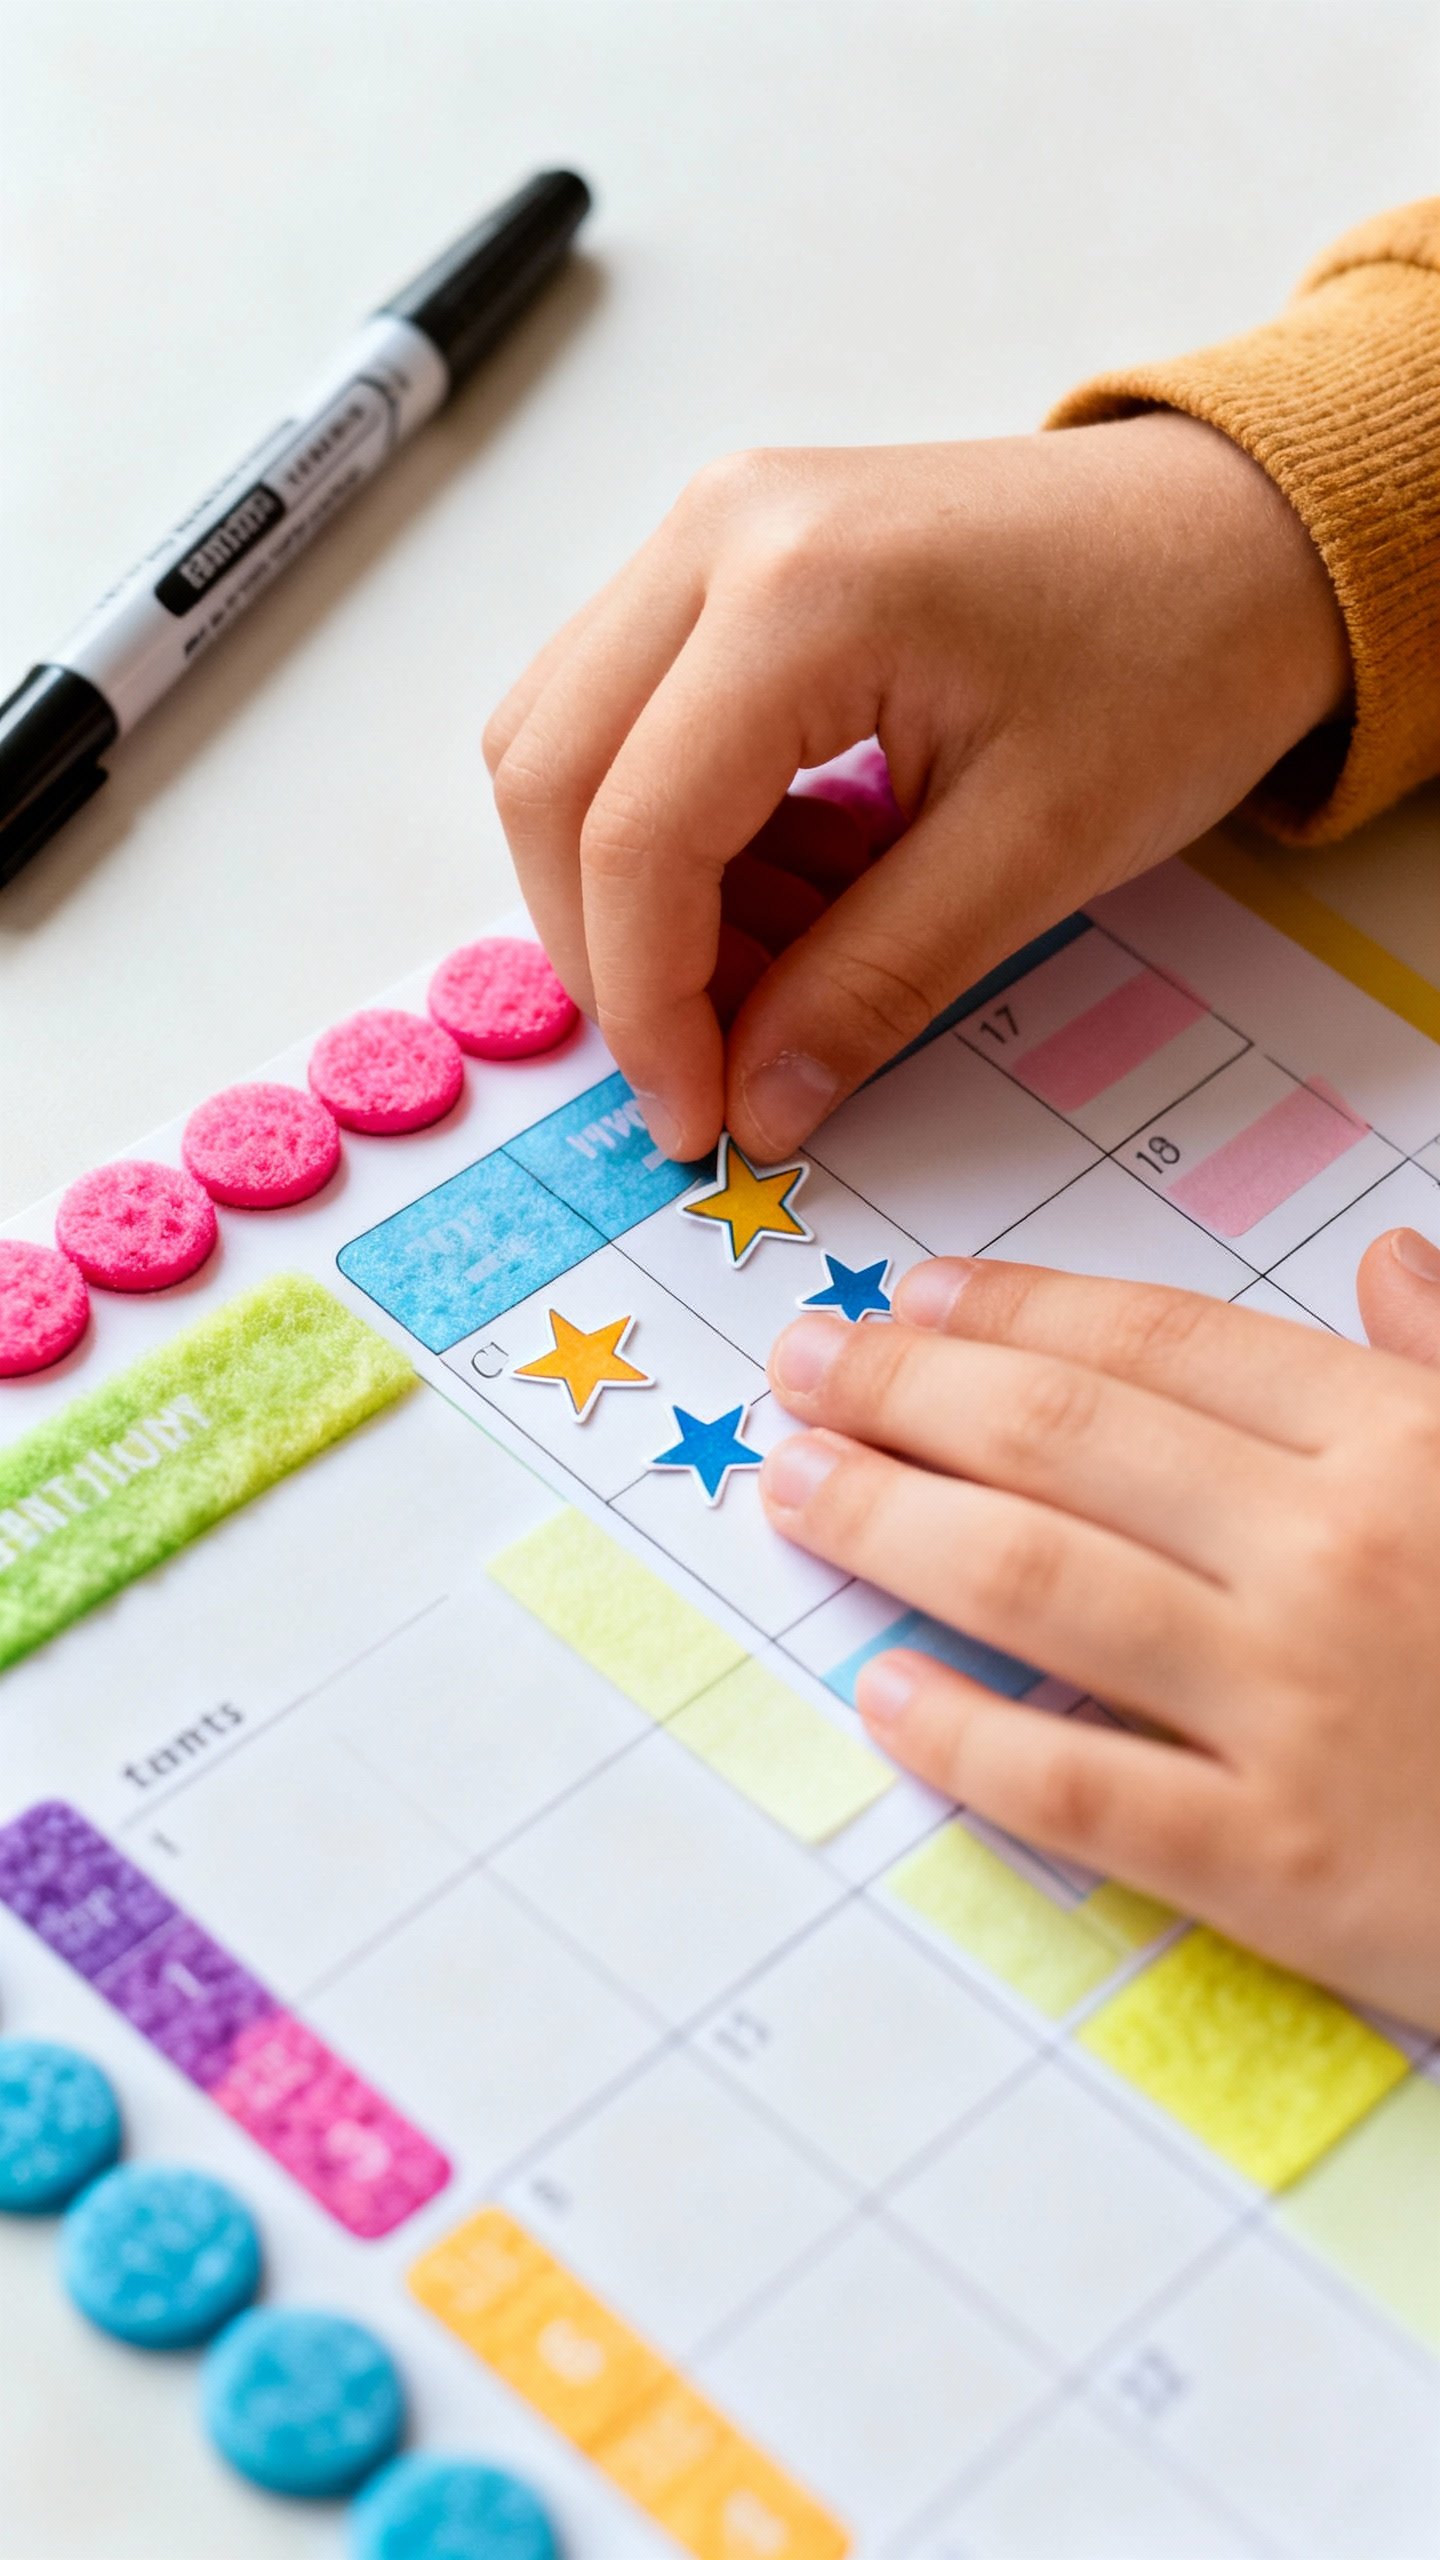
Keep It Fun (Because Boring = Abandoned)
Little details keep kids coming back.
- Stickers: Stars for completed days. Five stars = Friday treat.
- Weekly theme: Space week, ocean week, superhero week. Change the icon pack.
- Mini challenges: “No nagging needed” day = bonus point.
Everyone wins.
- Color time: Let them color headers or borders. Ownership, again.
For Neurodivergent Kiddos
A few tweaks can make a huge difference:
- Visual cues: Icons next to tasks (book = reading, ball = practice).
- Short time blocks: 15–30 minute chunks with breaks.
- One-page view: Everything visible, nothing hidden behind tabs.
- Predictable routines: Same structure every week. Change only the details.
Troubleshooting: When the Planner Collects Dust
It happens.
Here’s what to try:
- Too complex? Simplify. Fewer boxes. Bigger space to write.
- Too boring? Add color, icons, or a theme.
Let them redesign it.
- Too much adult control? Give them power: they fill it, you cheerlead.
- No time to fill it? Make it part of breakfast or bedtime. Two minutes, tops.
FAQ
How do I make the planner editable?
Create your layout in Canva, Google Slides, or a simple doc, then export as a fillable PDF or keep it as a shared template link. If you prefer PDFs, tools like Acrobat or free online form creators let you add text fields so kids can type right in.
Keep fields large and obvious.
What if my child can’t read yet?
Use icons and color categories. Replace text with simple pictures (book for reading, broom for chores, shoe for sports). Pair it with short check-ins where you read the plan together.
Big boxes, big checkmarks, big wins.
How many tasks should I include each day?
Three to five max for younger kids, five to seven for older kids. Anything more becomes clutter they’ll ignore. Use a “bonus” section for nice-to-dos that don’t need checkboxes.
Paper or digital—which is better?
Honestly, whichever they’ll use.
Younger kids usually prefer printed planners with markers and stickers. Older kids often like typing on tablets or Chromebooks. FYI, laminated printouts + dry-erase markers = reusable and fun.
How do I keep it from becoming nagging central?
Let the planner be the boss.
Ask, “What does your planner say?” instead of repeating instructions. Celebrate follow-through more than results. A little autonomy goes a long way.
Can I use this for multiple kids?
Yes—color-code by kid or give each child their own version.
A shared family planner on the fridge + personal weekly planners works great for coordination without chaos (IMO).
Conclusion
A DIY weekly planner for kids doesn’t need to be complicated or Pinterest-perfect. It just needs to be clear, visual, and theirs. Build a simple template, make it printable and editable, and tweak it until it fits your family.
Do a quick weekly reset, keep it fun, and watch the “Did you forget?” battles disappear. Well, most of them—this isn’t magic. But it’s close.
Explore More on FreeKidsHub
Jump into your favorite category for easy printables, fun activities, and family-friendly ideas — all in one place.
Tip: Add this block to the end of every post for stronger internal links ✨