
Some kids crave sensory input like a cat craves a sunny windowsill. DIY sensory toys let you meet those needs without dropping half your paycheck—and you can customize them to your kid’s unique preferences. You don’t need a craft room or an engineering degree, either.
A few simple materials, a dash of experimentation, and you’re rolling.
Why DIY Sensory Toys Work (and Save Your Sanity)

DIY toys let you tailor textures, sounds, and movement to your kid’s sensory profile. Some kids seek deep pressure, others love visual sparkle, and some need chewy options to regulate. Store-bought tools help, but homemade versions give you control and flexibility.
Also, kids help make them. That means you build buy-in and sneak in a fun activity. Win-win.
Start Here: Safety, Simplicity, and Sensory Goals
You can make brilliant sensory tools with pantry items and dollar-store finds.
Keep a few guardrails in mind.
- Safety first: Avoid choking hazards for young kids. Seal items well. Skip small magnets and batteries.
Supervise with any small parts.
- Choose your goal: Calming? Alerting? Focus?
Pick textures, weights, and sounds that match.
- Test and tweak: Try one variable at a time—texture, weight, temperature—so you see what actually helps.
- Durability matters: Hot glue, strong zip bags, double seams, and duct tape are your friends.
Quick Sensory Goal Cheatsheet
- Calming: Deep pressure, slow movement, soft textures, neutral colors.
- Alerting: Bright colors, light vibration, crunchy textures, gentle sounds.
- Focus: Quiet fidgets with repeatable motion (twist, squeeze, roll).
Easy Wins: 10-Minute Toys You Can Make Today
No craft marathon here—just quick builds that deliver.
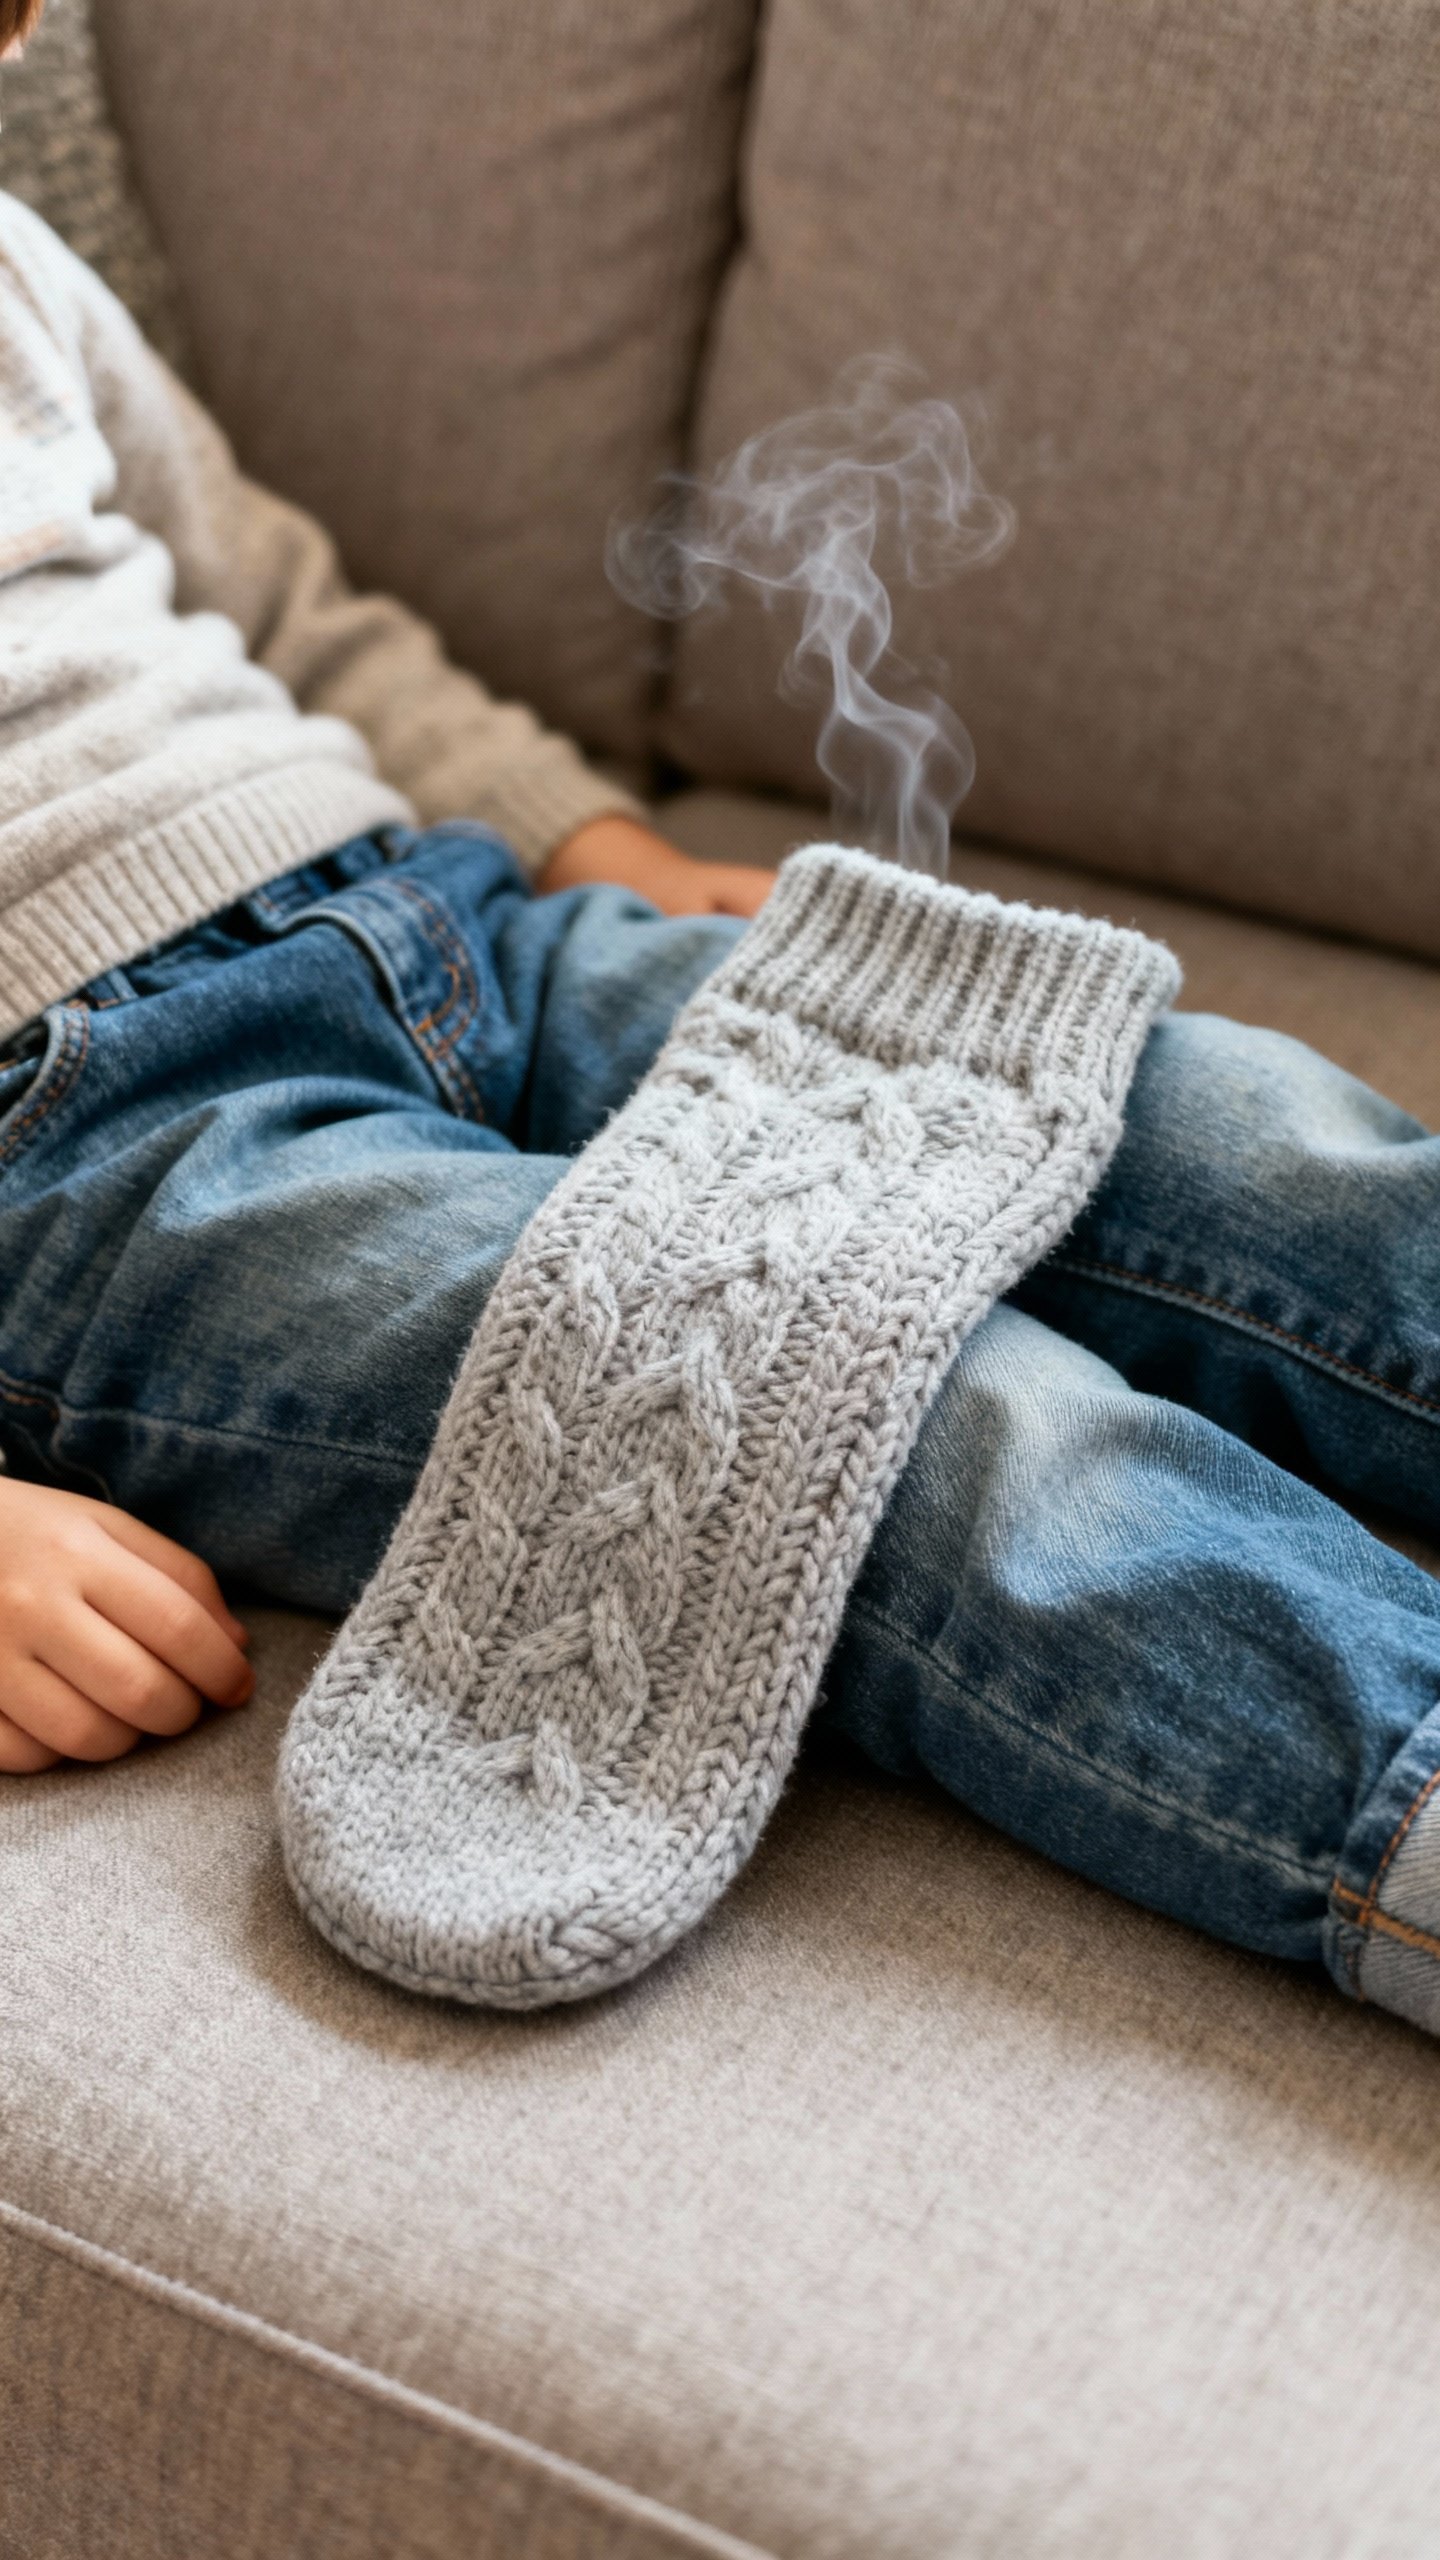
1) Weighted Rice Sock
Fill a clean tube sock with dry rice or lentils, tie it tight, and slip on a second sock as a cover. You get a simple lap weight for seated tasks. You can warm it briefly in the microwave (test first!) for extra comfort.
2) Glitter Calm Bottle
Use a plastic bottle with a tight cap.
Add warm water, clear glue (or glycerin), glitter, and a drop of food coloring. Seal the cap with hot glue. Kids shake and watch the glitter settle—it’s a visual timer and a calming tool.
3) DIY Fidget Chain
Thread a few large key rings through each other and wrap parts with washi tape or silicone tubing.
It’s quiet, sturdy, and perfect for little hands that need to move.
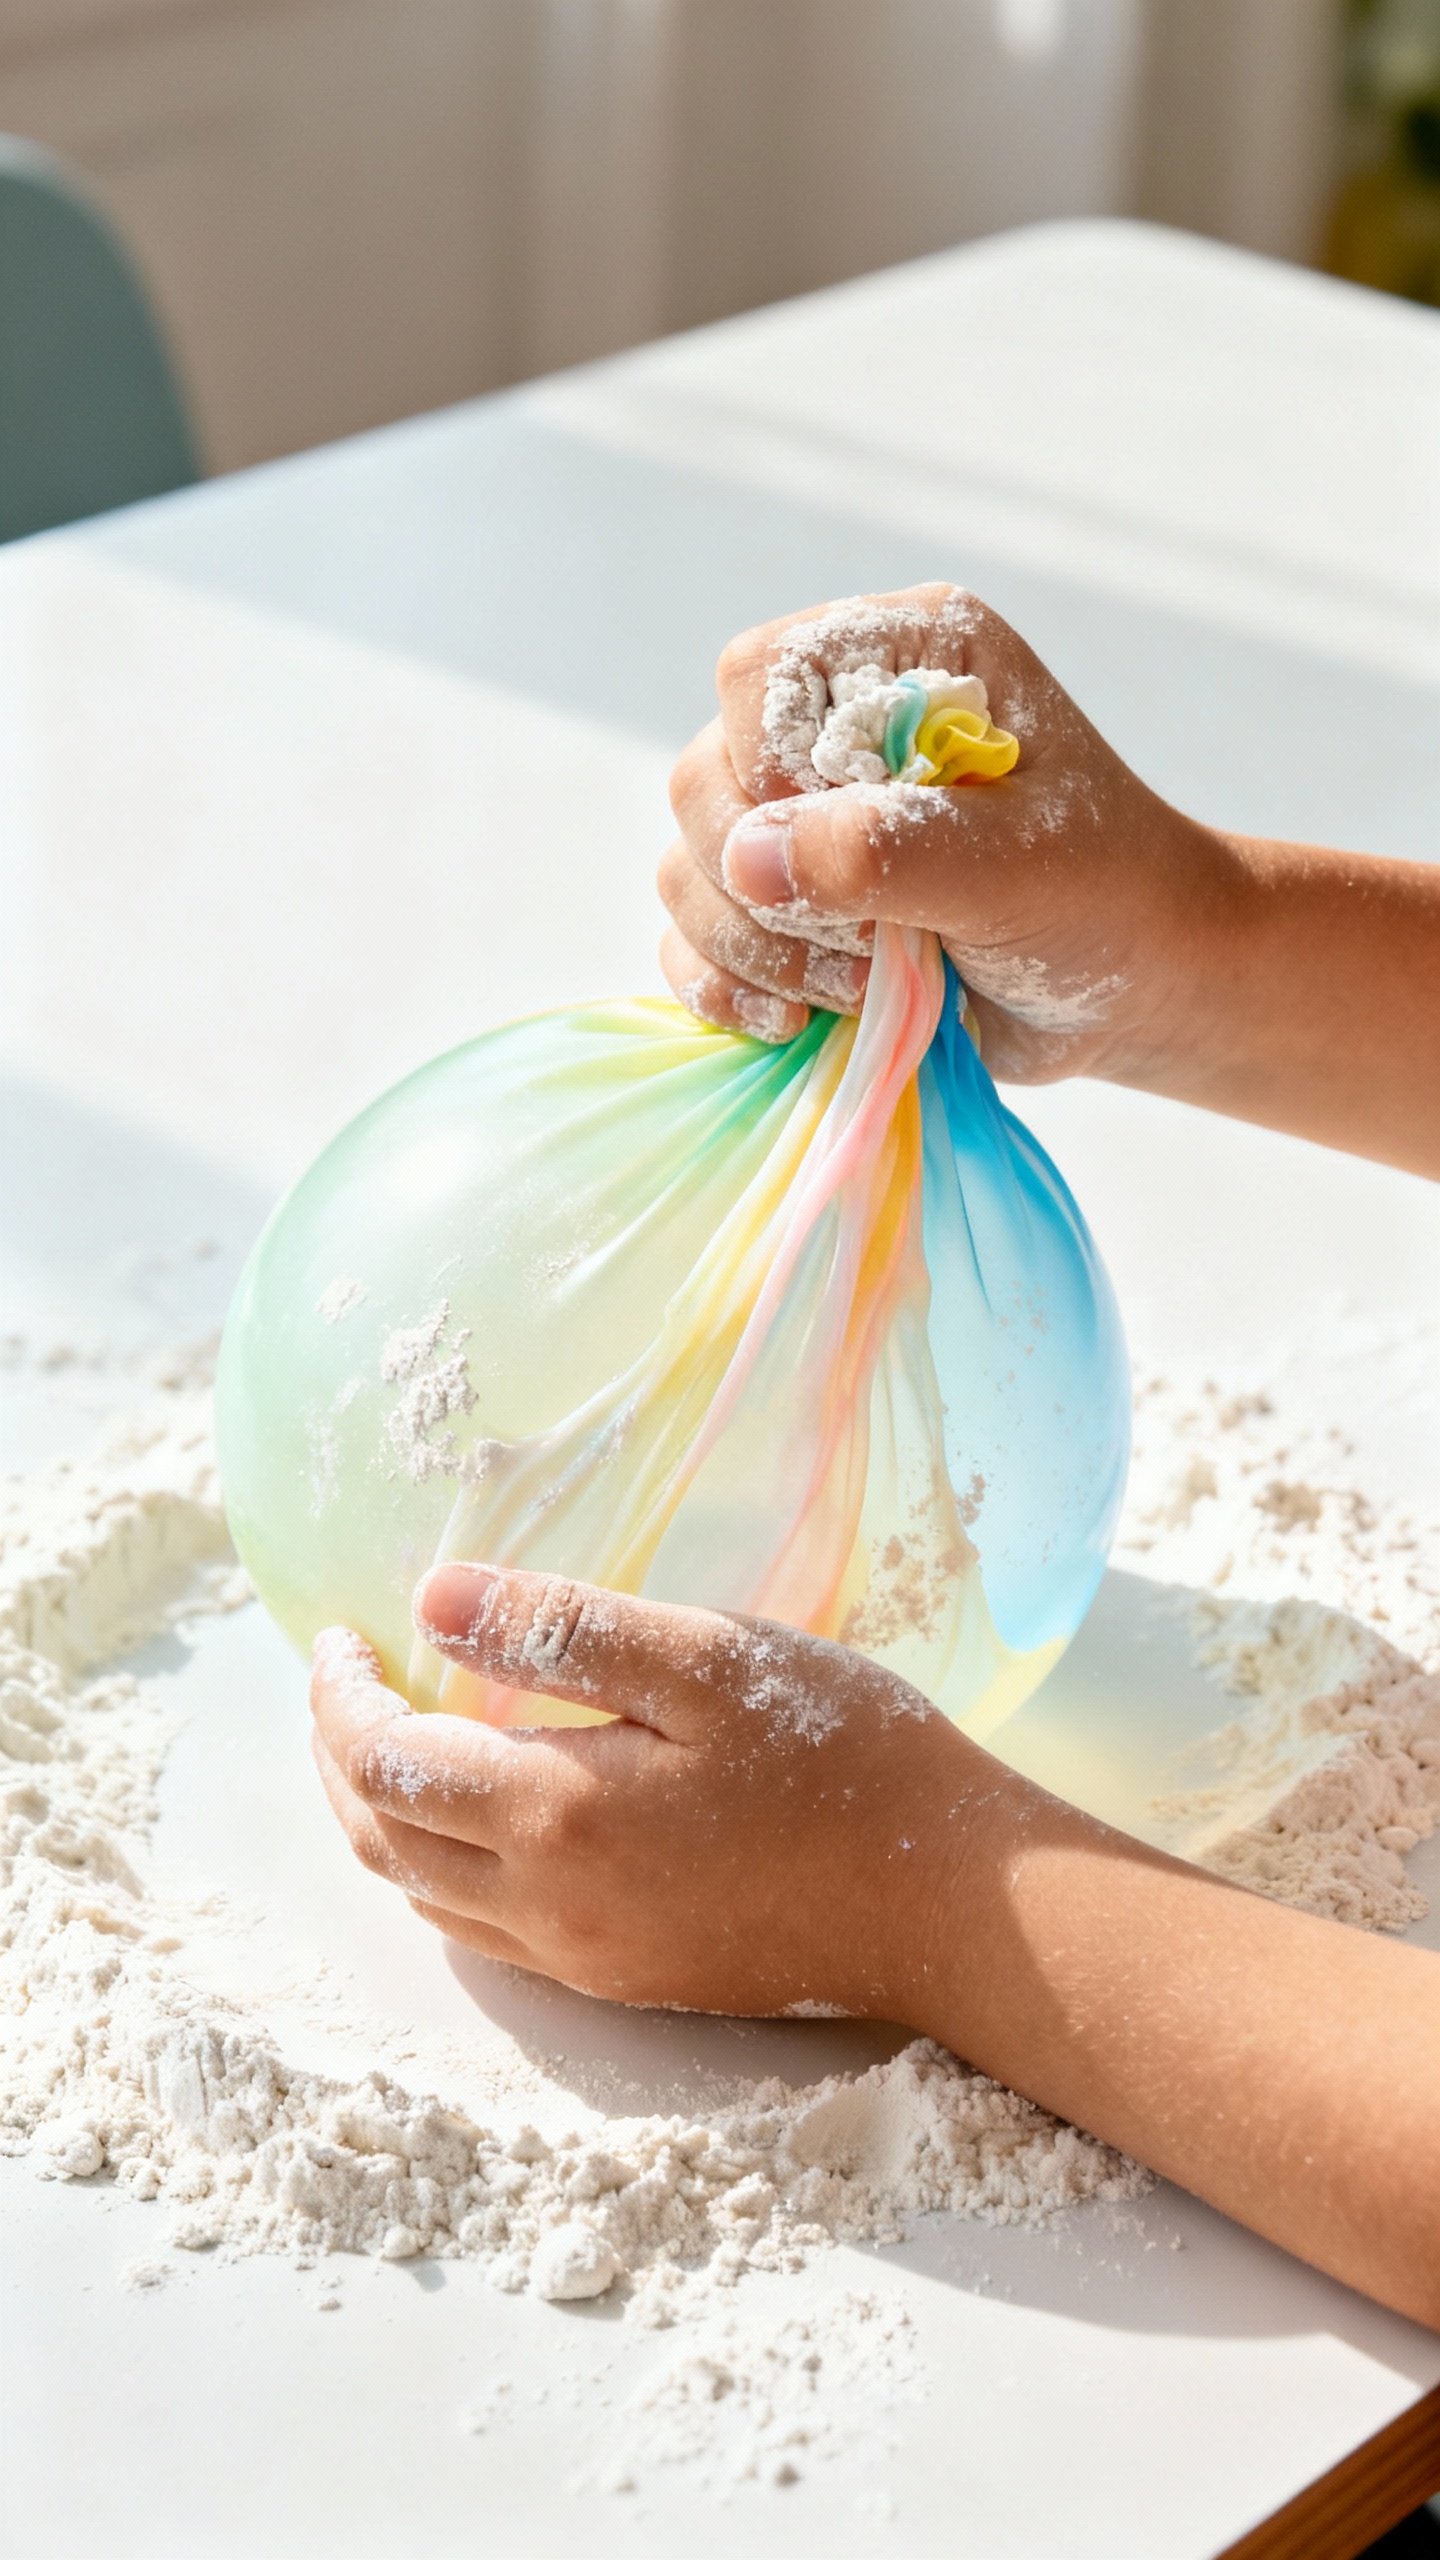
4) Sensory Balloon Squeezers
Double-layer balloons and fill with flour, rice, or cornstarch. Tie tightly and draw faces on them because we’re all twelve inside. They make great hand-strengtheners and fidgets.
5) Texture Board
Glue samples of felt, faux fur, bubble wrap, sandpaper, and silicone pot holders onto a sturdy board.
Rotate textures to keep it novel. It becomes a go-to for kids who seek tactile input.
Level Up: Projects With More Oomph
Sometimes you want something that looks legit. These take a bit more effort but still won’t break you.
DIY Lap Pad (No-Sew Option)
– Materials: Two thick pillowcases or fabric placemats, poly pellets or rice, duct tape or fabric glue. – How: Pour filler inside the inner layer, spread evenly, and seal the edges with strong fabric glue or duct tape hidden inside the outer case. – Why: Weight = calming for many kids.
Start light (about 5-10% of body weight for lap pads is a common guideline, IMO). Always check comfort and mobility.
Sensory Path in a Box
– Materials: Painter’s tape, floor spots, laminated footprints, textured bath mats. – How: Create a mini obstacle path on a rug or in a hallway: jump spots, tiptoe line, crab walk station, and a wall push area. – Why: Movement breaks regulate sensory systems and help attention afterward.
Chewable Necklace Hack
– Materials: Food-grade silicone beads, breakaway necklace clasp, paracord. – How: Thread beads, tie securely, use the breakaway clasp for safety. – Why: Oral seekers need a safe chew option. Only use food-grade silicone. Clean daily.
Messy Play Without the Meltdown
Some kids adore mess; others nope out fast. You can meet both.
Controlled Mess Bins
– Base ideas: Dry rice, kinetic sand, water beads (supervise closely), pom-poms, or dry pasta. – Add-ins: Funnels, scoops, small containers, toy animals. – Pro tip: Lay down a shower curtain for quick cleanup.
Start with short sessions and model scooping and pouring.
Clean Sensory Alternatives
– Sensory bags: Fill heavy-duty zip bags with hair gel, glitter, and beads. Tape edges and the bag to a table. – Gel window clings on a baking sheet: Squish and slide without the mess. – Fabric fidgets: Scrunchy hair ties, microfiber cloths, and silicone trivets for quiet exploration.
Visual and Auditory Tools Kids Actually Use
Some sensory toys get ignored. These tend to stick.
Visual Soothers
– Slow-Drip Timer: Two connected bottles with water and a bit of oil or glycerin, flipped for a slow flow. – Light Box Bin: Clear bin with battery LED puck lights under translucent toys (pattern blocks, plastic cups). – Calm Corner Light: A soft, dimmable lamp plus a weighted throw turns a chair into a chill zone.
Sound Tools (Yes, You Can Keep It Quiet)
– Rainmaker Tube: Cardboard tube with foil crumpled inside and dry beans.
Seal ends, decorate, done. – Quiet Shakers: Plastic eggs or containers with different fillers: sand (soft), pasta (medium), beads (louder). Label for expected volume. – Noise Control: Soft headphones or earmuffs nearby so kids choose when to dial sound down.
Routines That Make These Toys Work Harder
DIY toys shine when you use them intentionally. A few tiny habits help.
- Create a sensory menu: A simple picture list kids can choose from: lap pad, squeeze ball, jump path, calm bottle.
- Use timing: Try tools before transitions, homework, or outings.
Prevent dysregulation instead of chasing it.
- Rotate weekly: Hide half the toys, swap them out later. Novelty keeps engagement high.
- Observe and adjust: Watch behavior after use. More focus?
Calmer? If not, tweak weight, texture, or duration.
When to Consult a Pro
If you’re unsure what your child needs, an occupational therapist can help identify sensory-seeking vs. sensory-avoidant patterns and suggest targeted activities. FYI, they also help set safe weight limits and usage times.
Budget and Sourcing: Where to Find Good Stuff Cheap
You don’t need fancy gear.
Look here first.
- Dollar stores: Funnels, bins, pom-poms, silicone trivets, balloons, hair gel, glitter, tape.
- Hardware stores: PVC pipes (ramps!), sandpaper, rubber gaskets, key rings.
- Thrift shops: Fabric, pillows for lap pads, interesting textures.
- Online: Food-grade silicone beads and breakaway clasps. Check reviews and materials.
Cleaning and Maintenance
– Washables: Fabric toys on gentle cycle in a laundry bag. – Silicone and plastic: Warm soapy water, air dry. – Rice/bean items: Spot clean only and store dry. – Quick rule: If it smells weird, retire it. Science experiments belong in the kitchen, not the fidget bin.
FAQ
How do I know which sensory toys my child needs?
Start with observation.
Do they seek pressure, movement, chewing, or visual stimulation? Try one tool per category and track behavior for a week. If you see improved calm or focus, you’ve got a keeper. Are weighted items safe for kids?
Used properly, yes.
Keep lap pads light and comfortable, and always supervise initially. If your child looks uncomfortable, overheated, or fidgety in a distressed way, remove the weight and reassess. An OT can give personalized guidance—IMO worth it. What if my child hates mess?
Go clean and controlled.
Use sealed sensory bags, fabric textures, or dry bins with large items like pom-poms. Gradually introduce new textures for seconds at a time and build tolerance without pressure. How many sensory toys should we have?
Quality over quantity. Aim for 5-8 reliable tools across categories: one weighted item, one movement break, two fidgets, a visual soother, a chew option, and a calm corner setup.
Rotate to keep things fresh. Can these toys help with school focus?
Often, yes. Quiet fidgets, lap pads, and brief movement breaks can boost attention. Coordinate with teachers so the tools fit classroom rules and don’t distract others.
A quick note from an OT can help with buy-in, FYI.
Conclusion
You don’t need fancy equipment to build a kid-approved sensory toolkit. Start small, aim for safety, and match each toy to a clear goal. Test, tweak, and let your child lead the way.
The best part? You’re not just making toys—you’re making regulation easier, one glitter bottle at a time.
Explore More on FreeKidsHub
Jump into your favorite category for easy printables, fun activities, and family-friendly ideas — all in one place.
Tip: Add this block to the end of every post for stronger internal links ✨