You know those days when the living room looks like a glitter tornado met a snack explosion, and everyone’s emotions run loud? Meet your new peacekeeper: DIY sensory bottles. They’re simple, mesmerizing, and weirdly soothing for kids (and adults—no judgment).
Let’s make a few, keep tiny hands busy, and maybe even rescue your sanity. Cool? Cool.
Why Sensory Bottles Work (and Why Kids Love Them)
Sensory bottles turn big feelings into something watchable and slow.
Kids shake them, watch things drift, and naturally calm their breathing. It feels like magic, but it’s just smart design. These bottles also give kids a safe way to fidget.
They distract just enough, without overstimulation. And FYI, they travel well—car seat meltdowns, consider yourselves warned.
Gather Your Supplies Without Overthinking It
You don’t need a craft store haul to get started. You probably own half of this already.
- Clear plastic bottle with a tight lid (Voss, Smartwater, or any sturdy bottle)
- Liquid base: water, clear glue, or baby oil
- Fillers: glitter, sequins, beads, LEGO bits, small charms
- Color: food coloring or liquid watercolor
- Adhesive: hot glue, superglue, or electrical tape for sealing
- Optional: glycerin (for slower movement), dish soap (for bubbles), mini pom-poms
Pro tip: Choose plastic, not glass.
You want the calm, not the cleanup.
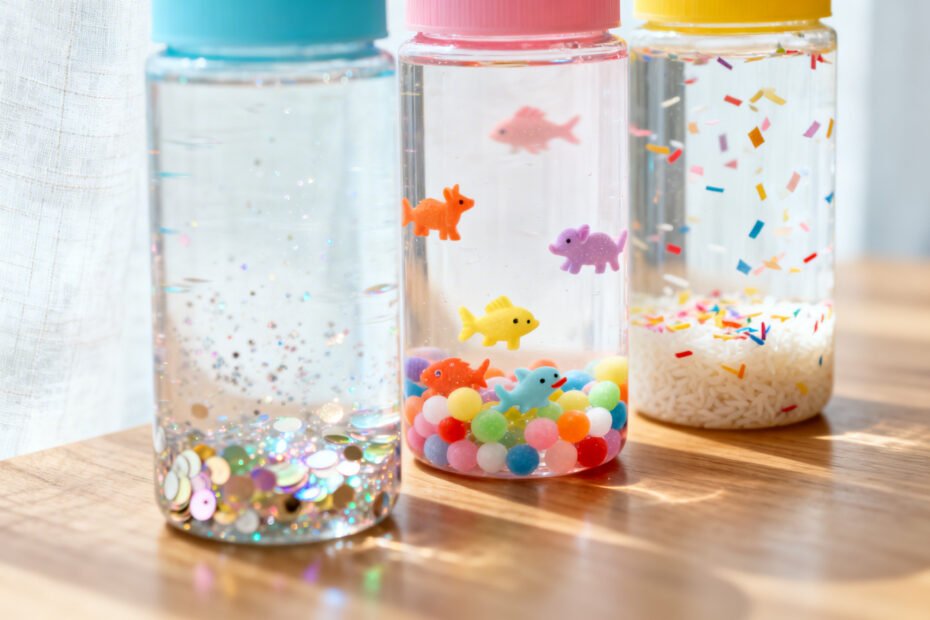
Three Easy Sensory Bottles to Try First
Let’s build the greatest hits. Each one takes about 5–10 minutes, tops.
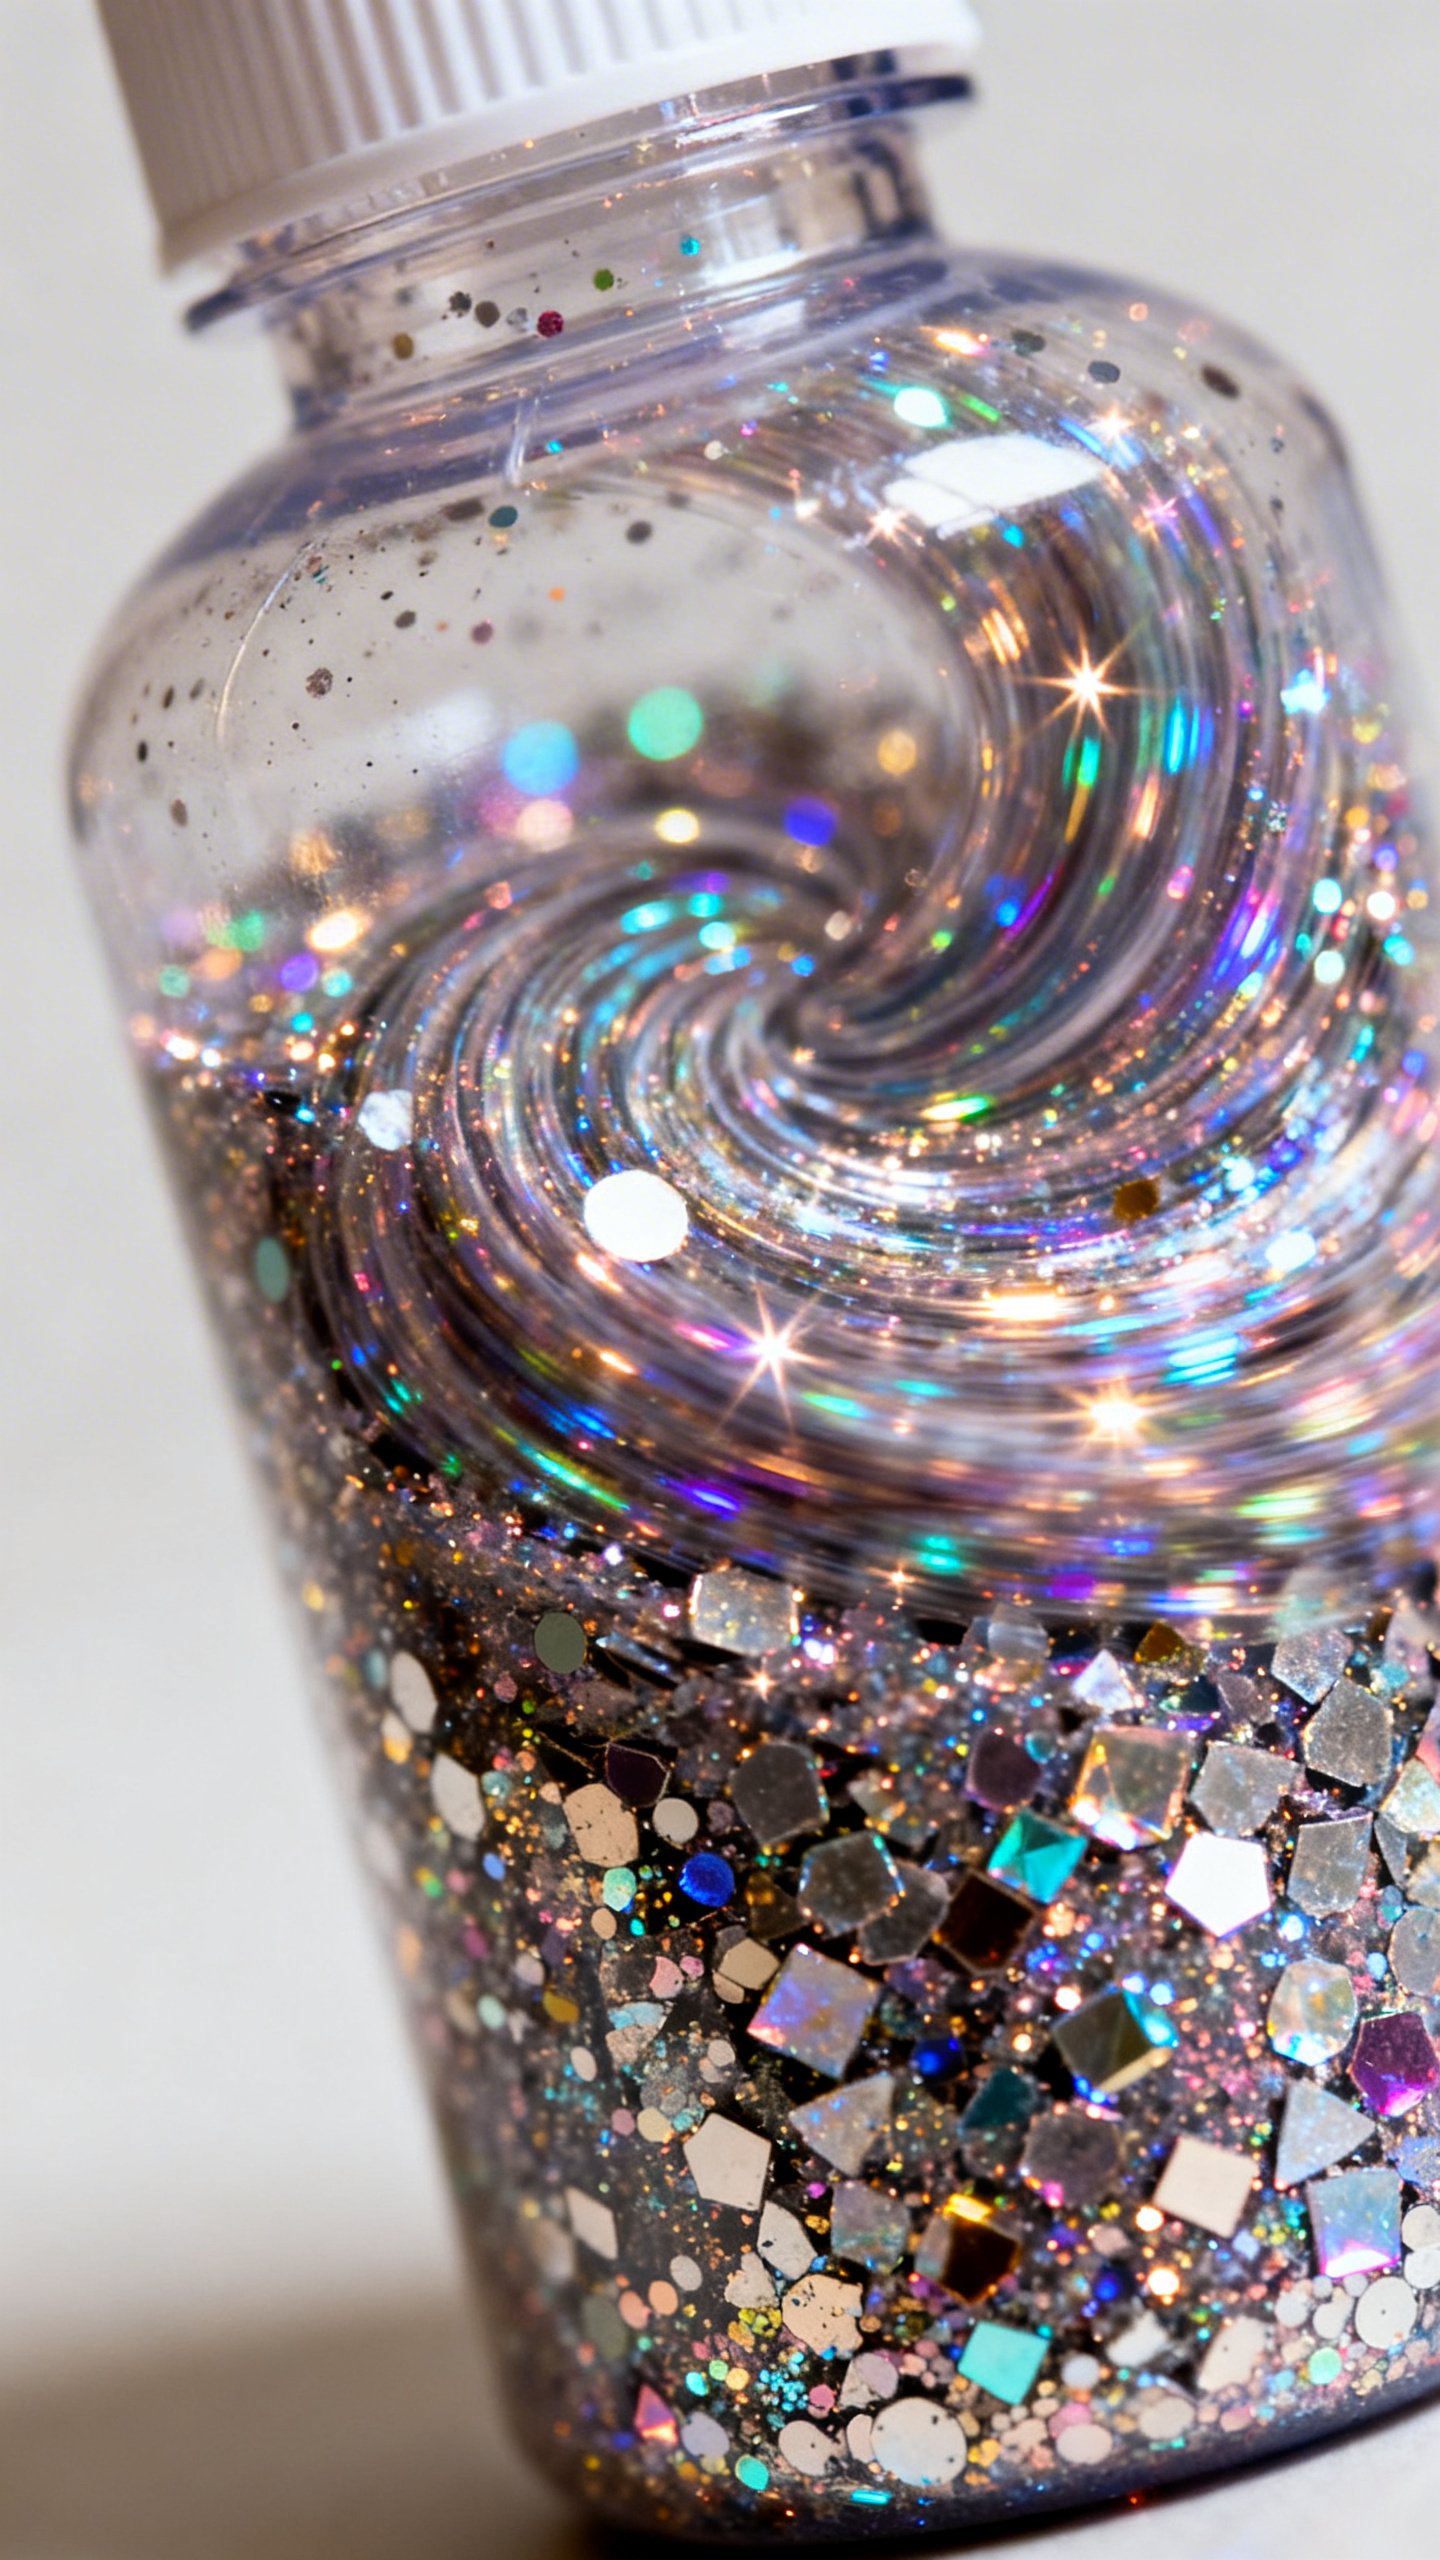
1) Glitter Calm-Down Bottle
- Fill the bottle 1/3 with clear glue (or a few tablespoons of glycerin + water).
- Add warm water almost to the top.
- Stir in fine glitter and a few chunky flakes for drama.
- Add 1–2 drops of food coloring. Don’t go wild.
Less is more unless you want a black hole.
- Seal the lid and shake. Adjust thickness with more glue for a slower swirl.
Why it’s great: It’s soothing, predictable, and looks like a snow globe met a lava lamp.
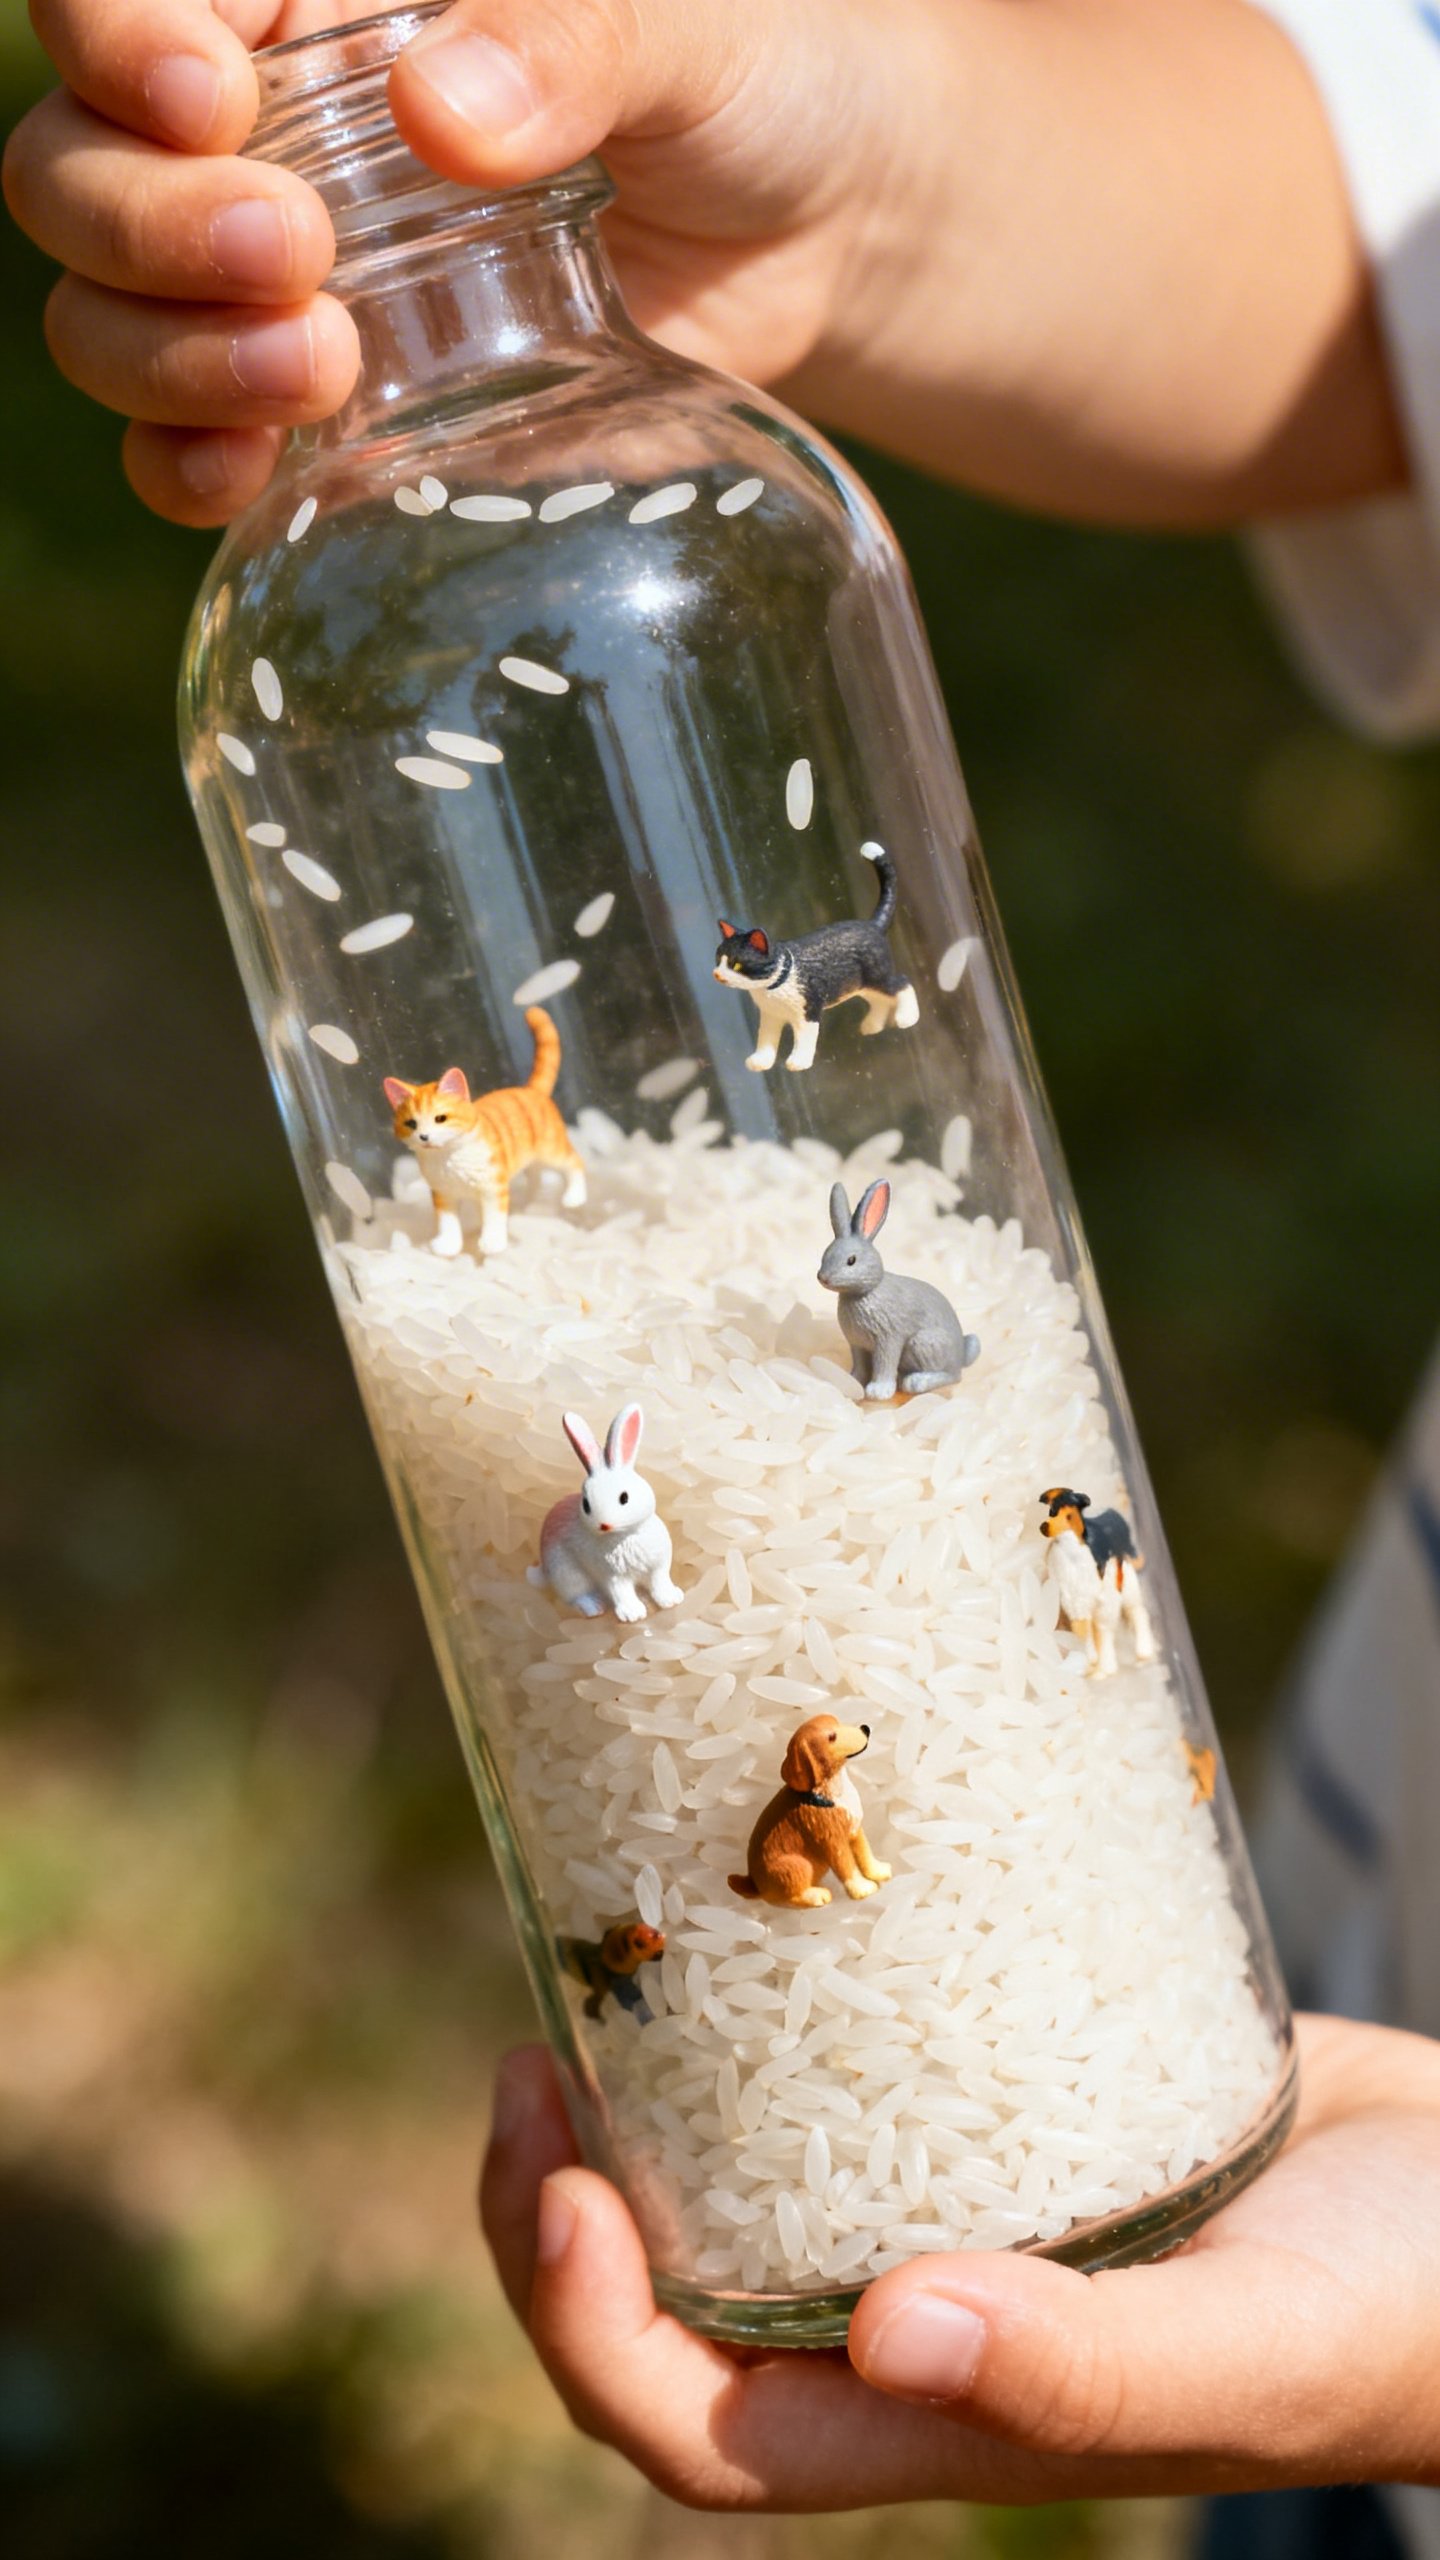
2) I-Spy Sensory Bottle
- Fill the bottle halfway with dry rice, clear beads, or dry pasta.
- Drop in 10–15 small objects: buttons, paperclips, tiny animals, letter beads.
- Top with more filler, leaving a small air pocket for movement.
- Seal it up and make an “I-Spy” list for kiddos to find: “Find the red star and the blue paperclip.”
Why it’s great: It builds focus and attention without screens. Plus, it doubles as a quiet game.
Win–win.
3) Slow-Mo Oil & Water Bottle
- Fill the bottle 2/3 with baby oil or mineral oil.
- Add colored water (food coloring + water) to near the top.
- Optional: a few beads or sequins for fun floaters.
- Seal and shake gently for hypnotic droplets and waves.
Why it’s great: Science + calm. Kids watch the oil and water resist mixing—built-in lesson, IMO.
Make It Safe, Make It Last
Want your bottles to survive toddler testing and a car ride? Do this.
- Seal that lid. Add hot glue inside the cap before twisting.
Reinforce with electrical tape if your kiddo is tenacious.
- Test the weight. Smaller hands do better with 8–12 oz bottles. Heavy bottles become accidental dumbbells.
- Check for leaks by shaking over the sink first. Your floor will thank you.
- Label the bottom with a date.
If it gets murky or stinky (it happens), you’ll know when to refresh.
Cleaning and Refreshing
– If glitter clumps, add warm water, shake, and drain a bit. – For foggy bottles, rinse everything and rebuild with fresh materials. – Avoid paper confetti in water-based bottles. It dissolves into a sad soup.
Customize for Age, Sensory Needs, and Interests
Not all sensory bottles need to sparkle like a disco ball. Tailor them.
- For toddlers: High-contrast colors, large beads or pompoms, and lighter bottles.
Keep pieces too big to swallow if the lid ever fails.
- For preschoolers: Add themes—“Ocean,” “Space,” “Rainbow.” Use tiny animals, stars, and letter beads to sneak in learning.
- For older kids: Try a “timer” bottle with thicker glue so glitter takes 60–90 seconds to settle. Great for homework breaks.
- For sensitive kiddos: Skip loud clacky beads. Choose soft visuals, muted colors, and slower movement.
Theme Ideas That Always Hit
– Ocean: blue tint, shells, silver glitter, tiny fish. – Galaxy: black or deep purple, star confetti, holographic glitter. – Garden: green tint, ladybug charm, flower sequins. – Calm rainbow: six mini layers of soft tints—yes, you can stack colors if you pour slowly.
Use Sensory Bottles for Calm (Without Making It a Big Deal)
You don’t need a formal “calm corner” sign (unless you want one).
Just make them part of life.
- Morning jitters? A two-minute shake-and-watch routine resets the day.
- Car tantrum brewing? Hand over the oil-and-water bottle. It’s basically meditation-on-the-go.
- Transition time? When you say “Two more minutes,” use the bottle as a visual timer.
- Bedtime wind-down: Low lights, slow bottle, quiet breaths. Works better than “please chill” pleas.
Co-Regulation Tips
– Sit with your child and model slow breathing while you both watch the glitter settle. – Name the emotion: “Looks like your feelings are fizzy.
Let’s watch them settle together.” – No shame, just presence. FYI, this works for grown-up stress too.
Troubleshooting: Fix the Common Annoyances
Stuff happens. Here’s how to unfail the fail.
- Glitter sinks too fast? Add more clear glue or glycerin.
Shake and test.
- Liquid turned cloudy? You likely used too much dye or the water wasn’t clean. Rebuild with distilled water.
- Air bubbles everywhere? Let the bottle sit open for an hour before sealing, or use a drop of dish soap for smoother movement.
- Objects clump at the top? Add a pinch of salt to water-based bottles or reduce oil ratio.
- Kid wants to open it? Wrap the cap with colorful tape. Out of sight, out of mind—mostly.
Budget and Eco Hacks
You can make these fancy, or you can make them basically free.
- Reuse bottles you already have—smooth-sided ones look best.
- Skip specialty glitter—regular craft glitter works.
Just mix fine and chunky for nice movement.
- Scavenge fillers: broken jewelry, old party confetti, stray LEGO, buttons from That One Drawer.
- Buy glycerin in the baking aisle, not the craft aisle. Cheaper, same result.
FAQs
Q: Are sensory bottles safe for toddlers?
A: Yes, with supervision and a tightly sealed lid. Choose plastic bottles, oversized fillers, and always glue the cap.
Treat it like any other toy—nearby adult eyes, especially under age three.
Q: What’s the best liquid for a slow, calming effect?
A: Use a mix of clear glue and warm water, or water with glycerin. The thicker the liquid, the slower the glitter falls. Start with 1/3 glue to 2/3 water and tweak from there.
Q: How do I stop mold or bad smells?
A: Use distilled water, keep organic materials out (no real leaves or food), and seal the lid well.
If anything looks off, dump and rebuild. It’s quick—promise.
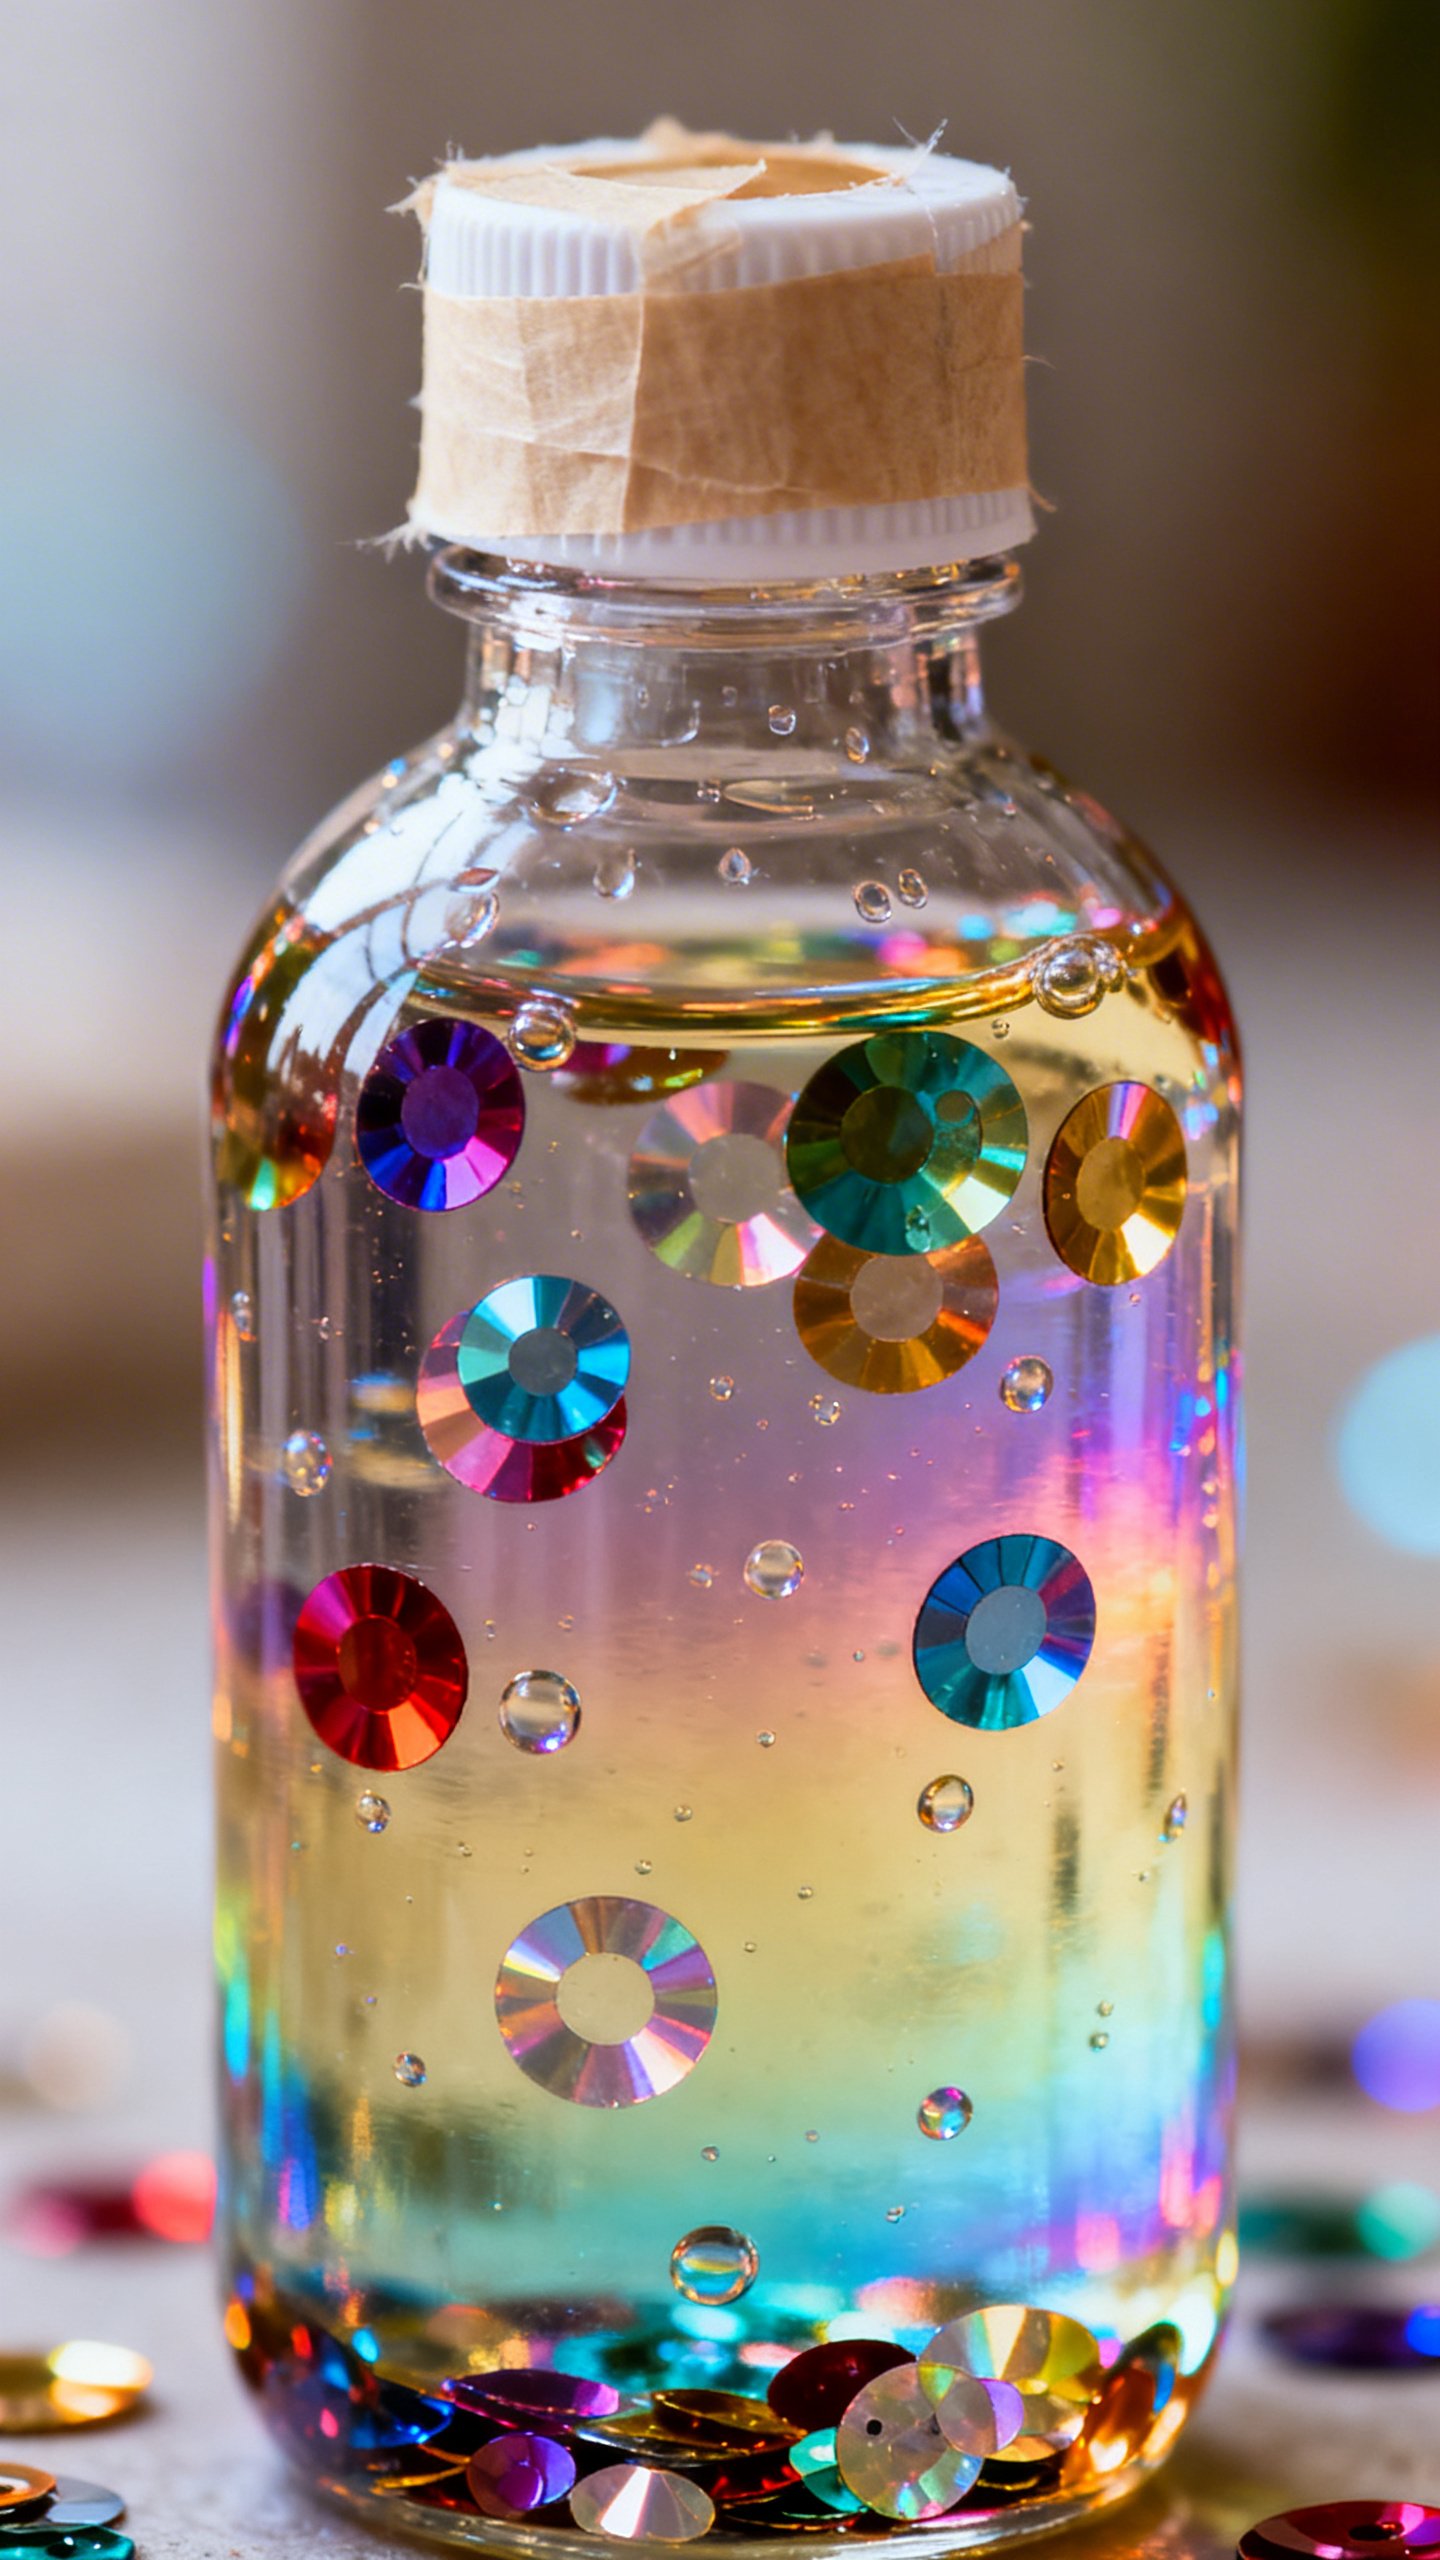
Q: Can I make a no-glitter version?
A: Absolutely. Try sequins, pony beads, foam shapes, or even tiny gears for a steampunk vibe.
You get motion and color without glitter sneaking into every corner of your life.
Q: How long do sensory bottles last?
A: Months, sometimes years, if sealed well and stored at room temperature. Sunlight can fade colors, so keep them out of direct sun if you care about vibrancy.
Q: Do these actually help with regulation?
A: In my experience, yes. They offer visual focus, slow the moment down, and give kids control.
Not a cure-all, but a solid tool in the calm-down toolbox, IMO.
Conclusion
Sensory bottles give you a low-cost, high-impact way to turn chaos into calm. They’re quick to make, fun to customize, and easy to use whenever big feelings show up. Build one or two today, stash them where you need them most, and enjoy the tiny slice of peace they bring—FYI, your nervous system will thank you too.
Explore More on FreeKidsHub
Jump into your favorite category for easy printables, fun activities, and family-friendly ideas — all in one place.
Tip: Add this block to the end of every post for stronger internal links ✨