Big emotions hit fast, and when you’re parenting or teaching a child with autism, those waves can crash out of nowhere. Calm down cards give kids a simple, visual roadmap back to regulation—no lectures required. They’re small, portable, and surprisingly powerful.
Best part? You can DIY them in an afternoon and tailor them exactly to your child’s needs.
What Are Calm Down Cards (And Why Do They Work)?
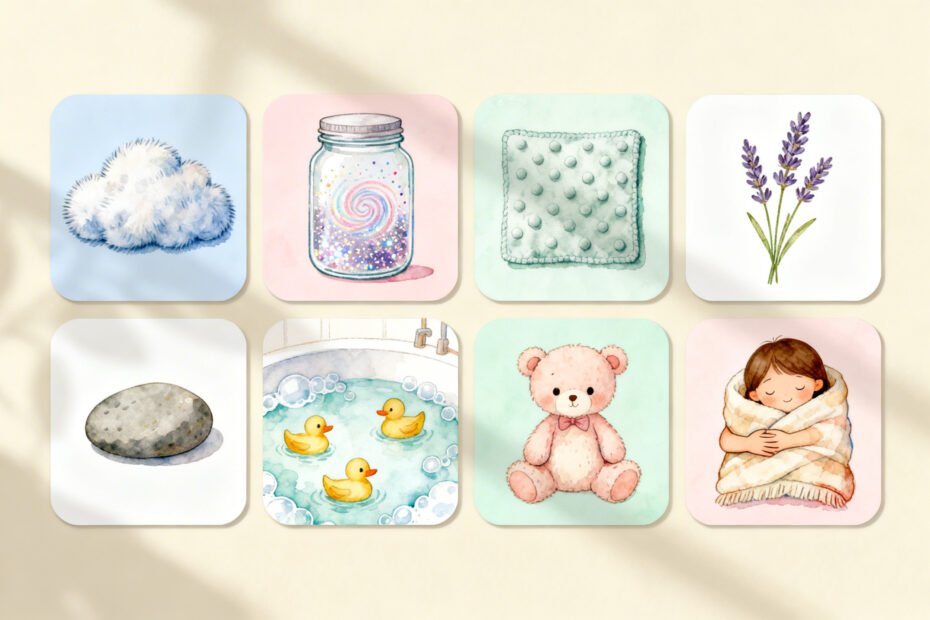
Calm down cards are small, visual prompts that guide kids through coping strategies when they feel overwhelmed. Think of them as a pocket-sized toolkit: “Take 5 breaths,” “Ask for a hug,” “Squeeze putty,” “I need quiet.” Simple, clear, visual.
For autistic kids, visuals beat verbal instructions almost every time. Visual prompts reduce language load, offer predictability, and keep choices concrete. Instead of “calm down,” you hand over a strategy they can actually do. Way less frustrating for everyone.
Before You Start: Know Your Kid’s Sensory Profile
You don’t need a formal assessment—just your observations.
What helps your child reset? What overstimulates them? Build your deck around that.
- Notice triggers: Noise, bright lights, transitions, scratchy clothes, hunger?
- Spot patterns: Do meltdowns follow crowded spaces or sudden changes?
- Track soothers: Deep pressure, movement, chewing, music, dim lights?
Quick Sensory Cheat Sheet
- Seeker: Loves jumping, heavy work, big movement?
Add cards like “wall push-ups,” “animal walks,” “carry a heavy book.”
- Avoider: Hates noise, light, touch? Add cards like “noise-canceling headphones,” “dim lights,” “cozy corner.”
- Mixed: Most kids land here. Offer a mix and let them choose.
Materials: Keep It Simple, Keep It Durable
You don’t need a craft store haul.
You just need tools that last.
- Index cards or cardstock (2×3 or 3×5 inches)
- Laminator + pouches (or clear packing tape if you’re scrappy)
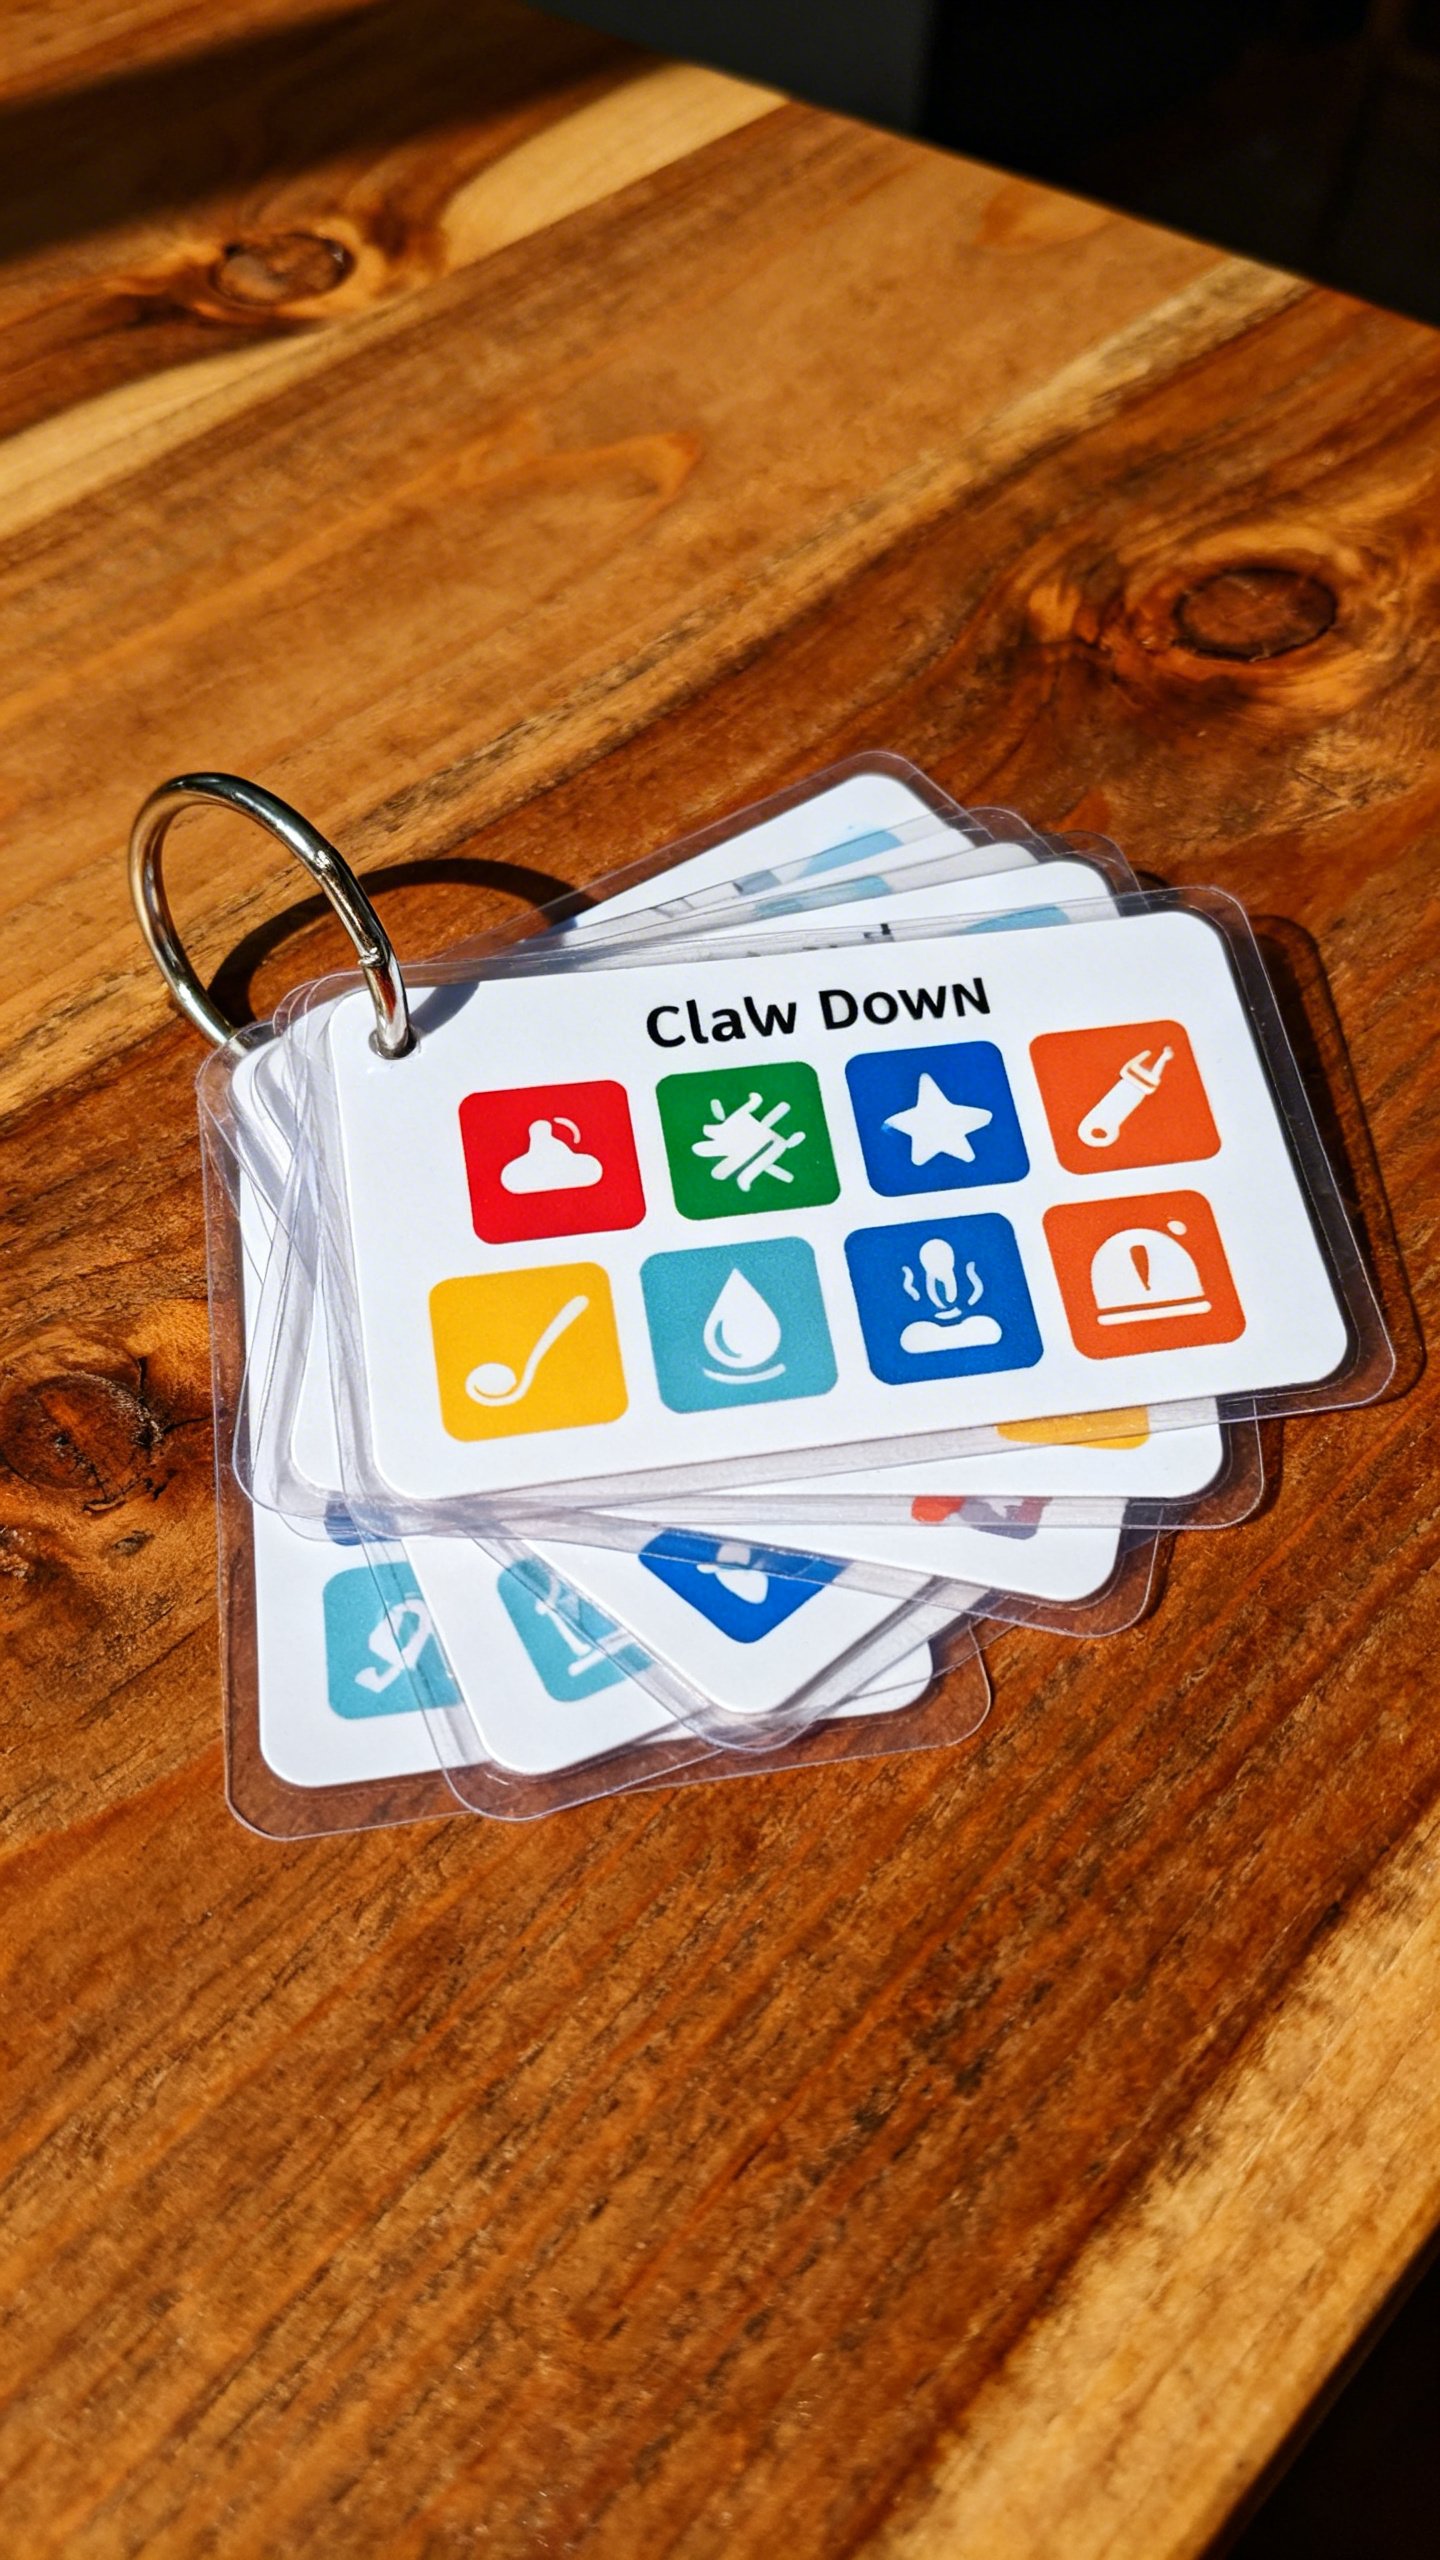
- Binder rings or a small keychain
- Velcro dots if you want a removable board
- Icons or photos: Print simple images or snap your own for ultimate relevance
- Dry-erase marker: Write checklists that kids can wipe clean
Design Tips That Kids Actually Use
- One idea per card. Keep text short: 2–4 words max.
- Pair text with a clear image. Prefer photos of your child doing the action, IMO.
- Color code by category: Blue = breathing, Green = movement, Yellow = sensory tools, Purple = communication.
- Accessibility: Use high-contrast fonts and large icons. Avoid clutter.
Card Ideas That Actually Work
Make 10–20 cards to start. Rotate based on what sticks.
Breathing and Body Reset
- Square breathing (trace a square: in-2-3-4, hold-2-3-4, out-2-3-4, hold-2-3-4)
- Smell the flower, blow the candle (classic, because it works)
- Hand on heart (slow breaths with gentle pressure)
- Muscle squeeze + release (hands, shoulders, feet)
Movement and Heavy Work
- Wall push-ups (10–20)
- Chair push-downs (press palms into seat)
- Animal walks (bear, crab, frog—fun and regulating)
- Carry a heavy book (or weighted lap pad, FYI)
Sensory Tools
- Headphones (noise-canceling if possible)
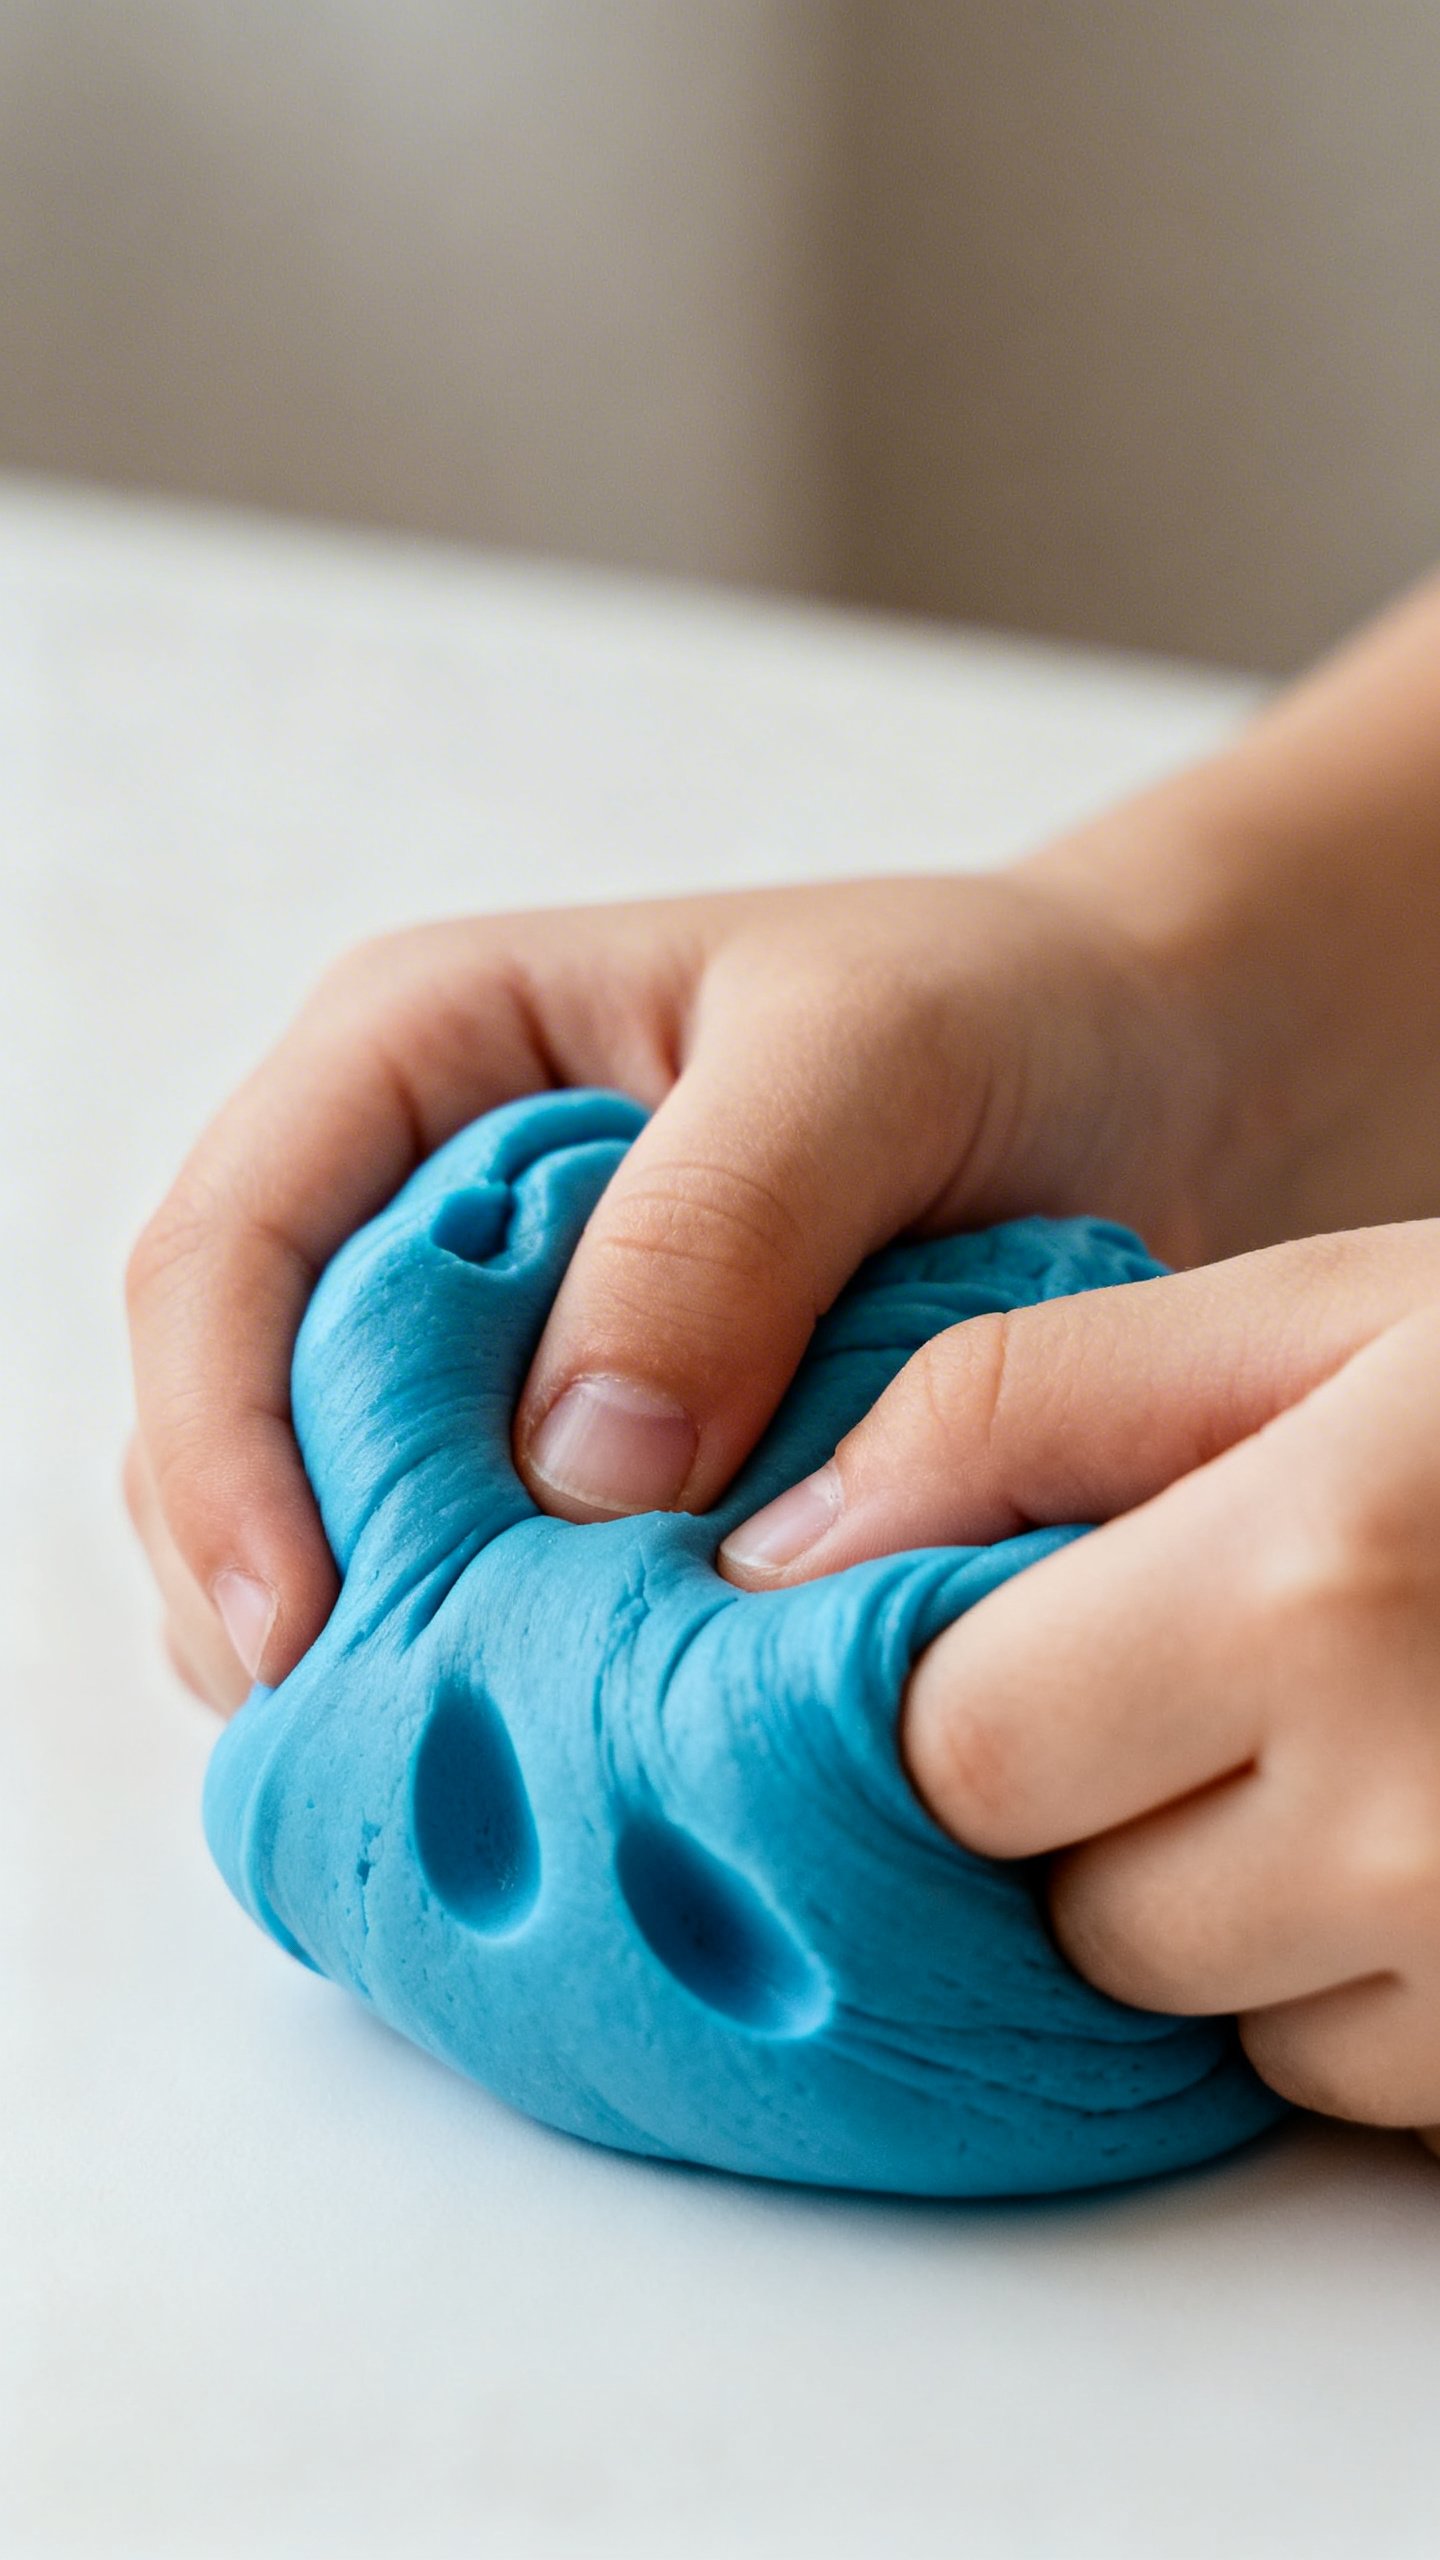
- Fidget (squeeze ball, putty, tangle)
- Chewy (chewelry, silicone straw)
- Cozy corner (blanket, dim light, beanbag)
Communication and Boundaries
- I need space
- Break, please
- Not now (great for transitions)
- Help me (pair with a picture of a trusted adult)
Self-Advocacy and Choices
- Choose 1 (present three strategies, let them pick)
- Timer 5 min (visual timers reduce battles)
- First-Then (first calm card, then preferred activity)

How to Build Your Deck (Without Overthinking It)
Follow this quick process to go from “idea” to “actual thing my kid uses.”
- List 10–15 strategies your kid already tolerates or likes.
Don’t invent brand-new ones under stress.
- Find or take pictures of each action. Snap photos of your child doing them for instant clarity.
- Print and stick images to cards. Add short text in bold, high-contrast letters.
- Laminate everything.
Kids are basically tiny weather events.
- Bind with a ring or attach to a board with Velcro. Portability = more use.
- Practice during calm moments. Do mock run-throughs. Make it a game.
Pro Move: Routines and Mini-Playbooks
Create small sequences of 3–4 cards for common situations:
- Morning rush: Headphones → Breathe 4x → First-Then → Timer 5 min
- Homework: Chewy → Wall push-ups → Break, please → Choose 1
- Public places: Headphones → I need space → Squeeze fidget → Timer 2 min
Introducing the Cards Without the Eye Roll
You want buy-in, not power struggles.
Keep it light and consistent.
- Model first: Say, “I’m stressed. I’m picking ‘breathe’,” and do it together.
- Offer, don’t order: “Want ‘fidget’ or ‘headphones’?” Choices build control.
- Use a visual scale: Pair with a 1–5 feelings chart. “You’re at a 4. Want ‘break’ or ‘wall push-ups’?”
- Celebrate tiny wins: Stickers, high-fives, or a quiet “Nice choice.”
- Practice when calm: Teaching during meltdown = nope.
Teach during play.
Common Pitfalls (That We’ve All Done, IMO)
- Too many options: Start with 4–6 cards. Add more later.
- Abstract language: “Be calm” means nothing. “Breathe 4 times” works.
- Forgetting the sensory need: If the environment stays loud/bright, no card fixes it. Change the setting when possible.
Make It Theirs: Personalization That Boosts Success
Ownership turns “annoying adult idea” into “my toolkit.” Add their favorite characters, colors, or phrases.
If your kid loves dinosaurs, call it the “Raptor Reset Deck.” Yes, really.
- Include special interests: T-Rex breaths? Minecraft breaks? Go for it.
- Use their voice: If they use AAC or specific phrases, mirror that language.
- Build a travel set: Mini deck on a keychain for school, car, and outings.
- Swap seasonally: New fidgets, new routines, new cards.
Keep it fresh.
Teacher/Caregiver Coordination
Send a short how-to card with the deck:
- When to offer: Early signs of dysregulation, not mid-meltdown only.
- How to prompt: “Pick one,” point to two choices, minimal talking.
- What to log: Which cards work, environment notes, timing.
Tracking What Works (So You Can Ditch What Doesn’t)
A simple log saves you from guesswork. Nothing fancy—just patterns.
- Trigger: Noise, transition, demand, crowd?
- Chosen card: Which one did they pick?
- Outcome: Calmer, same, escalated?
- Time to regulate: 2 minutes, 10 minutes?
- Notes: Headphones + dim lights = magic combo
Do this for a week, and you’ll know which cards to promote and which to retire. FYI, kids’ needs shift, so treat the deck as a living system.
FAQs
How many calm down cards should I start with?
Start with 4–6 cards your child already likes or tolerates.
Too many choices can backfire. Add more as your child gains confidence and you see clear favorites.
What if my child can’t read?
Use simple images or photos and keep text minimal. Many autistic kids process visuals faster than words, so pictures do the heavy lifting.
You can also color-code categories for quick scanning.
Do I use them during a meltdown or before?
Both, but better results come when you catch rising stress early. Offer a choice as soon as you see signs: pacing, frowning, covering ears, faster breathing. Once a meltdown peaks, shift to safety, space, and quiet—then debrief with the cards later.
Can calm down cards replace therapy?
They complement therapy, not replace it.
If big behaviors feel constant or unsafe, loop in an OT, SLP, or behavior specialist. Cards work best inside a bigger support plan.
How do I get teachers and caregivers on board?
Send a small deck with a one-page cheat sheet: when to offer, what to say, which strategies your child prefers. Ask for quick notes back.
Consistency across settings helps the skills generalize faster.
My kid ignores the cards. Now what?
Model more, make them fun, and reduce options. Try pairing a preferred activity after one strategy (First-Then).
Consider whether the environment overwhelms them—headphones or a quieter space might need to happen first.
Conclusion
You don’t need perfection—you need a few clear, visual strategies your child can grab fast. Calm down cards turn “I don’t know what to do” into “I have options.” They’re cheap, flexible, and—when you tailor them—seriously effective. Give it a week of practice and tweak as you go.
Your future self (and your kid) will thank you.
Explore More on FreeKidsHub
Jump into your favorite category for easy printables, fun activities, and family-friendly ideas — all in one place.
Tip: Add this block to the end of every post for stronger internal links ✨