You want your kid to talk about feelings without the shrug-stare combo, right? Emotion cards can help. They turn big, messy feelings into something kids can see, point to, and actually name.
And the best part? You can make them yourself in one afternoon with stuff you probably already own. Let’s build a set that your kid will actually use and maybe even love.
Why Emotion Cards Work (And Why DIY Beats Store-Bought)
Kids think in pictures first, words second.
Emotion cards give them a visual shortcut to say “I feel mad” instead of melting down in the cereal aisle. You also get a shared language for checking in—quick, simple, and not awkward.
DIY wins because you can tailor the cards to your kid’s world. Their favorite colors, silly faces, inside jokes?
Use them. You’ll get better buy-in and fewer “meh” reactions. FYI, it also costs almost nothing.
Pick Your Core Feelings (Don’t Overload the Deck)
Start small.
Too many cards overwhelm kids and you’ll end up playing 52-Pickup with emotions. A tight starter set works better.
- Beginner set (6–8 cards): Happy, Sad, Angry, Scared, Surprised, Calm, Tired, Proud
- Next level (add 6–8): Frustrated, Embarrassed, Confused, Lonely, Excited, Bored, Anxious, Disappointed
Consider your child’s usual struggles. Meltdowns during homework?
Add Frustrated. Social anxiety? Add Nervous or Shy.
IMO, “Calm” belongs in every deck—it gives kids a target to aim for.
Gather Your Supplies (Low-Tech Totally Works)
You don’t need a Cricut and a graphic design degree. You can DIY with basic craft gear or go digital and print.
Simple Craft Kit
- Cardstock or index cards (3×5 or 4×6)
- Markers or crayons (bold colors pop)
- Glue sticks (if using cutouts)
- Clear tape or laminating sheets (so the cards survive snack-time)
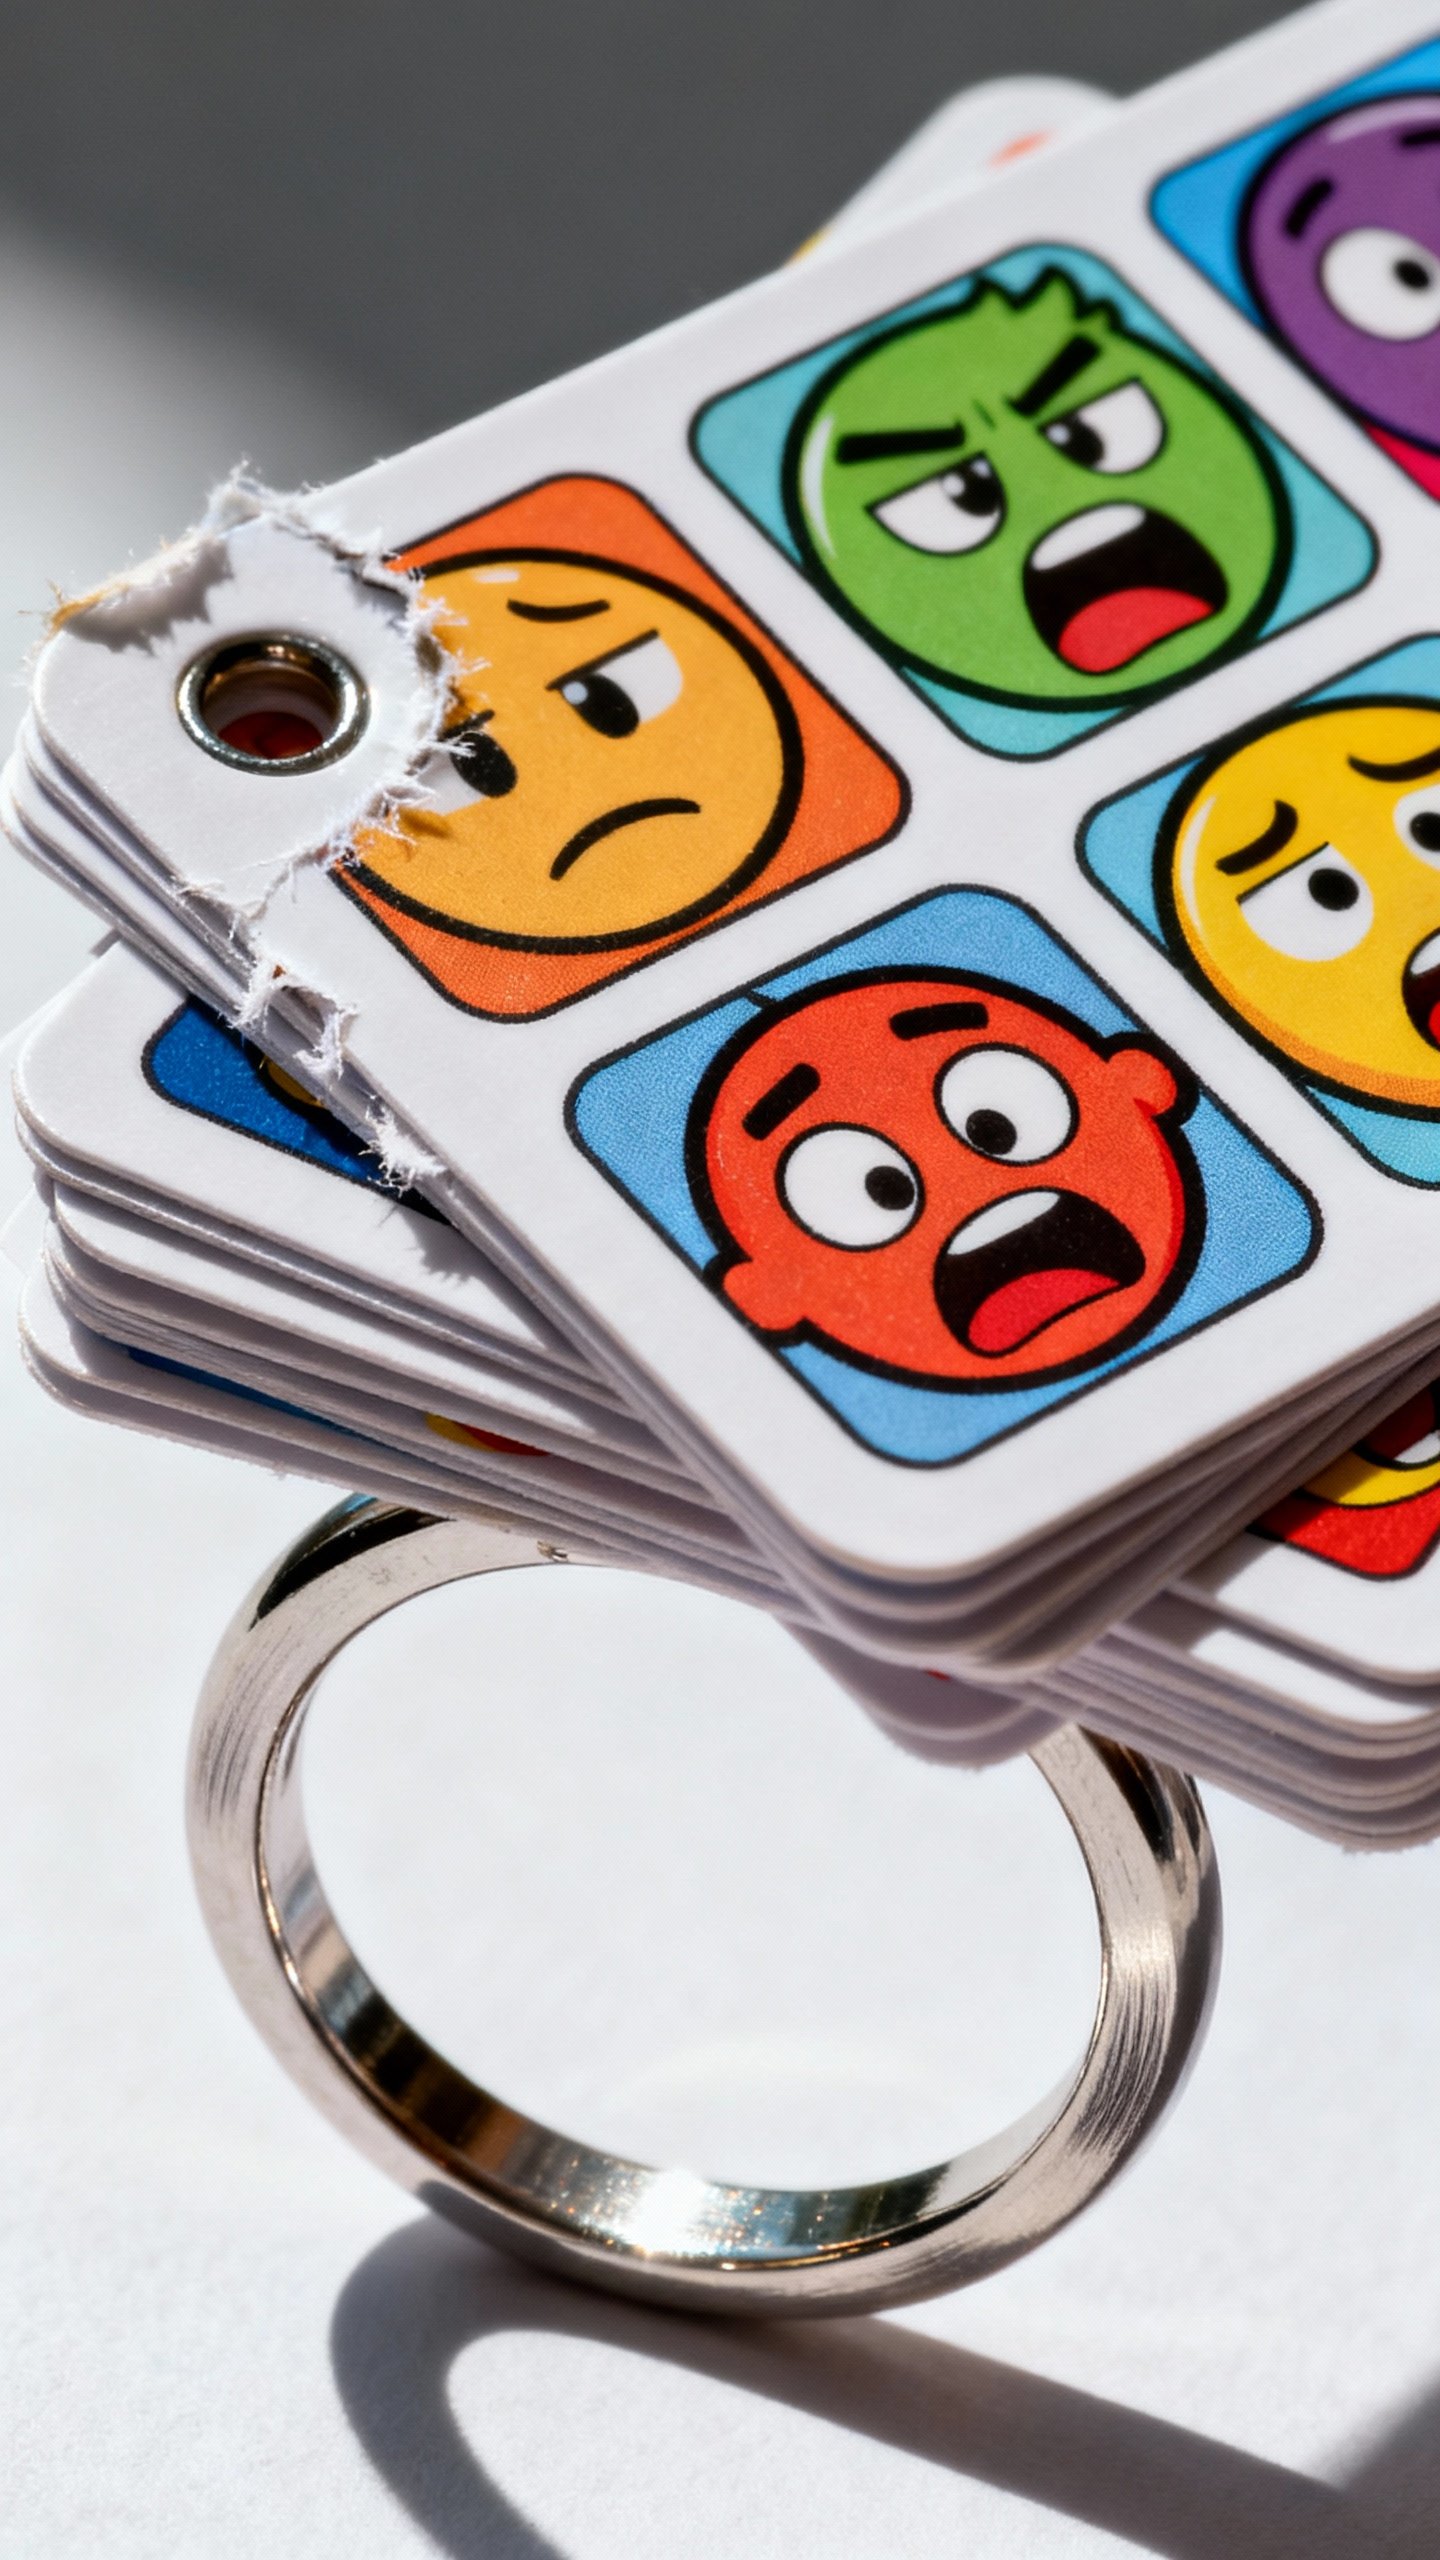
- Optional: Stickers, washi tape, a hole punch and ring for storage
Digital Route
- Free design tools: Canva, Google Slides, or Keynote
- Images: Your kid’s photos, emojis, or simple clipart
- Printer: Color helps, but black-and-white with bold lines works too
Design Tips: Make Feelings Obvious and Kid-Friendly
Clarity beats cute. Kids need to recognize the feeling in half a second.
Think big, bold, and expressive.
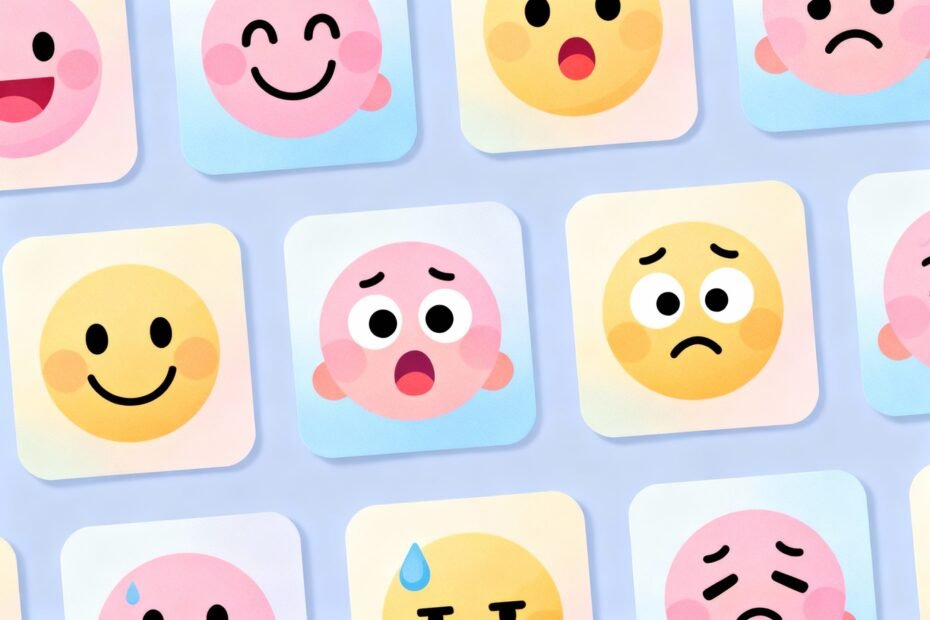
Visual Cues That Work
- Faces with exaggerated features: Eyebrows do a lot of emotional heavy lifting.
- Color cues: Red for anger, blue for sadness, yellow for happy, green for calm. Stereotypical? Yes.
Effective? Also yes.
- Symbols and context: Lightning bolt for anger, droplet for tears, a little heart for proud.
Text That Helps (But Doesn’t Overwhelm)
- One emotion name per card in large, clear font.
- Optional cue: A short sentence on the back: “I feel angry when…”
- For pre-readers: Use a small icon in the corner to reinforce the feeling.
Accessibility Considerations
- High contrast colors for visibility.
- Minimal background clutter so eyes go straight to the face.
- Use real photos if your child struggles to read cartoons or needs realistic cues.

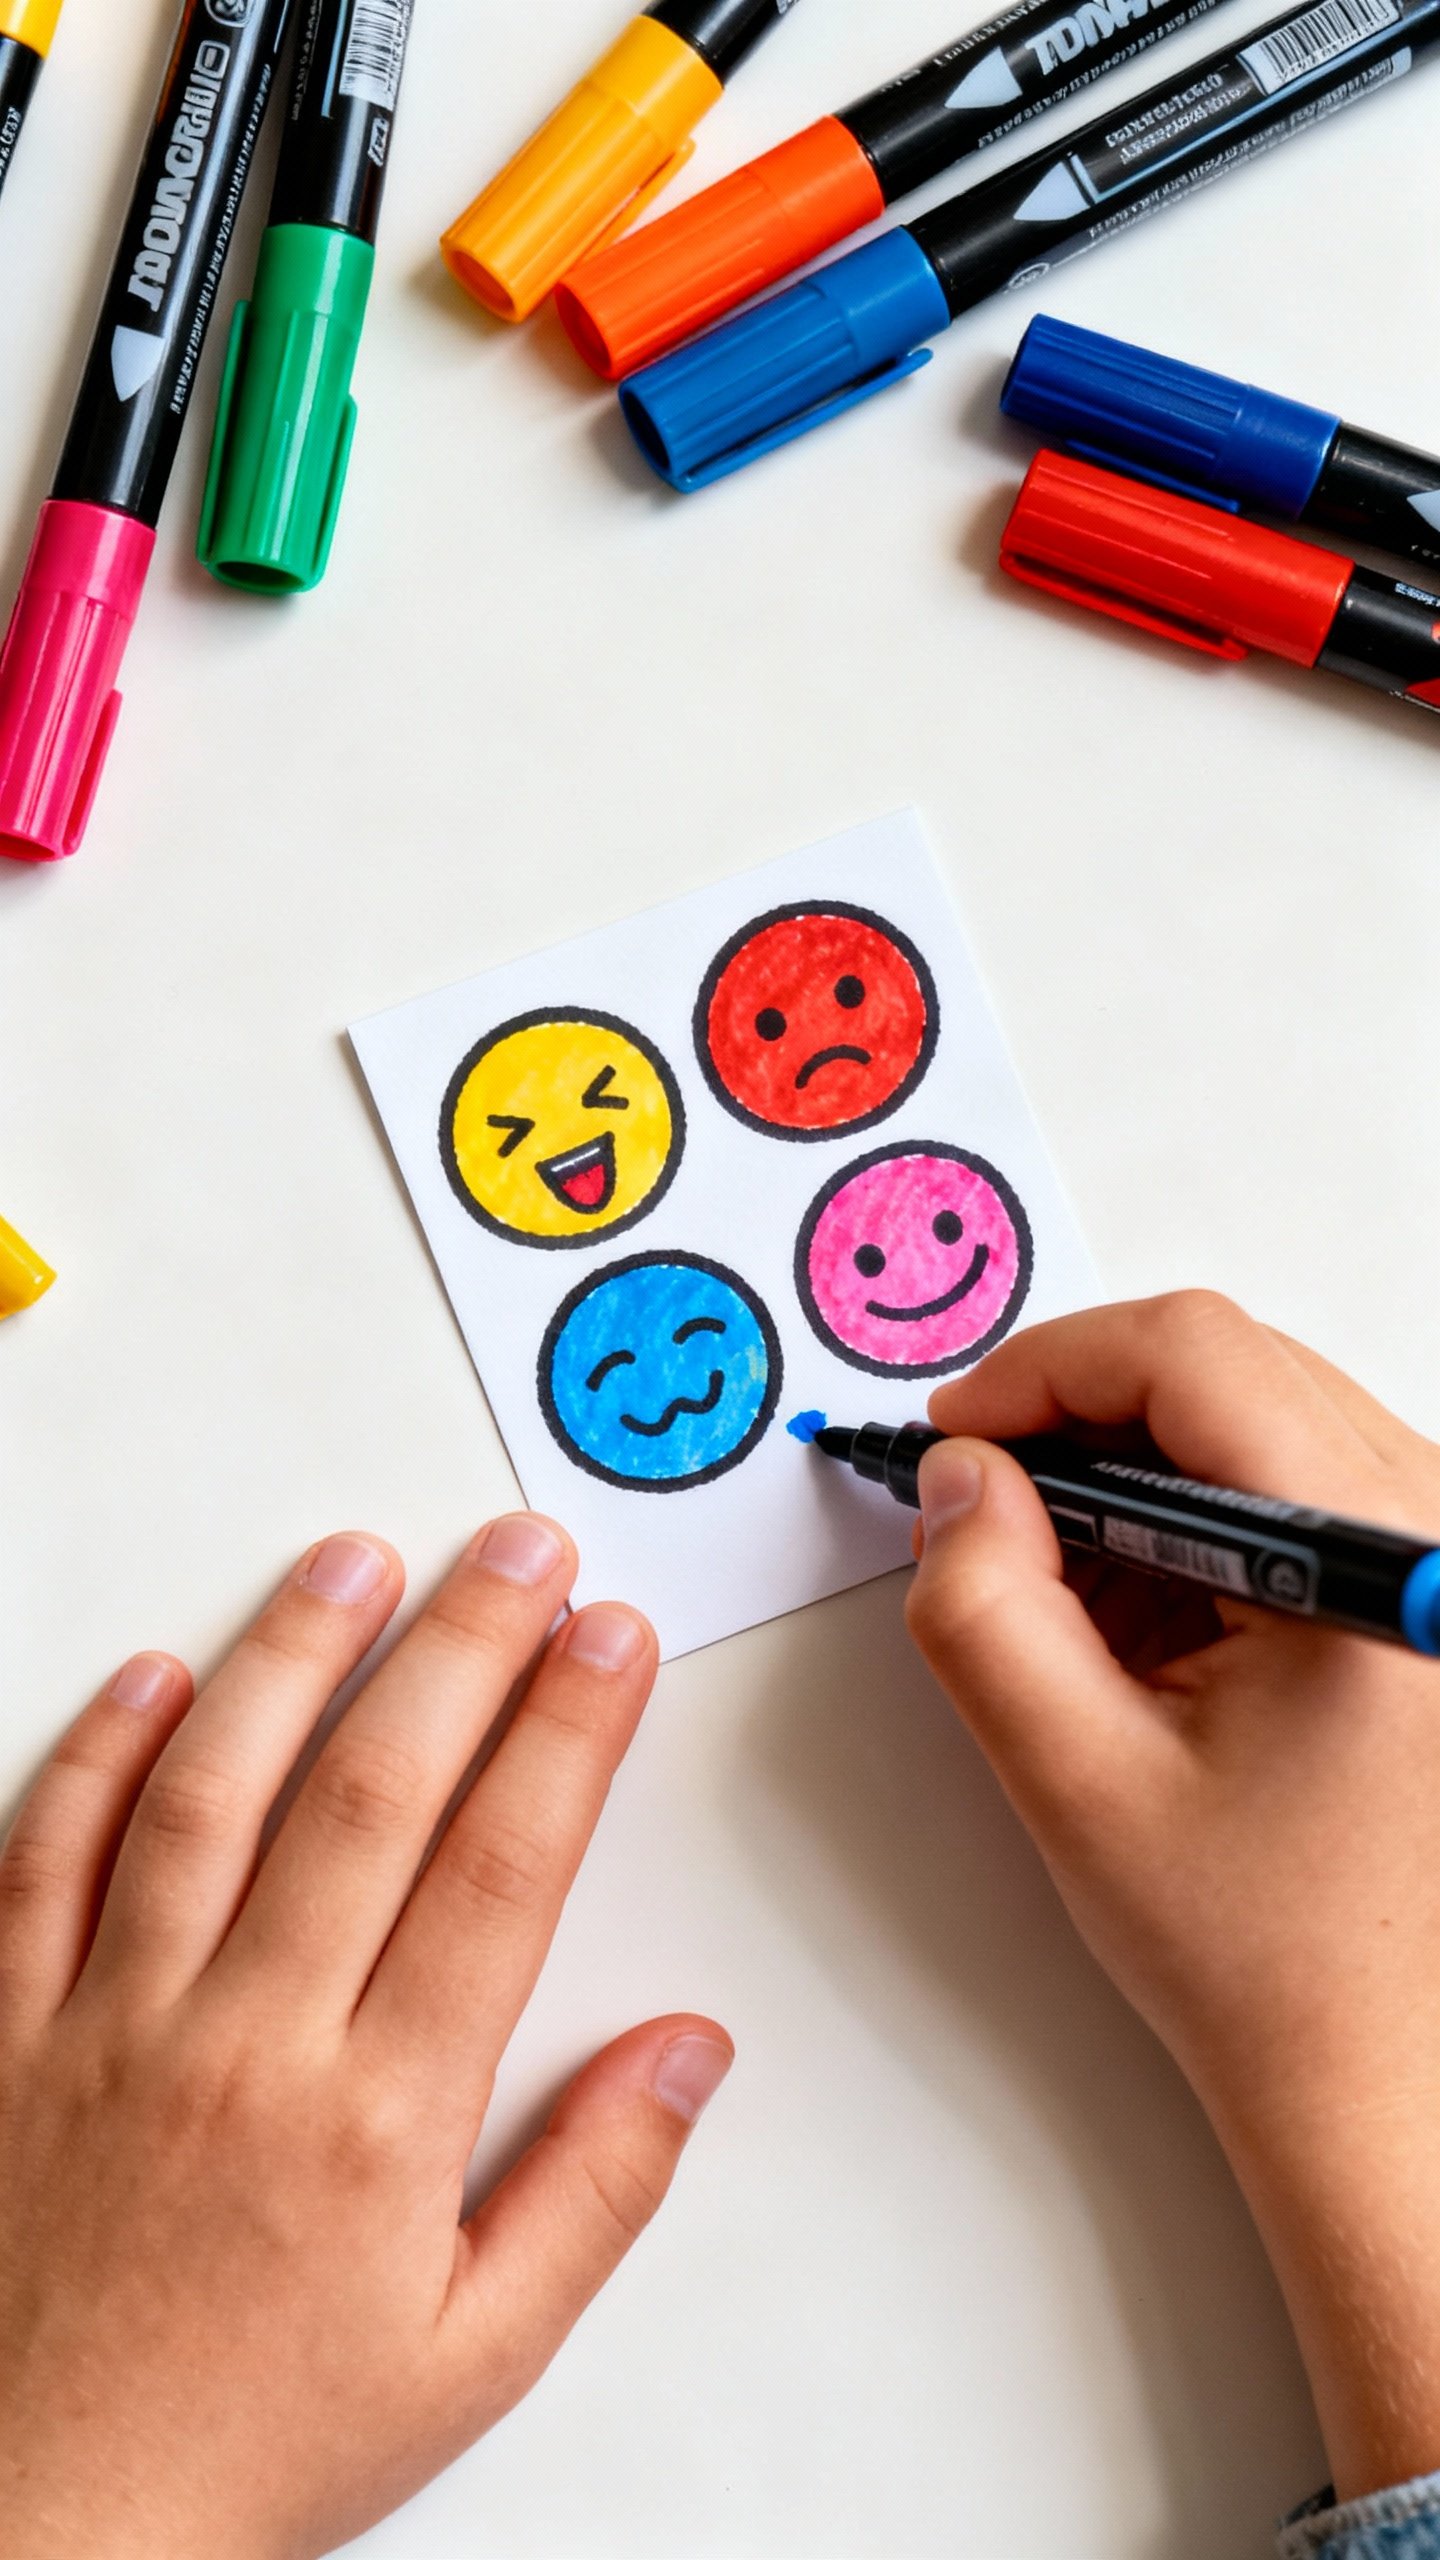
How to Make Them: A Fast, No-Fuss Process
- Pick 6–8 feelings. Write them down so you stay focused.
- Draft faces in pencil. Big eyes, clear mouths, dramatic brows.
- Add color blocks to match the emotion vibe (red anger, blue sad, etc.).
- Write the emotion name in large, bold letters.
- On the back, add a prompt: “I feel ____ when…” and “When I feel ____, I can…”
- Protect the cards. Laminate or cover with clear packing tape. Not glamorous, totally durable.
- Bind or box them. Hole punch and ring, or a small tin/box labeled “Feelings.”
Make-It-Together Bonus
- Let your child draw the faces. Imperfect art = perfect buy-in.
- Snap photos of your child making faces and print them.
Kids love seeing themselves.
- Add a “silly card.” A ridiculous face resets tension and keeps things playful.
Teach Kids to Use the Cards (Without a Lecture)
Cards don’t help if they sit on a shelf. Build micro-routines so your child grabs them naturally.
Everyday Routines That Work
- Morning check-in: “Pick a card that matches how you feel.” You pick one too. Model it.
- After-school debrief: “Show me your day with two cards.” No interrogation needed.
- Before bed: “What was your strongest feeling today?”
In-the-Moment Coaching
- Name it to tame it: “Looks like frustrated.
Want the Frustrated card?”
- Pair with choices: On the back of each card, list 2–3 strategies.
- Use a calm space: Keep the deck in a cozy corner with a timer, fidgets, and books.
Pair Feelings With Coping Strategies
Emotion cards get powerful when you tie them to actions. Kids learn, “When I feel X, I can try Y.”
- Angry: Wall push-ups, volcano breaths, stomp-and-freeze game
- Sad: Hug a stuffed animal, draw rain clouds, listen to a calm song
- Scared: Five-count grounding (5 things you see…), hand-squeeze pattern
- Frustrated: Ask for help, take a water break, switch tasks for 3 minutes
- Anxious: Box breathing, positive mantra, “schedule the worry” for later
- Bored: Choice menu (read, build, draw, move), 10-minute challenge timer
FYI: Keep strategies short and doable. If it takes 12 steps, your kid will bail by step two.
Make It Inclusive and Real
Kids notice whose faces show up.
Include a variety of skin tones, hair types, and cultural cues. Your child deserves to see themselves and others represented.
Also, normalize mixed feelings. Two-card combos help kids say, “I feel excited and nervous.” Because yeah, feelings stack.
Life’s weird like that.
Troubleshooting: When Your Kid Ignores the Cards
- Make them together. Ownership turns “your tool” into “our tool.”
- Use humor. Try a “meme face” card or a cartoon animal set.
- Keep them visible. If the deck lives in a drawer, it’s dead to everyone.
- Model often. Adults pick cards too. Kids copy what they see.
- Start during calm moments. New skills don’t stick mid-meltdown, IMO.
Extend the Play: Games and Activities
- Emotion charades: Draw a card, act it out, guess the feeling.
- Story builder: Pick three cards and tell a mini-story that uses all three.
- Match the moment: After a show or book, pause and pick cards for what characters felt.
- Feelings scavenger hunt: “Find something that makes you feel calm/excited.”
FAQs
Q: What age can I start using emotion cards?
Start as early as 2–3 with simple faces and a few core feelings. For older kids, add nuance and coping steps.
Teens won’t admit it, but they’ll use them too if you keep the design sleek and not babyish.
Q: My child has language delays. Will these still help?
Yes. Use real photos, fewer words, and clear icons.
Add sign language or gesture cues. You can also pair cards with a speech device or a picture exchange system.
Q: How many cards should I make total?
Start with 6–8. Grow to 16–20 as your child learns.
Too many at once overwhelms; think quality over quantity.
Q: Do I need to laminate them?
Short answer: please. Kids are basically tiny hurricanes with peanut butter hands. Lamination or clear tape keeps your masterpiece alive.
Q: What if my child picks the “wrong” feeling?
There’s no wrong feeling.
Validate first, ask curious questions, and offer combos: “Could it be angry and disappointed?” The goal is building awareness, not a pop quiz.
Q: Can I use emojis?
Sure, but choose ones with clear expressions. Some emojis look vague or sarcastic. Test them with your kid first.
Conclusion
Emotion cards give kids a simple way to say big things.
Make them personal, keep them playful, and use them daily in quick check-ins. You’ll get fewer meltdowns, more words, and better connection. And honestly?
Crafting them together might be the sweetest part.
Explore More on FreeKidsHub
Jump into your favorite category for easy printables, fun activities, and family-friendly ideas — all in one place.
Tip: Add this block to the end of every post for stronger internal links ✨