
You can buy tracing worksheets by the stack, but why not make your own in minutes? You’ll tailor them to your kid’s interests, hit the exact skills they need, and avoid the boring stuff. Plus, it’s fun—like low-stress arts and crafts with actual learning baked in.
Ready to turn blank paper into a tiny skill-building machine?
Why Create Your Own Tracing Worksheets?

You know your kid best. You can match the worksheet to their current skill level—big loops for beginners, tighter curves for kids who need a challenge. You’ll also make it personal.
Dinosaurs? Trucks? Unicorns?
Yes to all.
Custom worksheets also build confidence. Your child sees familiar words and shapes, and suddenly tracing doesn’t feel like “work.” FYI, you’ll save money and paper since you’ll only print what you’ll actually use. Win-win.
What Skills Can Tracing Build?
Tracing looks simple, but it hits a bunch of skills at once.
Fine motor control, hand strength, and hand-eye coordination all get a workout. You also set the stage for writing and reading—without pressure.
- Pre-writing strokes: Lines, curves, circles, zigzags, waves
- Letter and number formation: Capitals first, then lowercase
- Shape recognition: Circles, squares, triangles, stars
- Vocabulary and phonics: Trace-and-say words and sounds
- Directional awareness: Left-to-right, top-to-bottom
Plan Your Worksheet Like a Pro (Without Overthinking It)
Keep it simple and intentional. One page = one focus.
If your child struggles with circles, don’t mix in triangles, letters, and mazes. Choose one skill per page and let them feel successful.
Pick a Theme
Themes keep kids engaged. IMO, match the theme to what they’re obsessed with this week.
Dinosaurs, outer space, bakery treats—anything goes.
- Animals: Trace paw prints, tails, and simple silhouettes
- Vehicles: Straight roads, curved tracks, helicopter blades
- Nature: Raindrops, leaves, clouds, waves
- Alphabet worlds: A page per letter with related pictures
Set Difficulty
- Beginner: Big shapes, thick dotted lines, short paths
- Intermediate: Medium shapes, thinner dashes, gentle curves
- Advanced: Smaller shapes, light dots, multi-step paths and mazes
Tools You Can Use (From Fancy to Free)
Use what you have. You don’t need design software. You can build beautiful worksheets with a phone, a printer, and a pencil.
But if you enjoy tech, go for it.
Digital Options
- Google Slides/Docs or PowerPoint: Add shapes, lines, and text. Adjust transparency to create dotted lines. Quick and beginner-friendly.
- Canva: Tons of kid-friendly fonts, shapes, and icons.
Use the “dashed line” border style or duplicate faint shapes for tracing.
- Drawing apps (Procreate, SketchBook): Great for freehand dotted lines and custom art. Use low-opacity layers for trace lines.
Low-Tech Options
- Tracing paper: Print an image and overlay tracing paper. Tape it down and boom—instant worksheet.
- Window method: Tape your reference image to a window, place paper on top, and trace lightly.
- DIY dots: Draw shapes lightly in pencil, then dot along the lines.
Old-school, but it works.

Build It Step-by-Step
Let’s map a simple workflow you can reuse for any worksheet. No design degree needed.
- Choose a skill and theme. Example: Curved lines with a “rainbow” theme.
- Set the layout. Use landscape for mazes and paths, portrait for letters and shapes.
- Create traceable paths. Draw the line or shape, then convert it to a dotted or dashed path. Make it bold enough to see, light enough to invite tracing.
- Add clear start/end markers. Use a star for “start” and a circle or sticker for “finish.” Kids love finishing lines more than we love coffee.
Almost.
- Layer in visuals. Add 2–3 simple icons that match the theme. Don’t overcrowd the page.
- Include prompts. Short cues like “Trace 3 times” or “Say the sound /s/” helps structure practice.
- Print a test page. Check line thickness and spacing. Adjust if the lines look too faint or crowded.
For Letters and Numbers
- Use directional arrows. Tiny arrows show where to start and which way to go.
- Provide three versions: Big model, dotted version, then blank lines.
- Pair with visuals. “A is for apple” with a small apple outline to trace.
For Pre-Writing Strokes
- Sequence the shapes: Vertical lines, horizontal lines, curves, circles, zigzags.
- Vary spacing: Start with widely spaced strokes, then tighten gaps.
- Use patterns: Waves for the ocean, zigzags for mountains—story matters.
Make It Fun (Because Bored Kids Don’t Trace)
Turn worksheets into mini-missions.
Add stickers, stamps, or color-and-trace combos. Build momentum with tiny wins and praise like you mean it.
- Race the clock: “Can you trace three lines before the song ends?”
- Use color cues: Trace red first, then blue, then green.
- Stamp rewards: A star after each line. It’s simple, and it works.
- Laminate or use sheet protectors: Dry-erase markers mean infinite reuse.
FYI, kids love erasing almost as much as drawing.
Smart Adjustments for Different Ages
- Toddlers (2–3): Big arcs, wide paths, fat markers. Keep it short—like 2–3 minutes.
- Preschool (3–4): Shapes, simple letters, fun mazes. Mix in short words.
- Pre-K/Kinder (4–6): Lowercase letters, numbers with arrows, multi-step paths.
Common Mistakes (And Easy Fixes)
- Too much on one page: Fix it by cutting to 3–5 items.
White space helps focus.
- Lines too faint: Increase line weight or contrast. Kids won’t trace what they can’t see.
- No starting points: Add a star or dot at the start. Confusion = frustration.
- Jumping ahead: If circles flop, don’t push letters yet.
Go back to curves and loops.
- Forgetting posture and grip: Use short crayons or golf pencils. They nudge a better grip naturally.
Print, Organize, and Track Progress
Keep it tidy so you actually use your creations. A little structure goes a long way.
- Batch print: 5–10 sheets per theme or skill.
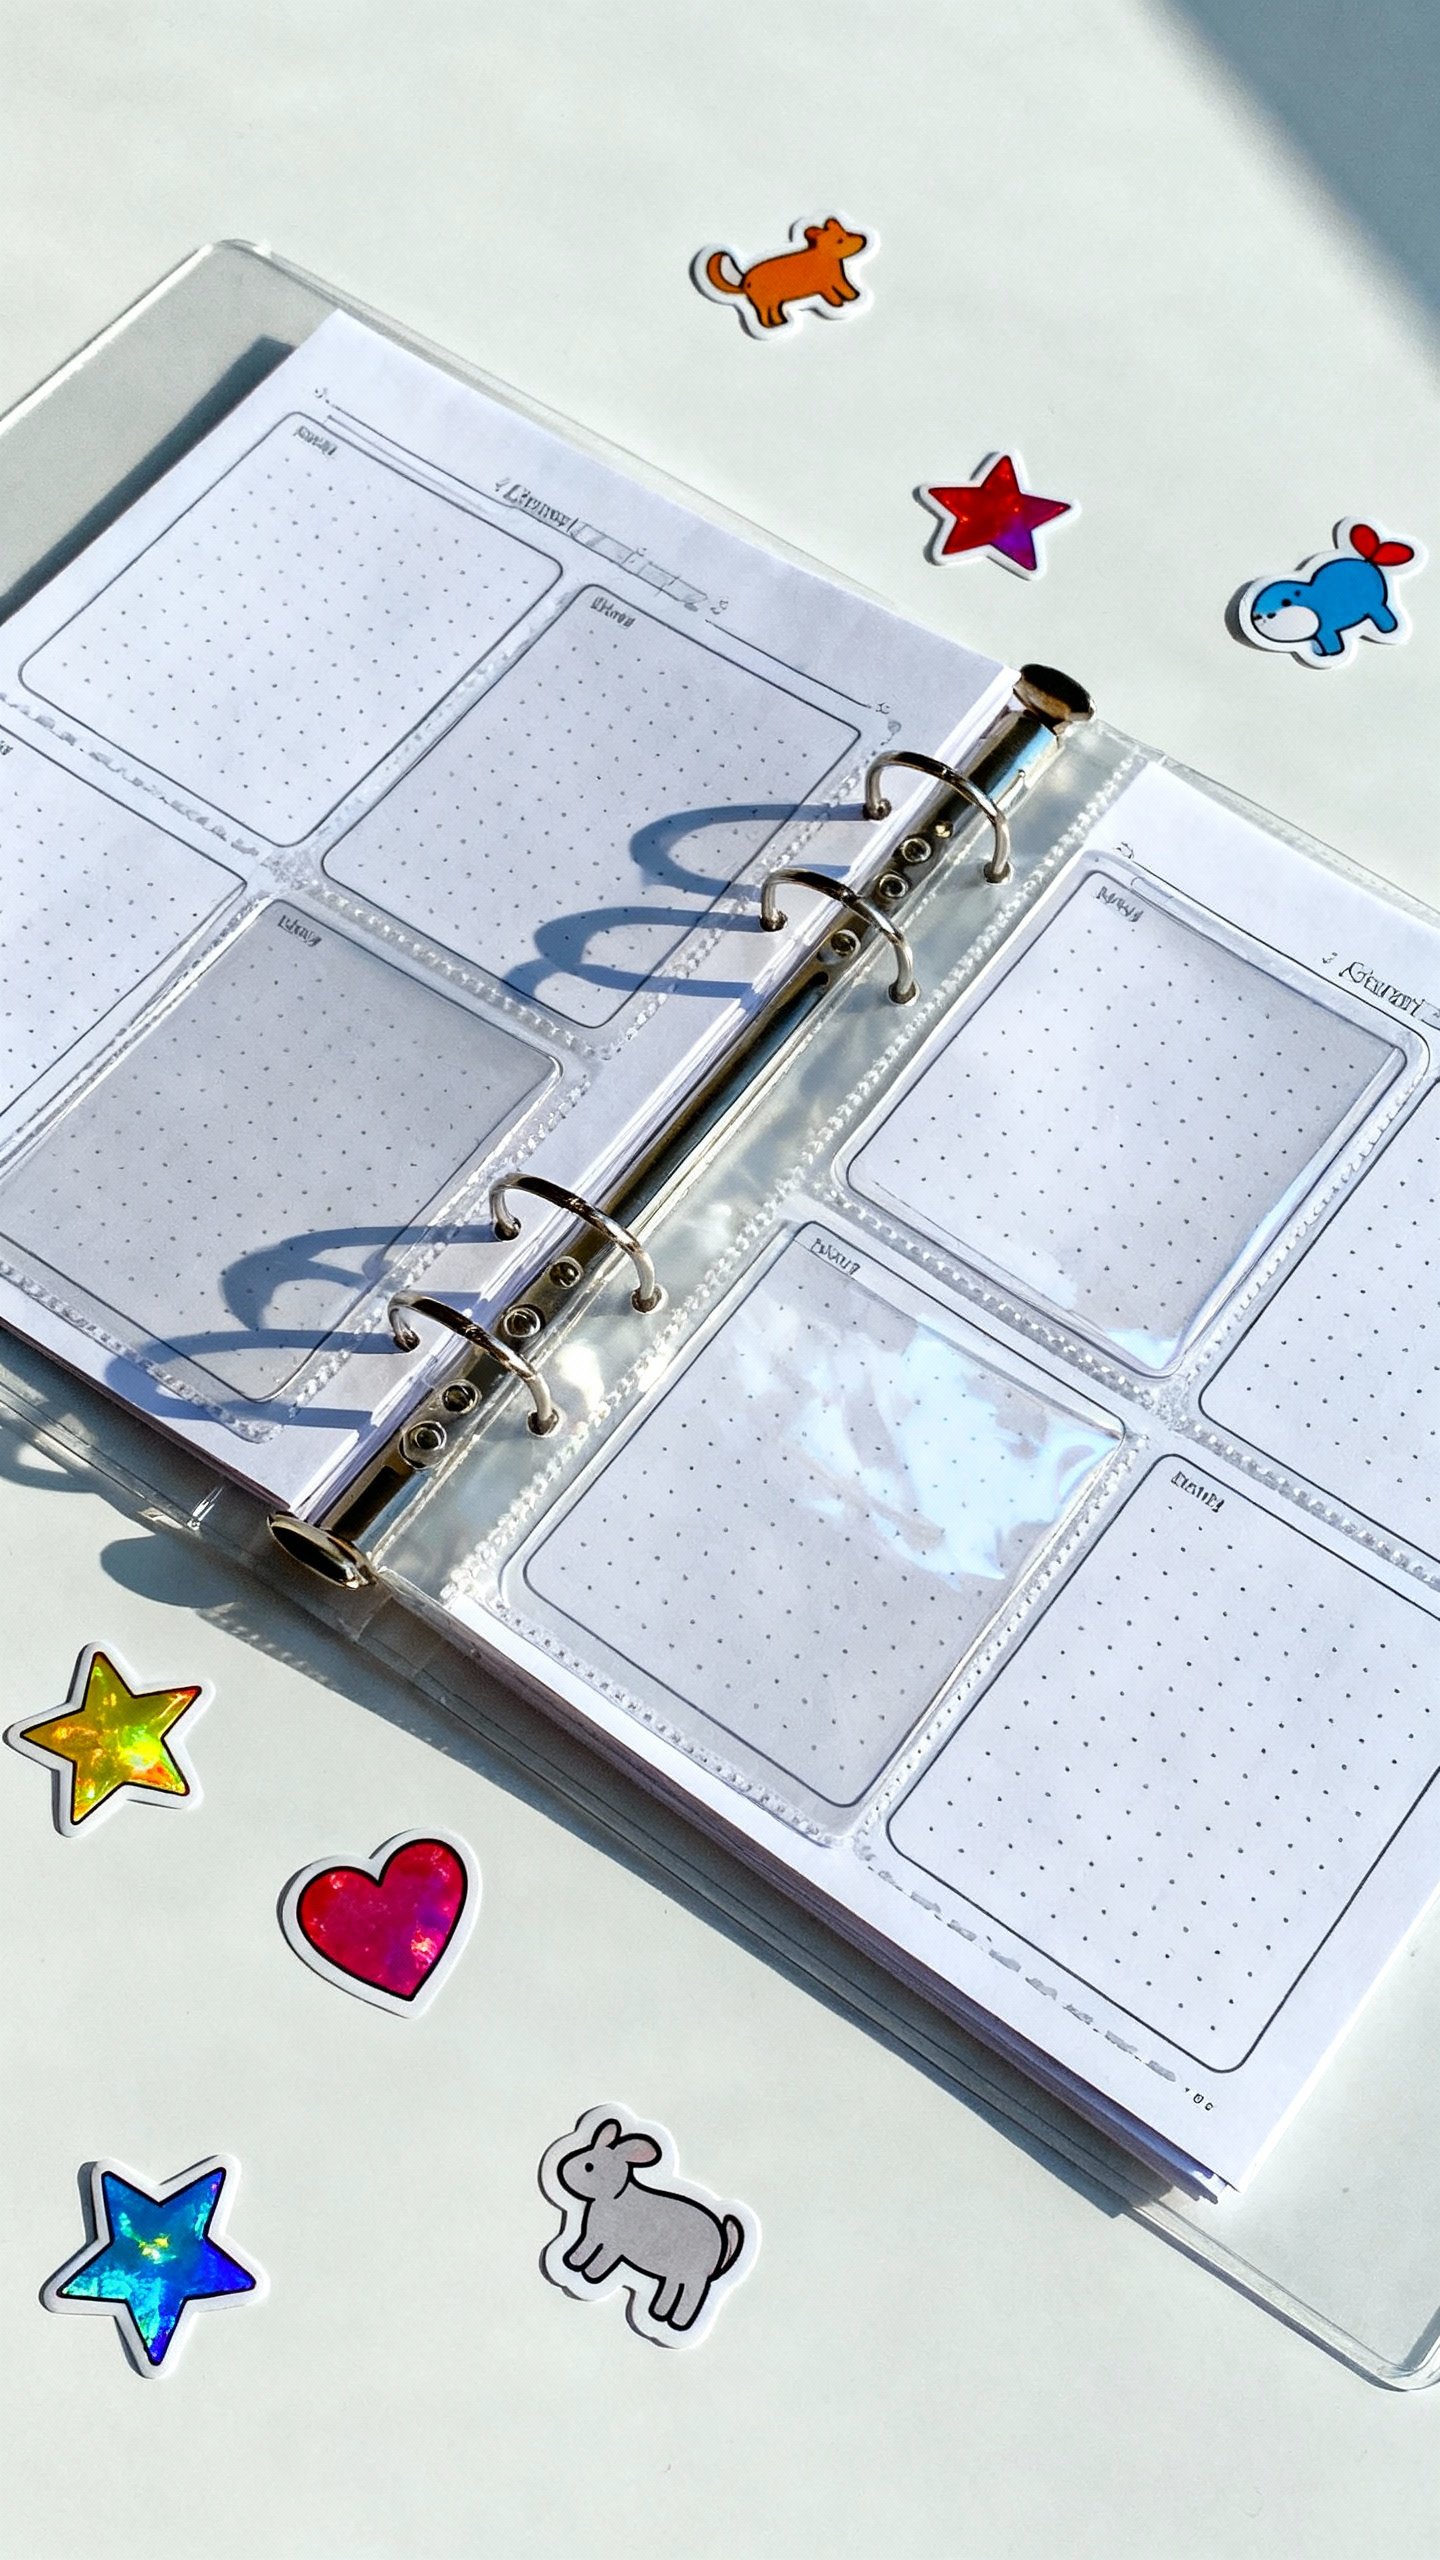
- Use a binder: Sort by skill level.
Slip pages into protectors for reuse.
- Track wins: Note what went well. Adjust difficulty next time.
- Rotate themes: Revisit the same skill with new art so it feels fresh.
FAQ
How often should kids practice tracing?
Short and frequent beats long and rare. Aim for 5–10 minutes, 3–5 times per week.
Keep it fun, stop before frustration hits, and you’ll see steady progress.
What’s better: markers, crayons, or pencils?
All three serve a purpose. Crayons build hand strength, pencils teach control, and markers feel rewarding because they glide. Rotate them.
IMO, short crayons or golf pencils encourage a better grip for little hands.
Should I teach uppercase or lowercase first?
Start with uppercase for many kids because the shapes are simpler and more consistent. Move to lowercase once they feel confident. Blend in the child’s name early because it feels meaningful.
How do I help if my child gets frustrated?
Lower the difficulty and switch to bigger shapes or thicker dotted lines.
Sit beside them, model one line, and celebrate small wins. A change of tool (like a scented marker) can work wonders, too.
Can I use images from the internet for my worksheets?
Yes, but check the usage rights. Look for royalty-free or Creative Commons images on sites like Openverse or Pixabay.
Or keep it original with simple shapes you draw yourself—kids don’t grade your art, promise.
What if my child skips the lines and scribbles everywhere?
They’re learning control. Offer “trace first, then color” or use paths with thicker borders. Narrow the challenge to one short line at a time, then build up.
Conclusion
Custom tracing worksheets turn practice into play.
You’ll target the exact skills your kid needs, use themes they love, and keep it simple and fun. Mix a little structure with a lot of encouragement, and you’ll see progress fast—without the eye rolls. Print a page, grab a marker, and start tracing your way to confident writing.
FYI: You’ve got this.
Explore More on FreeKidsHub
Jump into your favorite category for easy printables, fun activities, and family-friendly ideas — all in one place.
Tip: Add this block to the end of every post for stronger internal links ✨