You know those mornings when everyone’s sprinting around, socks go missing, and the dog somehow eats the homework? For many kids with special needs, that chaos hits harder. Visual schedules can turn that morning mayhem into “we’ve got this.” They make routines visible, predictable, and way less stressful—like turning life into a series of friendly, doable steps.
DIY visual schedules don’t need fancy apps or a Pinterest-level craft room. You can whip one up with paper, tape, and some printed pictures. Let’s build something your kid will actually want to use (and you’ll actually stick with).
Why Visual Schedules Work (And Why Your Kid Might Love Them)
Visuals reduce anxiety.
When kids can see what’s coming next, transitions hit softer. No more “what now?” panic.
Visuals support independence. Instead of asking you 19 times, your kid can check the schedule and move forward—magic.
Visuals nail executive function.
Planning, sequencing, time management—visuals help build these skills, step by step.
Visuals give language support. For kids who communicate differently, pictures do heavy lifting. FYI: even verbal kids benefit.
Pick a Format That Fits Your Kid (Not Instagram)
Different brains, different tools.
Choose a style your kid can use without you hovering like a helicopter.
- First-Then boards: Great for beginners and high-resistance moments. Example: “First teeth, then tablet.” Simple. Clear.
Effective.
- Strip schedules: A vertical strip with 3–7 steps. Perfect for mornings or after-school routines.
- Full day schedules: For older kids or school days. Break the day into blocks to avoid overwhelm.
- Choice boards: Offer options within a routine.
A little autonomy goes a long way, IMO.
- Digital schedules: Tablets or phones work well for teens or kids who love tech. Just watch for app rabbit holes.
Pro tip: Match visuals to your kid’s level
- Objects if pictures still feel abstract (e.g., a spoon for “snack”).
- Photos of your kid doing tasks—super concrete.
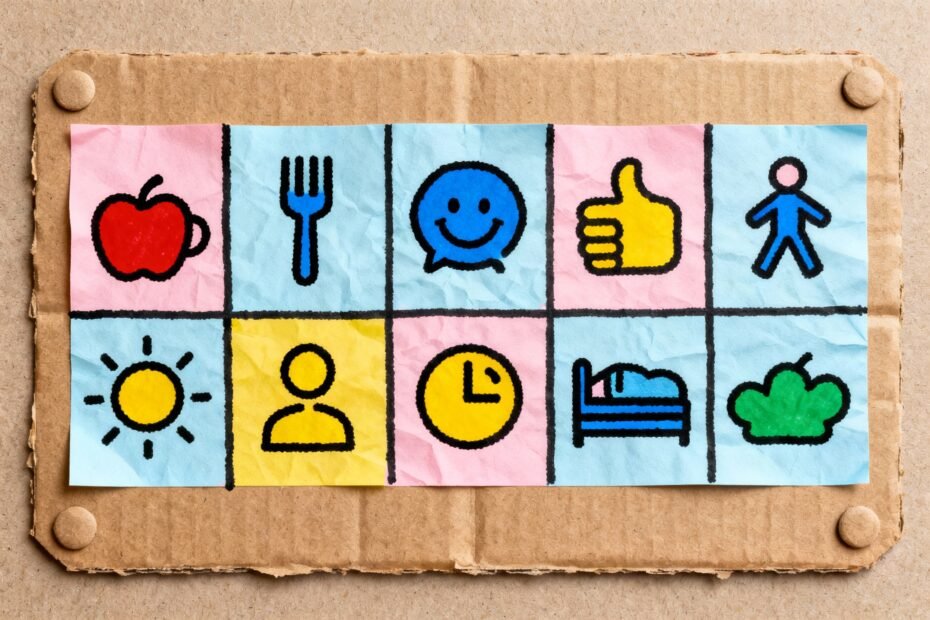
- Icons (Boardmaker, PECS, Noun Project) for clean, reusable visuals.
- Words for readers. Keep them short and consistent: “Brush teeth,” not “Brush your teeth now please honey.”
Your DIY Toolkit: Low Cost, High Impact
You don’t need a laminator, but… okay, I love a laminator.
It makes everything feel official. Here’s your starter kit:
- Base: cardstock, a clipboard, a binder, or a magnetic whiteboard.
- Visuals: printed pictures, photos, or hand-drawn icons (stick figures count).
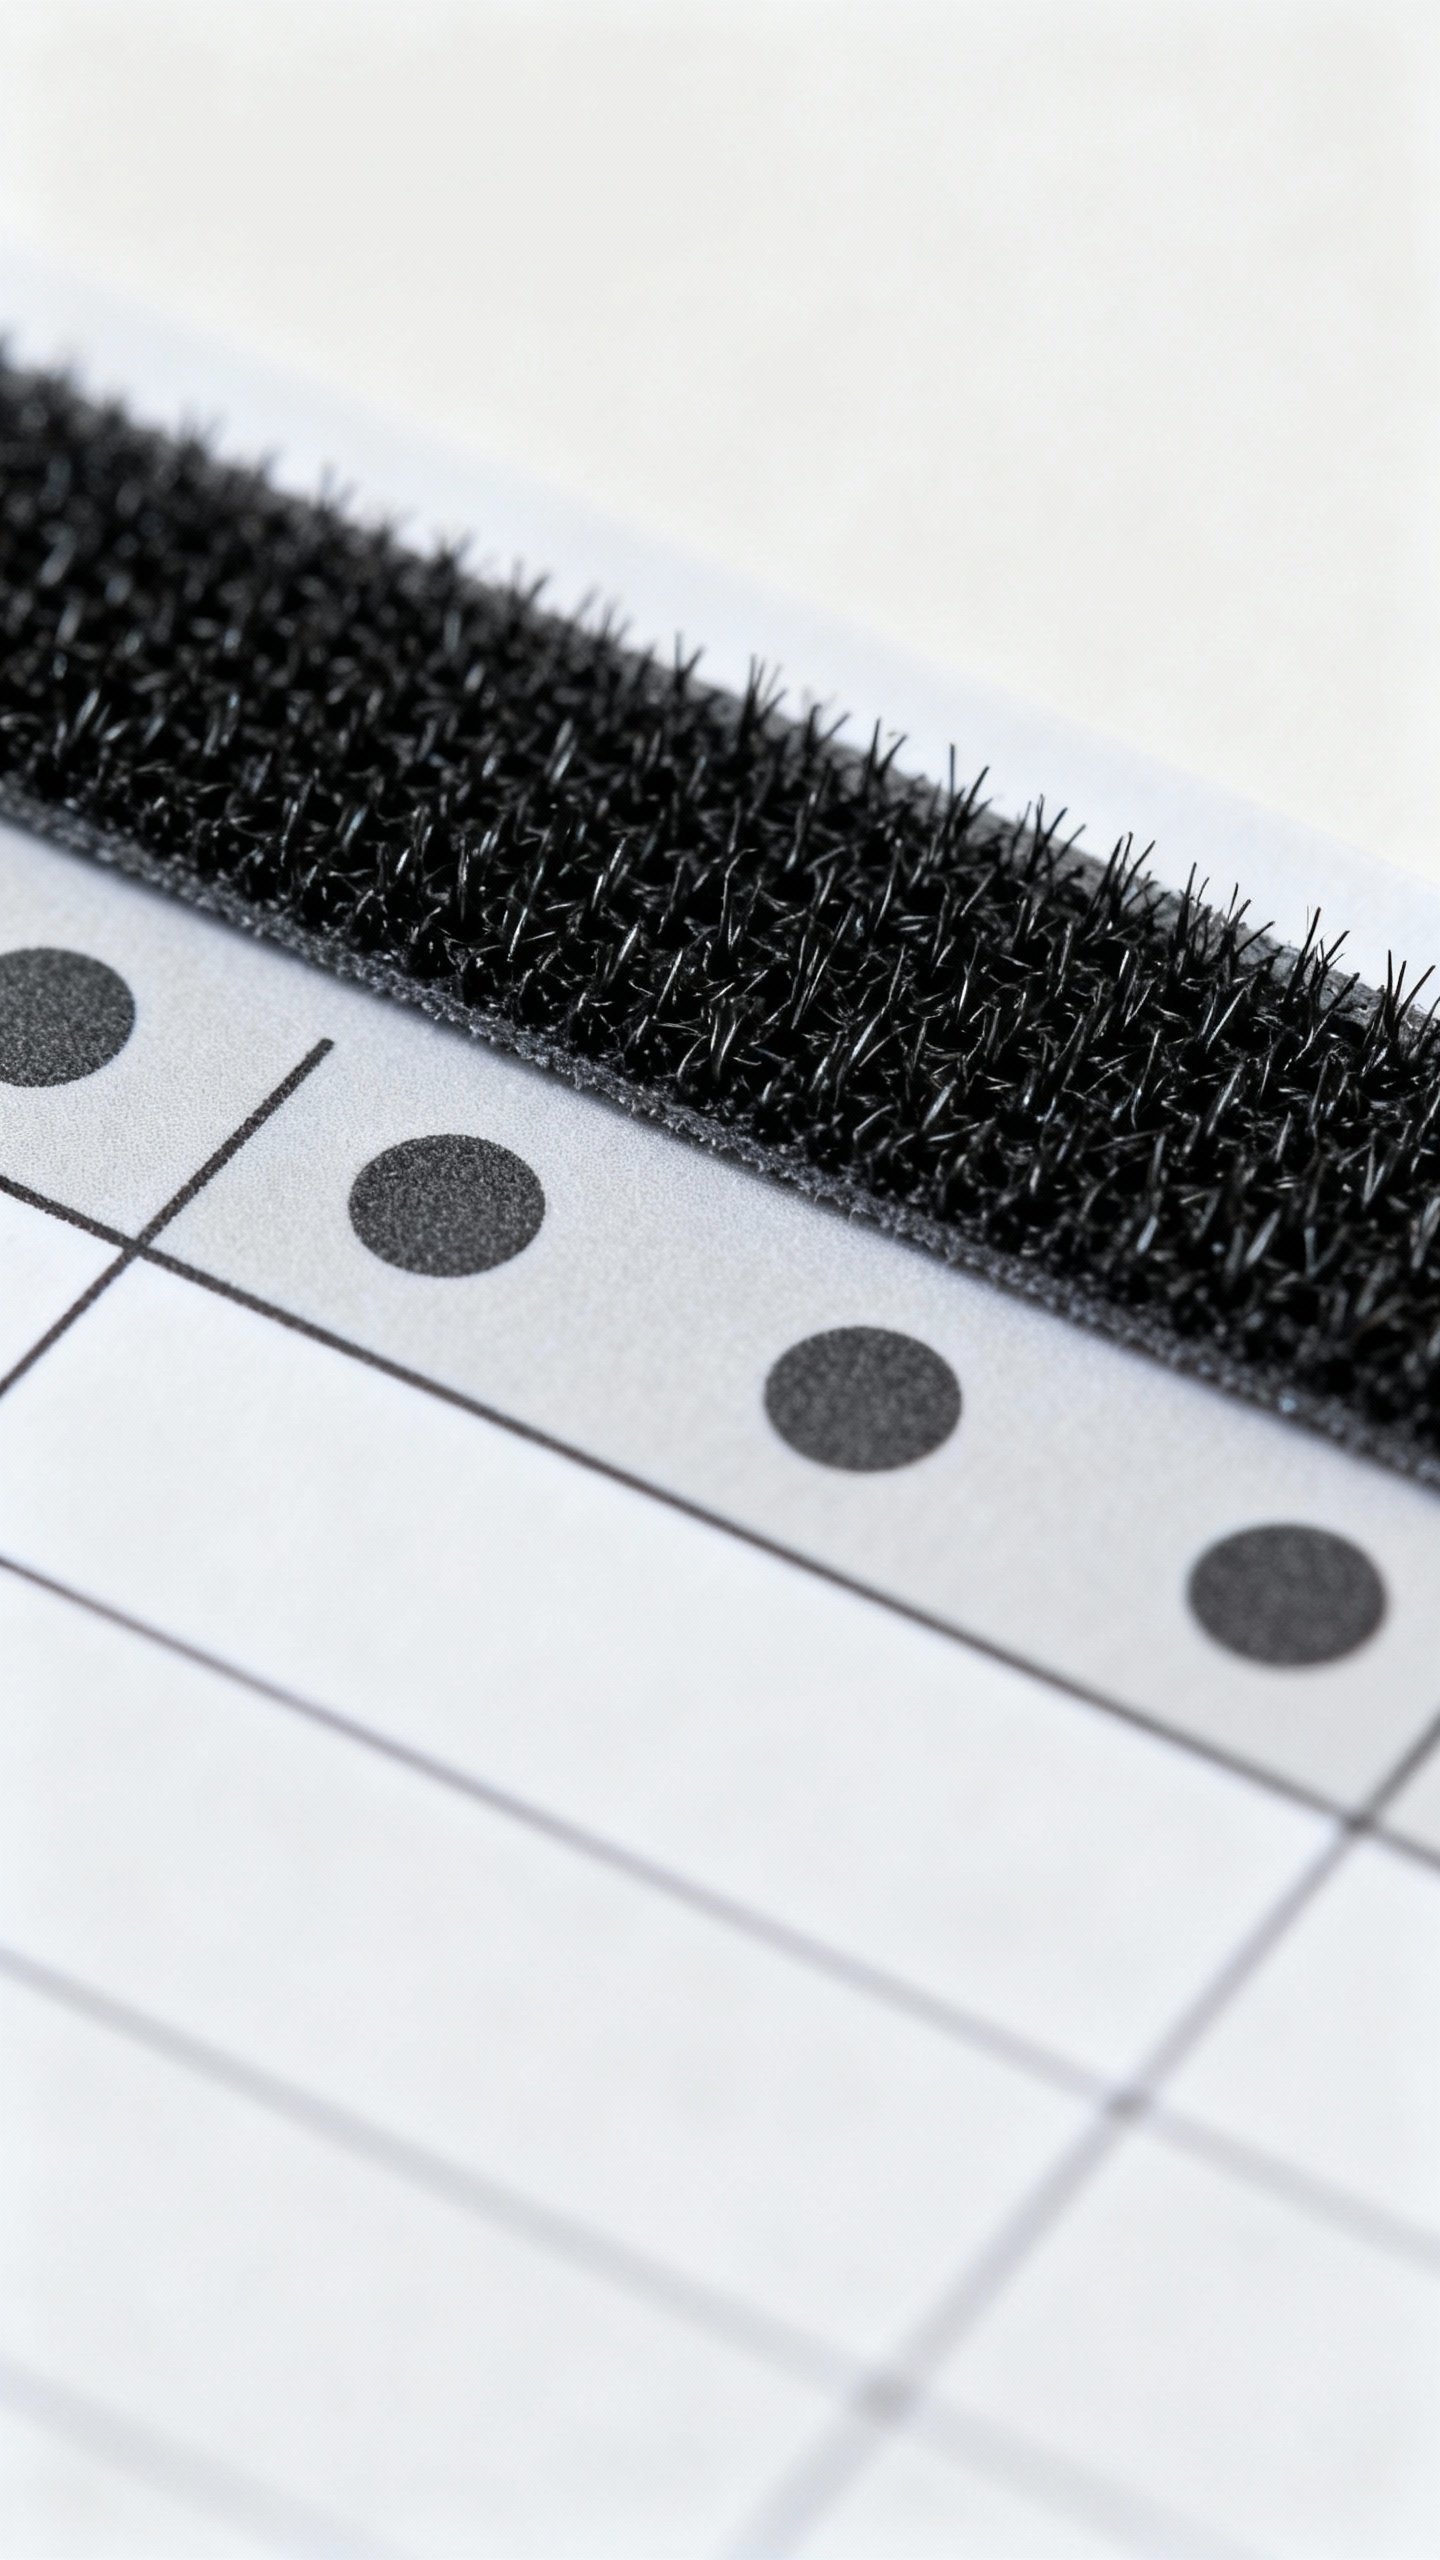
- Velcro dots: for easy rearranging. Velcro solves like half of parenting IMO.
- Dry-erase markers: for quick edits and checkmarks.
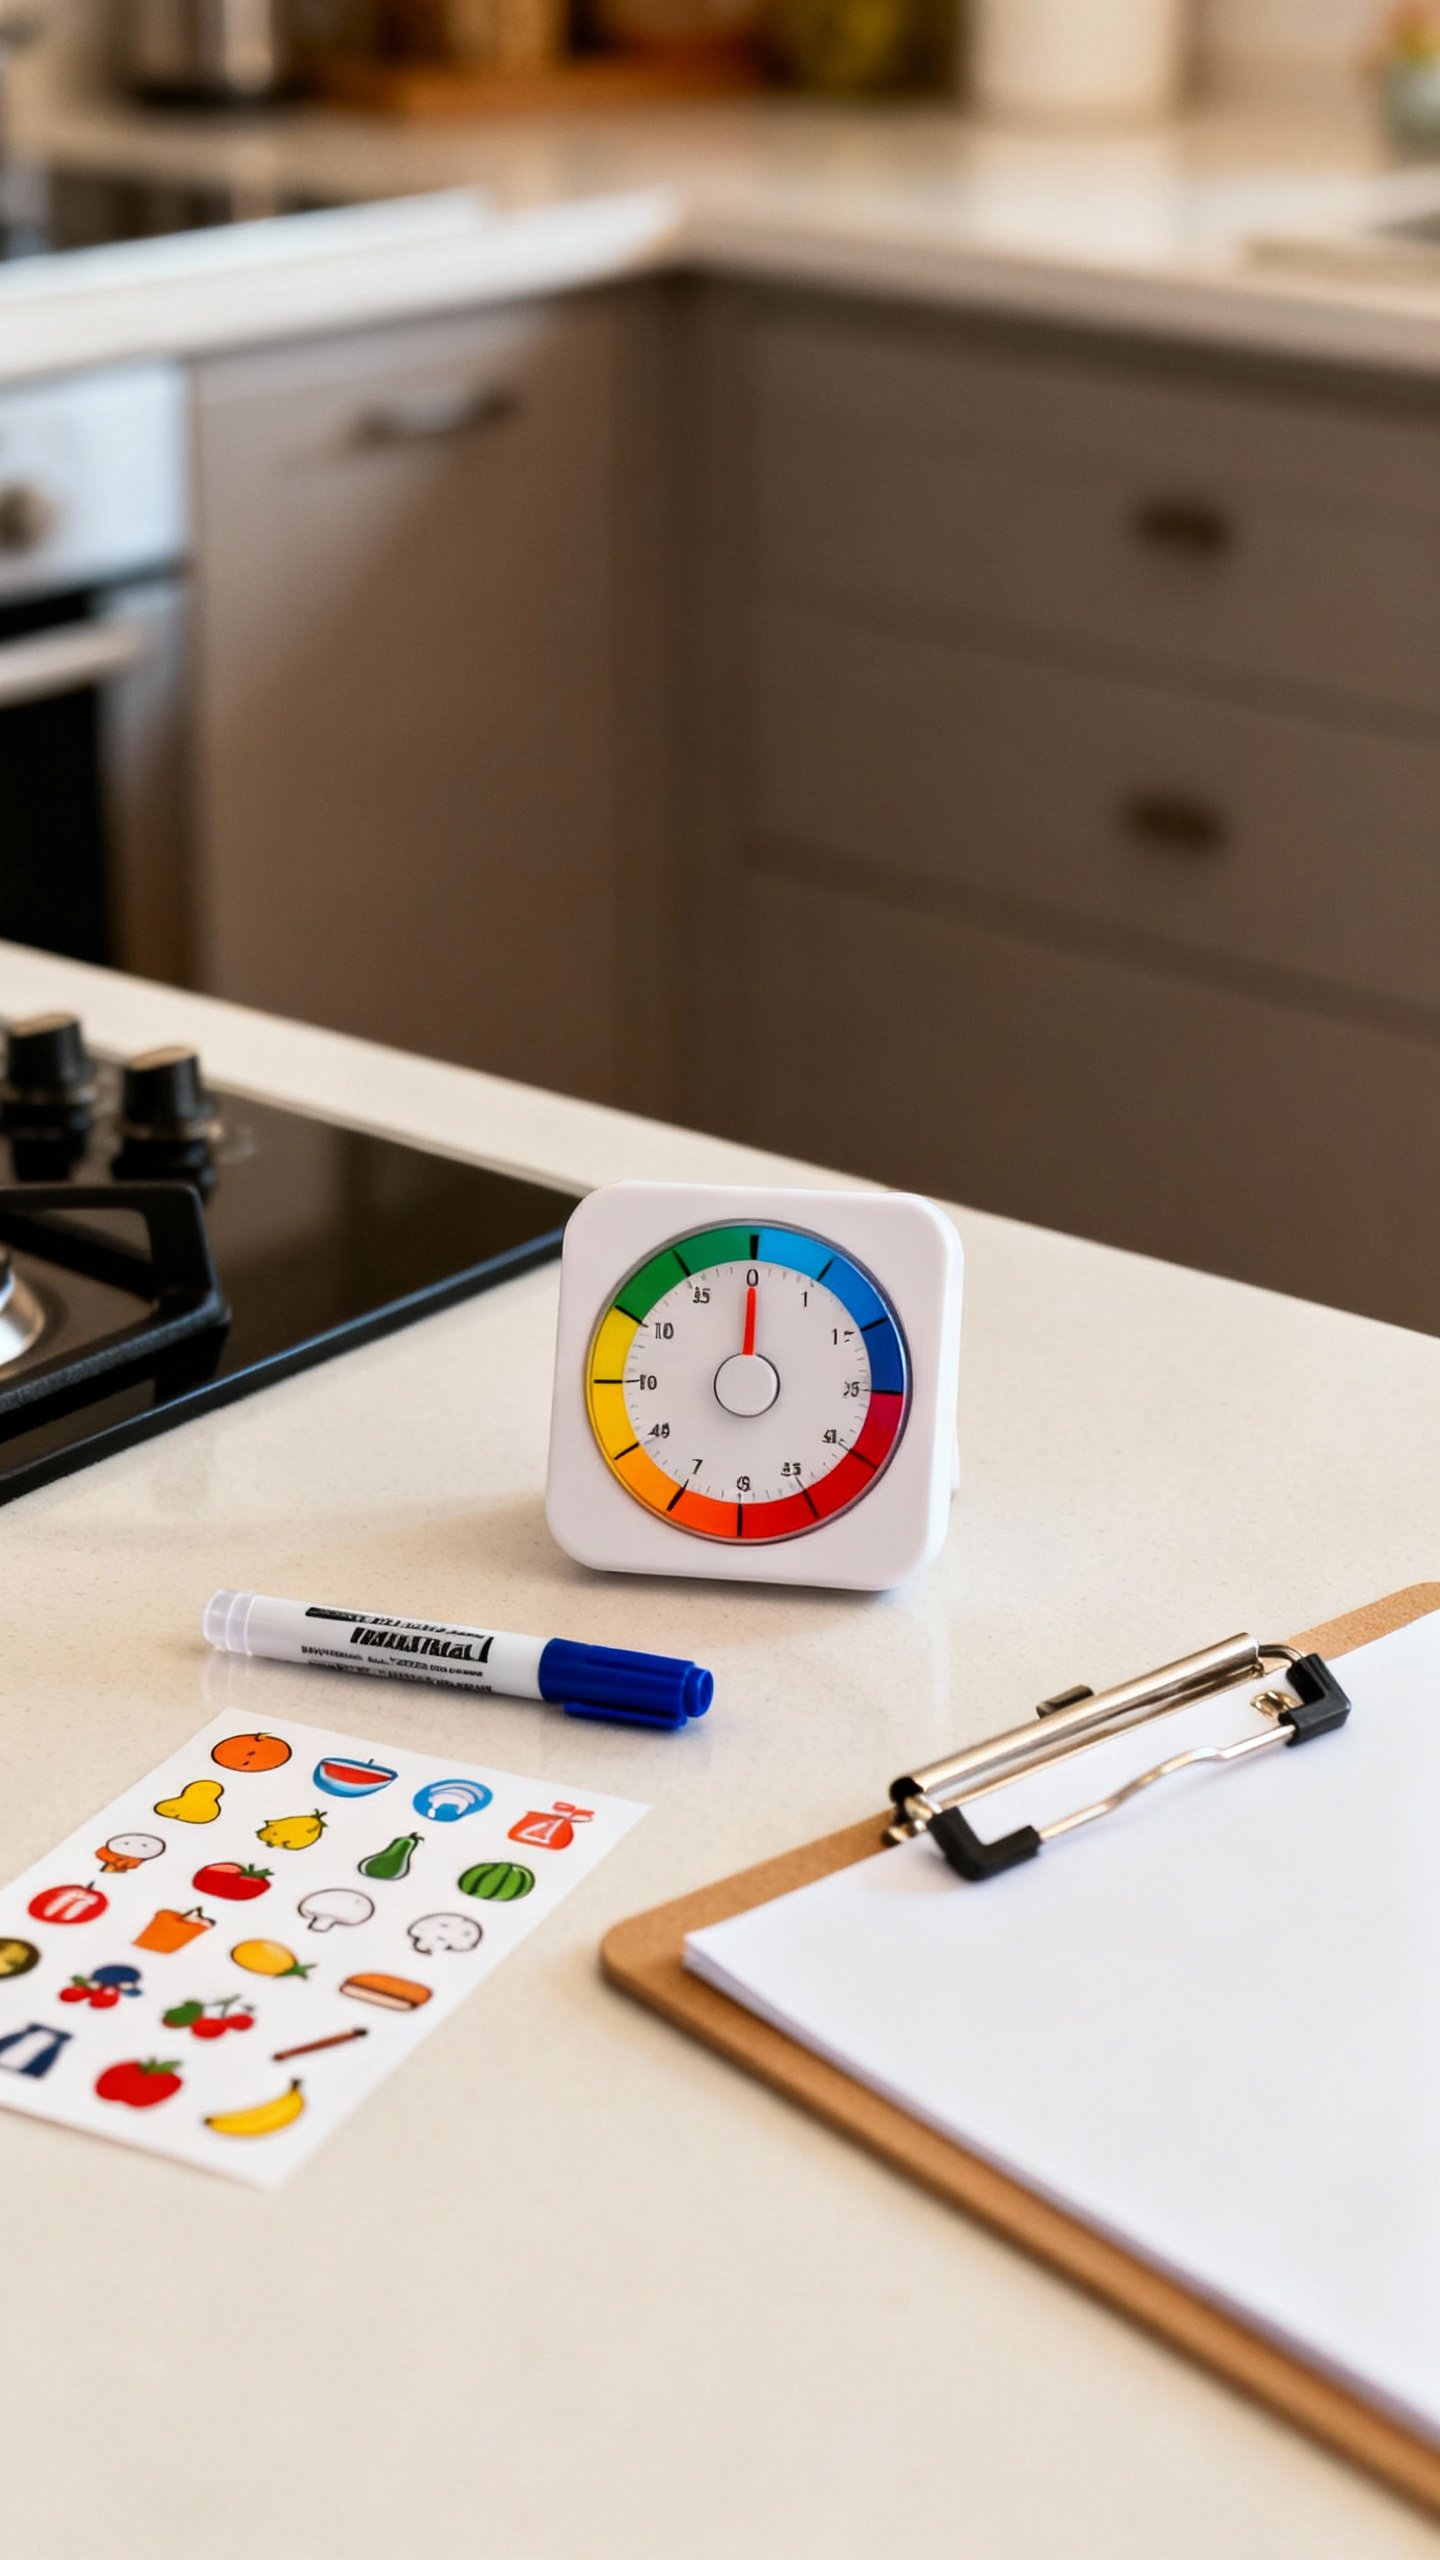
- Timers: visual timers or kitchen timers for transitions.
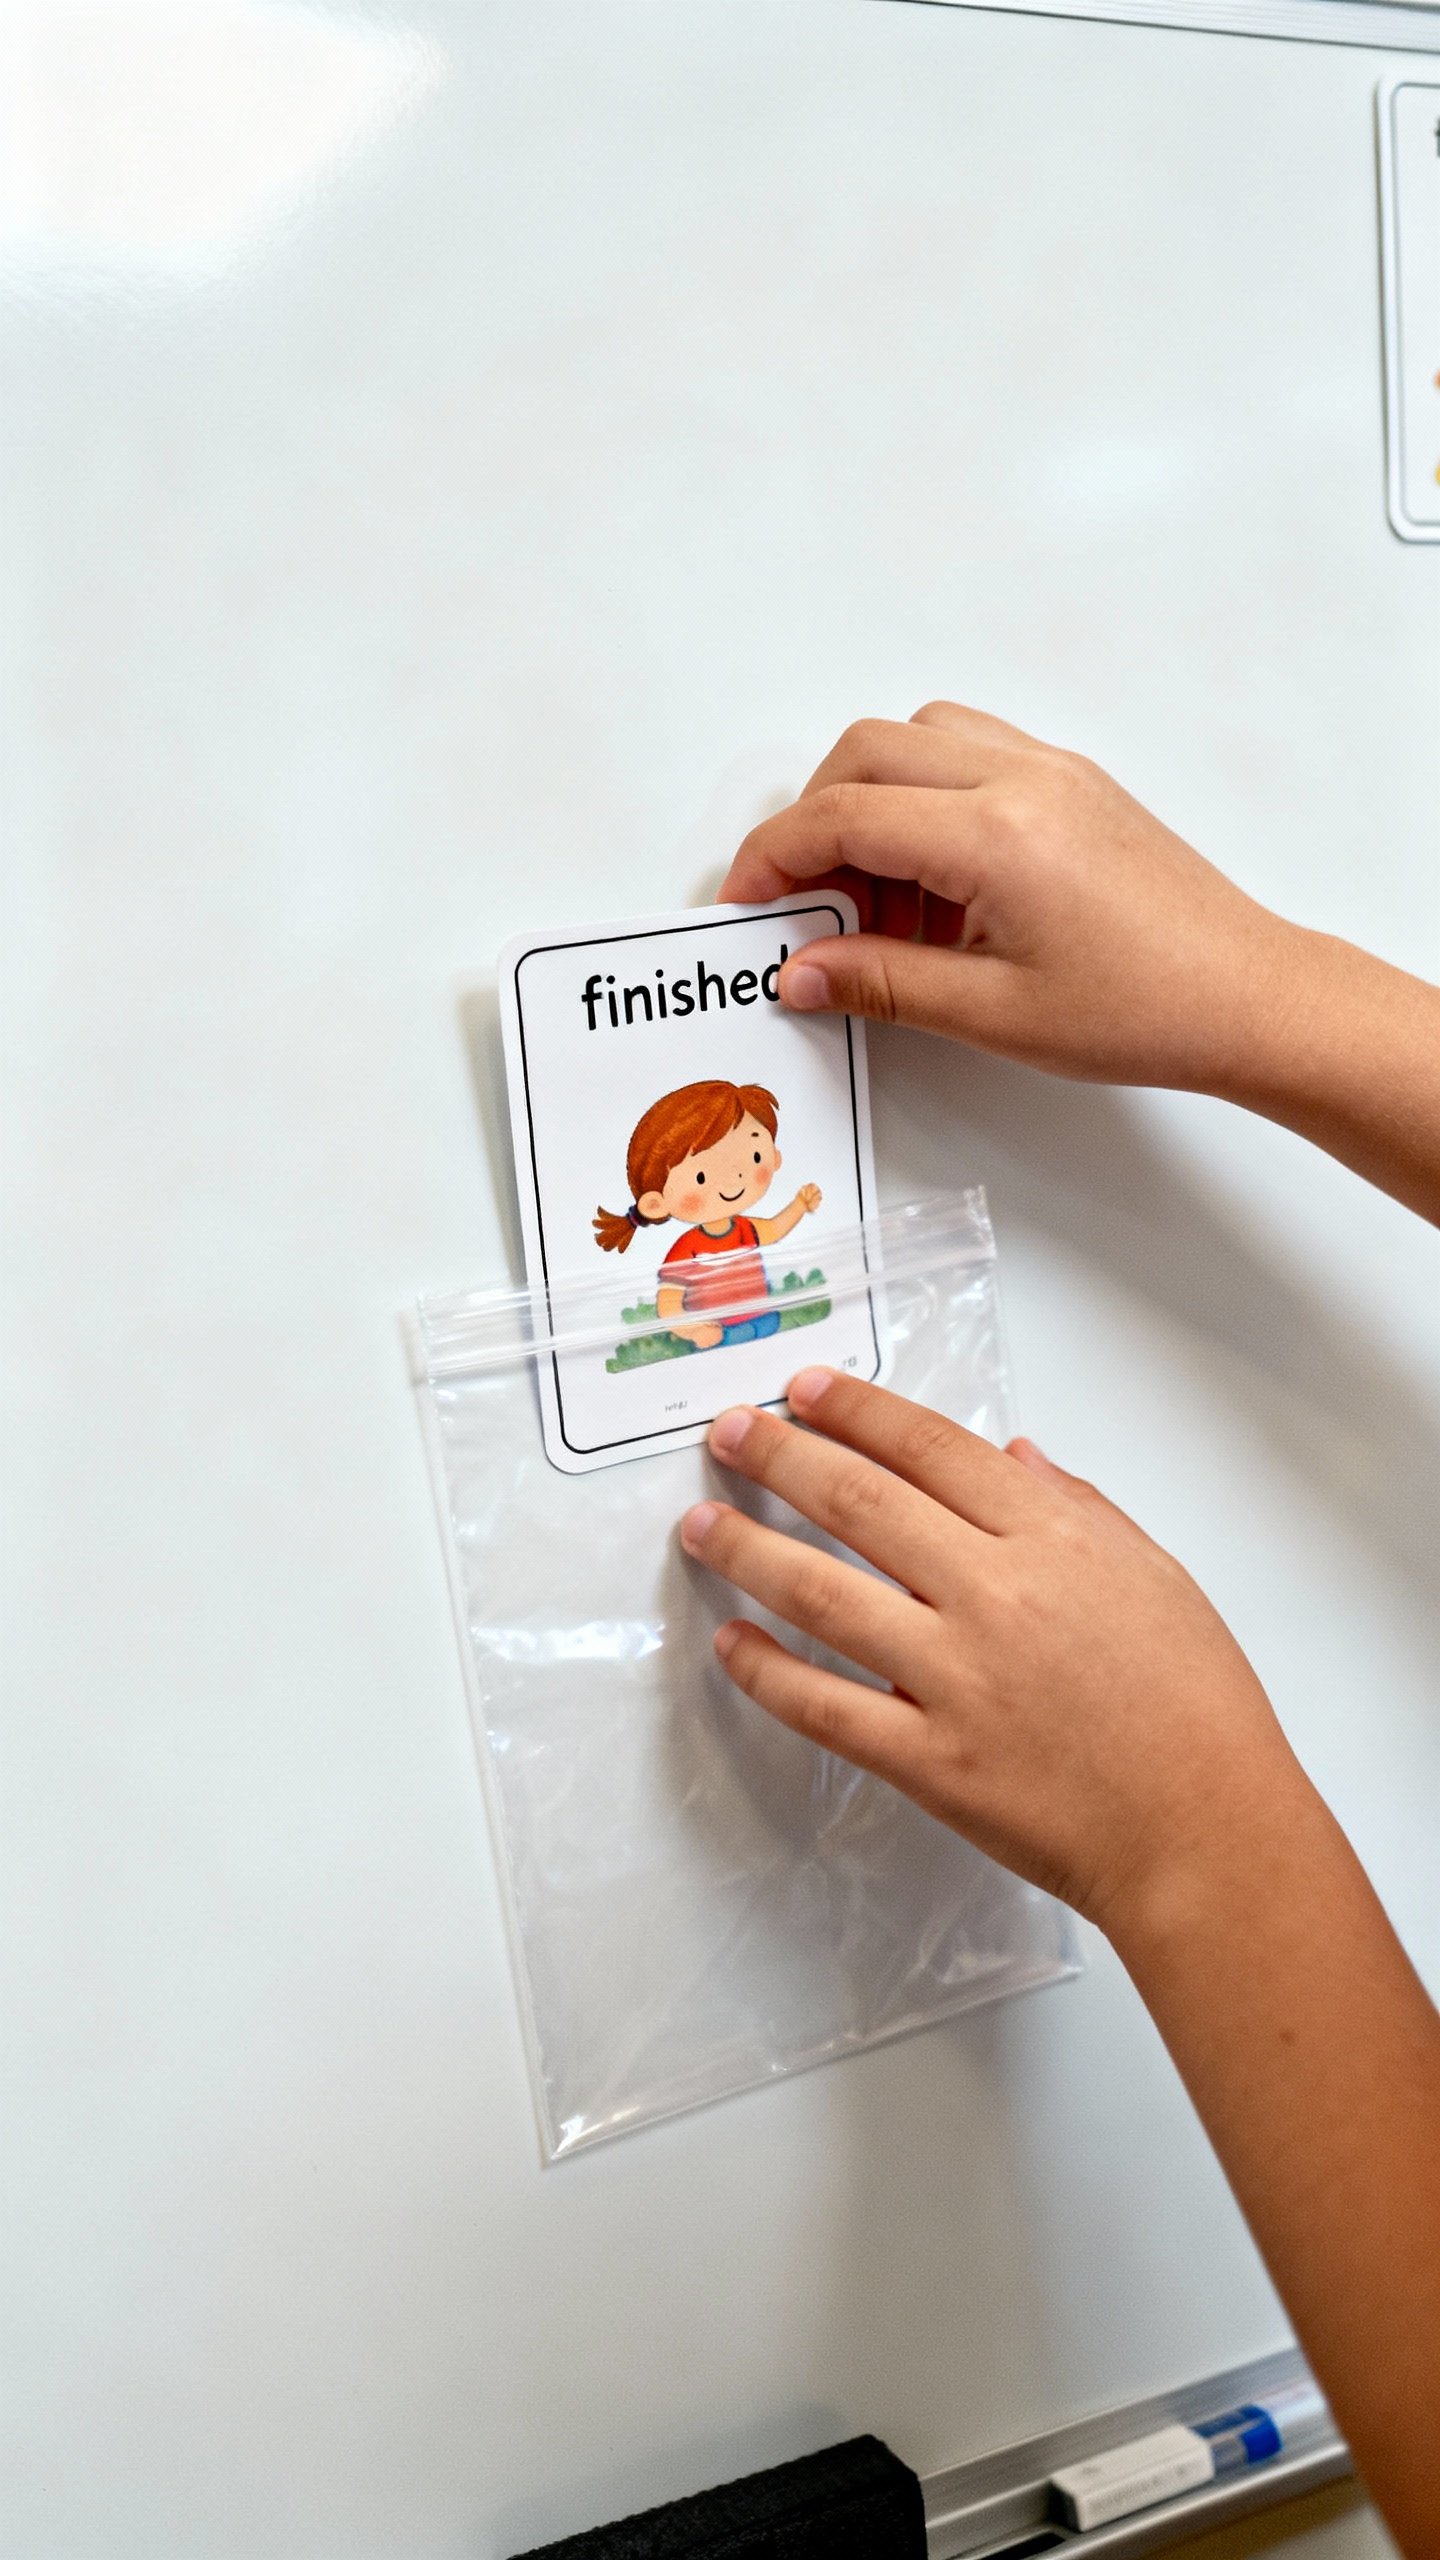
- Pouches or envelopes: for “finished” items and extras.
Where to find images fast
- Take photos on your phone of your kid doing the routine.
- Use free icon libraries like The Noun Project.
- Search “free PECS icons” or “visual schedule cards” for printable sets.
Build It: Step-by-Step (No Craft Degree Required)
- Choose the routine: Morning?
Homework time? Bedtime? Pick one to start.
Keep it small.
- List 3–7 steps max: Too many steps = meltdown city. Chunk big tasks (e.g., “Get dressed” becomes “Shirt,” “Pants,” “Socks”).
- Create visuals: Print, cut, and label. Use the same words every time.
Consistency beats creativity here.
- Mount the schedule: Arrange in order, top to bottom or left to right. Add a “Finished” pocket at the bottom.
- Test run: Do it together once or twice. Model how to move each finished step to the “Finished” area.
- Tweak: Adjust the order or visuals based on how your kid reacts.
Data beats vibes.
Sample morning routine (visuals in order)
- Toilet
- Brush teeth
- Get dressed
- Breakfast
- Shoes
- Backpack
- Bus/car
Make It Stick: How to Actually Use the Schedule
Beautiful schedules collect dust if no one uses them. Here’s how to keep it alive.
- Introduce it when calm: Not during a meltdown. Low stakes, clear vibe.
- Use simple language: “Check schedule.” “All done?
Move it.” Keep prompts short.
- Pair with a timer: “When the red is gone, we switch.” Visual timers beat nagging.
- Celebrate wins: High-fives, stickers, or a short preferred activity. Motivation matters.
- Fade help slowly: Move from hand-over-hand, to pointing, to a verbal cue, to independence.
Handling transitions without drama
- Use First-Then for tough switches: “First math, then swing.”
- Add micro-choices: “Shoes then hat, or hat then shoes?”
- Preview what stays the same: Kids love predictability: “First three steps are the same every day.”
Common Pitfalls (And Easy Fixes)
- Too many steps: Trim it. Keep only the essential moves.
- Vague language: Replace “Get ready” with clear steps like “Shoes” or “Water bottle.”
- Out of sight, out of mind: Put the schedule where your kid actually is—bathroom mirror, bedroom door, fridge.
- No flexibility: Life happens.
Build in a “Surprise” or “Change” card and practice it during calm moments.
- Forgetting to update: Keep extra cards handy. Swap daily as needed.
Tweak for Sensory Needs, Age, and Motivation
One size fits exactly no one. Customize like a pro.
- Sensory-friendly: Use matte paper, minimal colors, and clear fonts.
Add movement breaks between tasks.
- For younger kids: Use big images, a short strip, and lots of physical interaction (moving cards = satisfying).
- For older kids/teens: Try planners, whiteboards, or apps. Include time estimates and deadlines.
- For high-motivation: Tie the last step to a preferred activity. Yes, you can gamify brushing teeth—no shame.
Great app options (if you want digital)
- Visual schedule apps with timers and checklists.
- Simple to-do list apps with emoji and alarms.
- Calendar widgets for day planning with color-coding.
Keep it minimal.
If the app takes longer to set up than the routine itself, bail.
Teach the Skill, Not Just the Steps
Visuals help now. Skills last forever. Use the schedule to build independence.
- Ask, don’t tell: “What’s next?” instead of “Put on shoes.”
- Think aloud: “I finished breakfast, so I move the card.
Next is shoes.”
- Fade the visual: Over time, reduce steps or switch to a checklist. Graduation day is real, FYI.
FAQ
Do I need to laminate everything?
Nope. Laminating helps with durability, but sheet protectors or card stock work fine.
If your kid loves to chew, crumple, or dunk things, then yes, lamination will save your sanity.
How many steps should I include?
Start with 3–5 steps. Add more only if your child uses the schedule consistently and doesn’t look overwhelmed. Short and successful beats long and abandoned.
What if my child ignores the schedule?
Make it more engaging and concrete.
Use real photos, place it at eye level, and pair it with a small reward. Model how to use it. Also check if the steps are too hard—if so, break them down.
Can I use words only?
Yes for readers.
Keep text short and consistent. If attention drifts, pair the words with small icons or checkboxes. Many older kids like the clean look of word-only lists.
How do I handle changes in routine?
Use a “Change” card and practice on low-stress days.
Preview the change: “After snack, we go to the doctor.” Visual timers and a First-Then board help too.
Is this the same as PECS?
No. PECS is a structured communication system. Visual schedules support organization and transitions.
You can use PECS-style pictures in a visual schedule, but they serve a different purpose.
Conclusion
Visual schedules turn chaos into clarity, and they do it without endless nagging. Start small, keep it concrete, and tweak until it fits your kid’s brain like a comfy hoodie. You’ll build independence, reduce meltdowns, and maybe—just maybe—drink your coffee while it’s still hot.
IMO, that’s a parenting win.
Explore More on FreeKidsHub
Jump into your favorite category for easy printables, fun activities, and family-friendly ideas — all in one place.
Tip: Add this block to the end of every post for stronger internal links ✨