Let’s skip the fluff: early readers need sight words like your morning coffee needs caffeine. These high-frequency words pop up everywhere, and waiting for kids to “just catch on” turns reading time into a staring contest. The fix?
DIY sight word worksheets that you can whip up fast, customize on the fly, and actually make fun. Yes, fun. Stick with me and you’ll have a stack of engaging activities before your printer even warms up.
Why DIY Beats Downloaded Worksheets
Pre-made worksheets can help, but DIY lets you target exactly what your kid needs right now.
You can switch fonts, add favorite characters, and adjust difficulty without searching 20 different sites. Plus, you can build consistency into your practice.
Want themes? Go wild.
Pirates, pets, pizza—whatever keeps your kid engaged. When you control the content, you control the motivation. And IMO, motivation wins more reading battles than any perfect curriculum.
The Core List: Choose Your Sight Words
Let’s keep it simple.
Start with the usual suspects: the, and, is, it, to, a, I, you, in, of, said, was, he, she, we, me, my, go, no, so, do. Pull 10–15 words to focus on for the week. That’s enough variety without overwhelming your learner.
Rotate words every week or two.
Keep a small “sticky” list of troublemakers (looking at you, said and was) that you revisit until they click. FYI, mastery means instant recognition—no sounding out needed.
Build a Balanced Worksheet (Without Overthinking It)
A great DIY worksheet mixes repetition with novelty. Aim for 10–15 minutes of focus.
Use 5–7 activities that hit reading, writing, and saying the word. Here’s a simple structure you can repeat and remix.
1) Read It
- Tap and read: Show a row of sight words. Ask your child to tap each one and say it aloud.
- Find and circle: Mix target words with distractors and have them circle only the target words.
- Match words: Draw lines from words to identical words (exact matches build confidence fast).
2) Write It
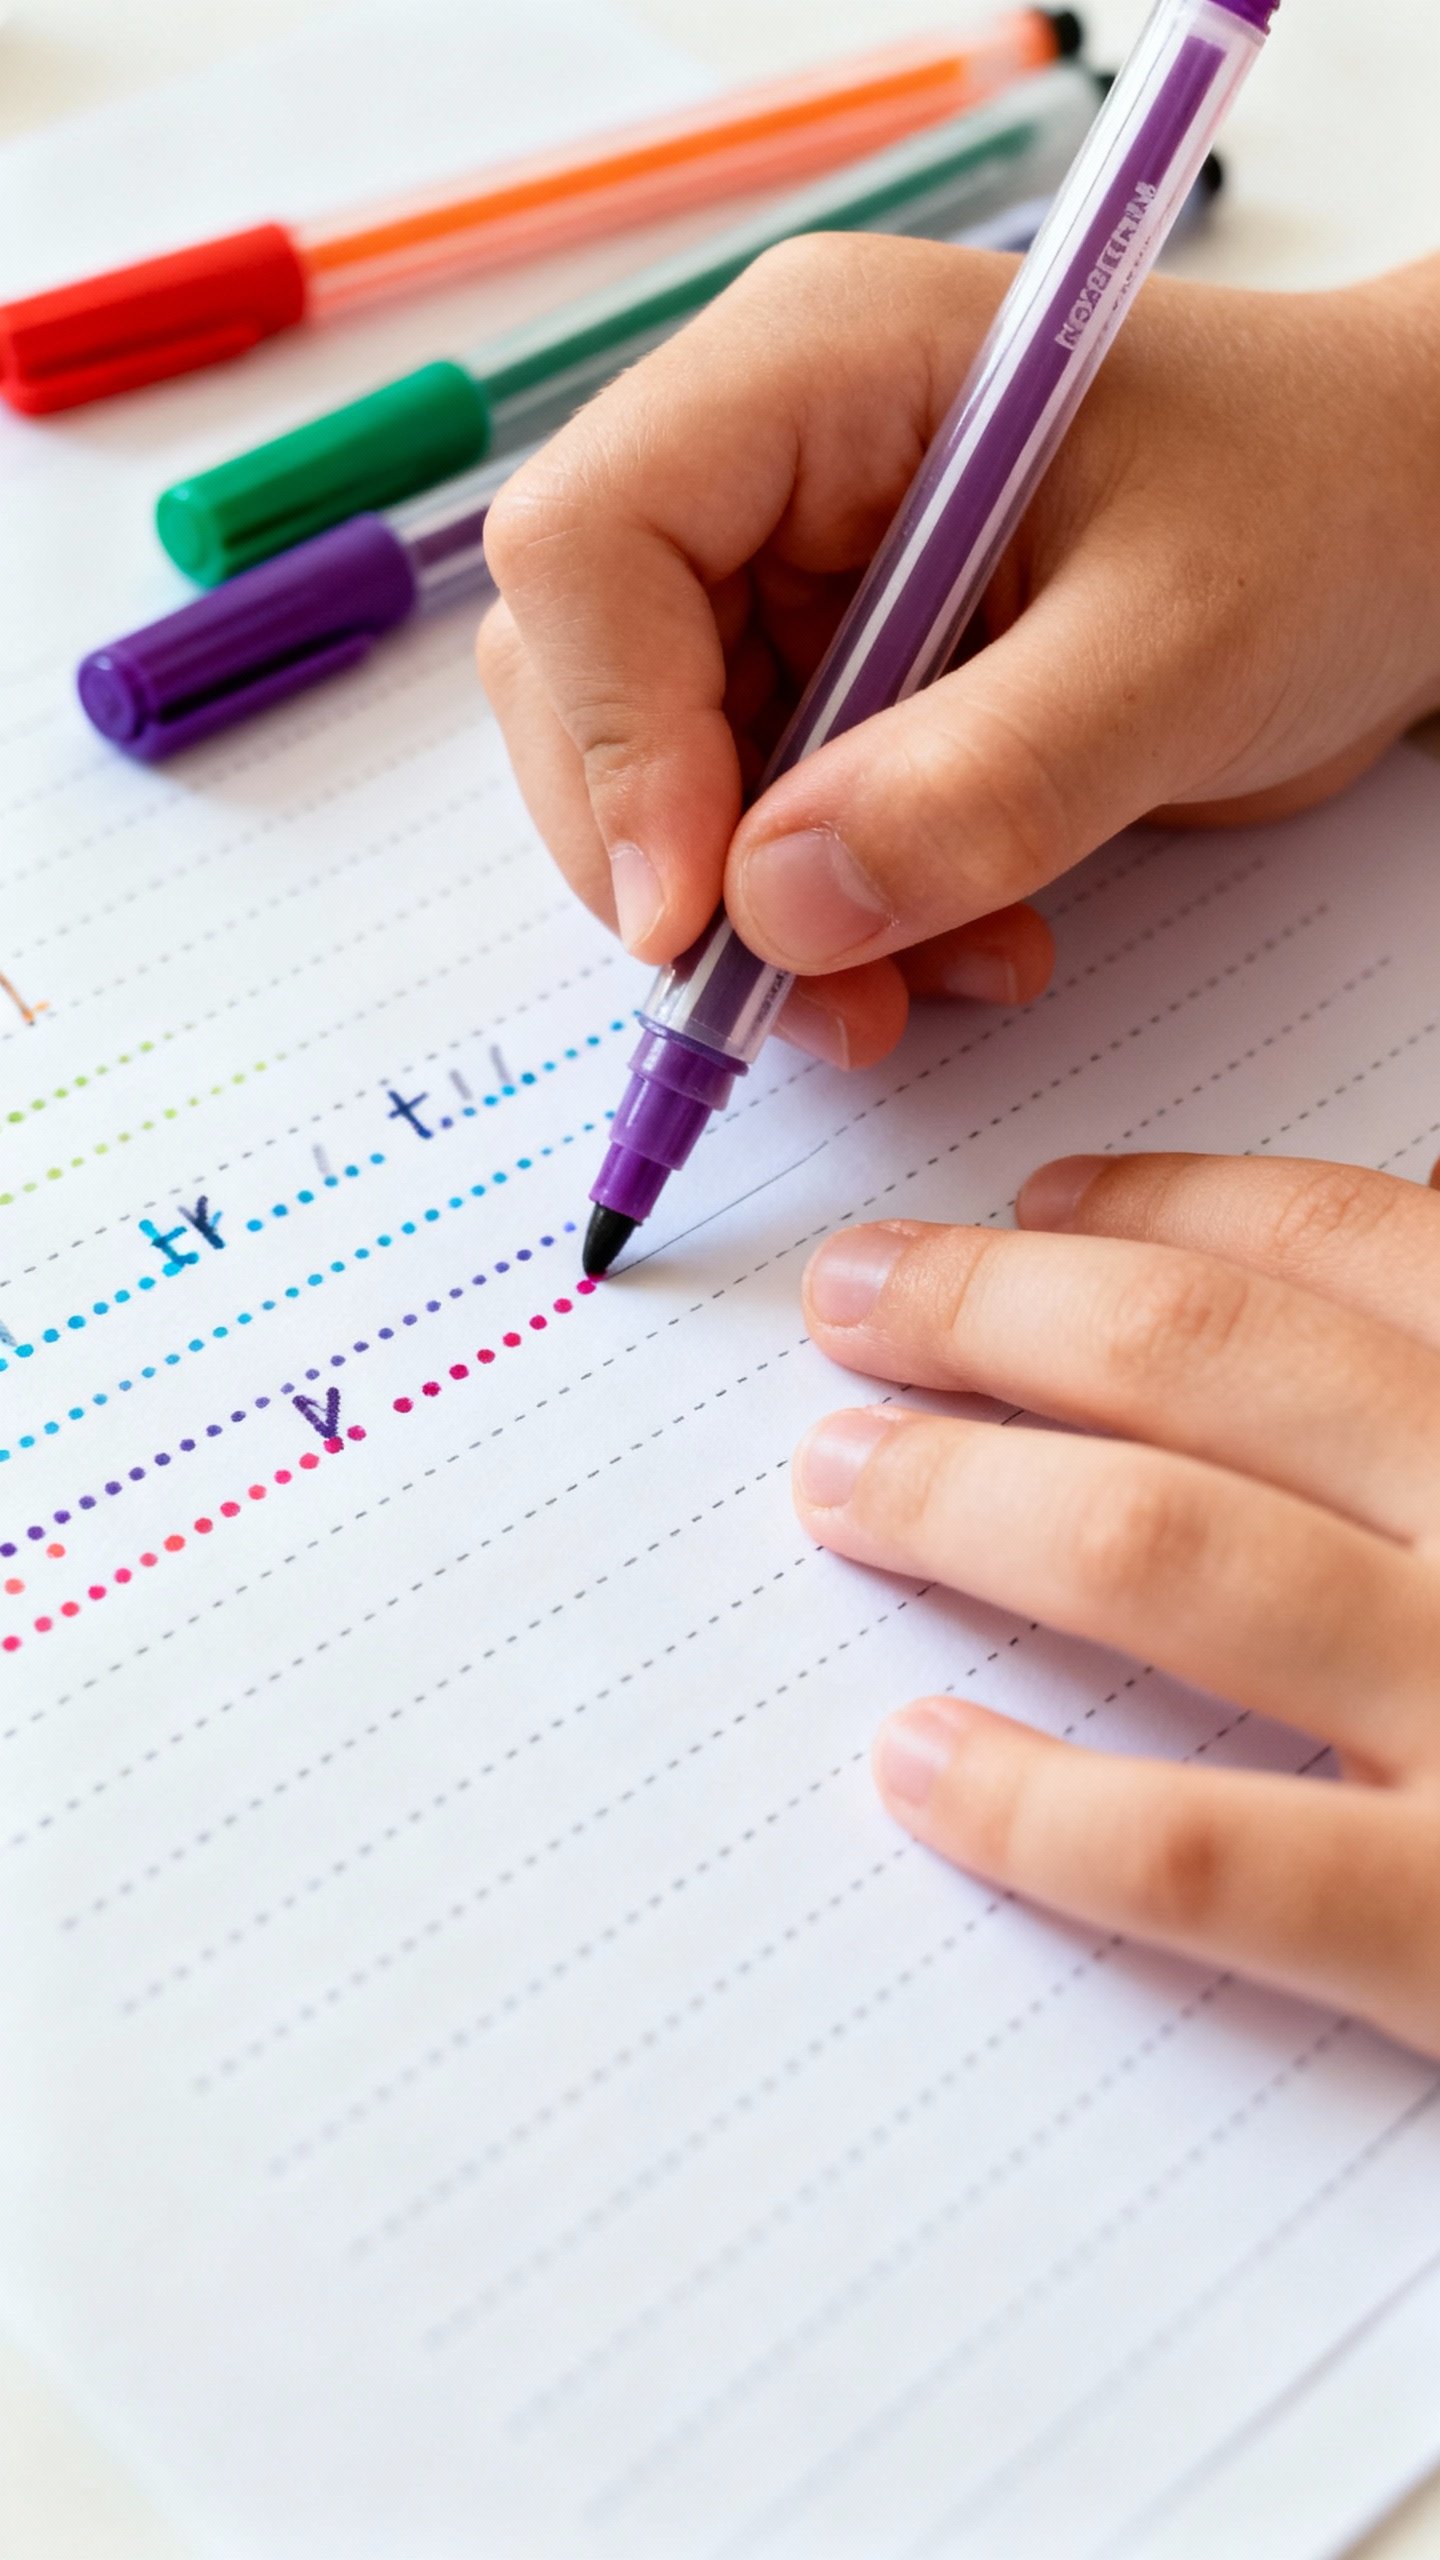
- Trace then write: Provide dotted versions of each word, then empty boxes to write independently.
- Rainbow write: Write the word three times in different colors.
Low prep, high engagement.
- Box it out: Create “letter boxes” that match the word’s shape to cue letter heights.
3) Use It
- Fill-in-the-blank: “I ___ a dog.” Options: have, go, see. Context locks meaning in.
- Short sentences: “We go to the park.” Let them illustrate it for bonus buy-in.
- Cut and paste: Scramble words to build a sentence with the target word.
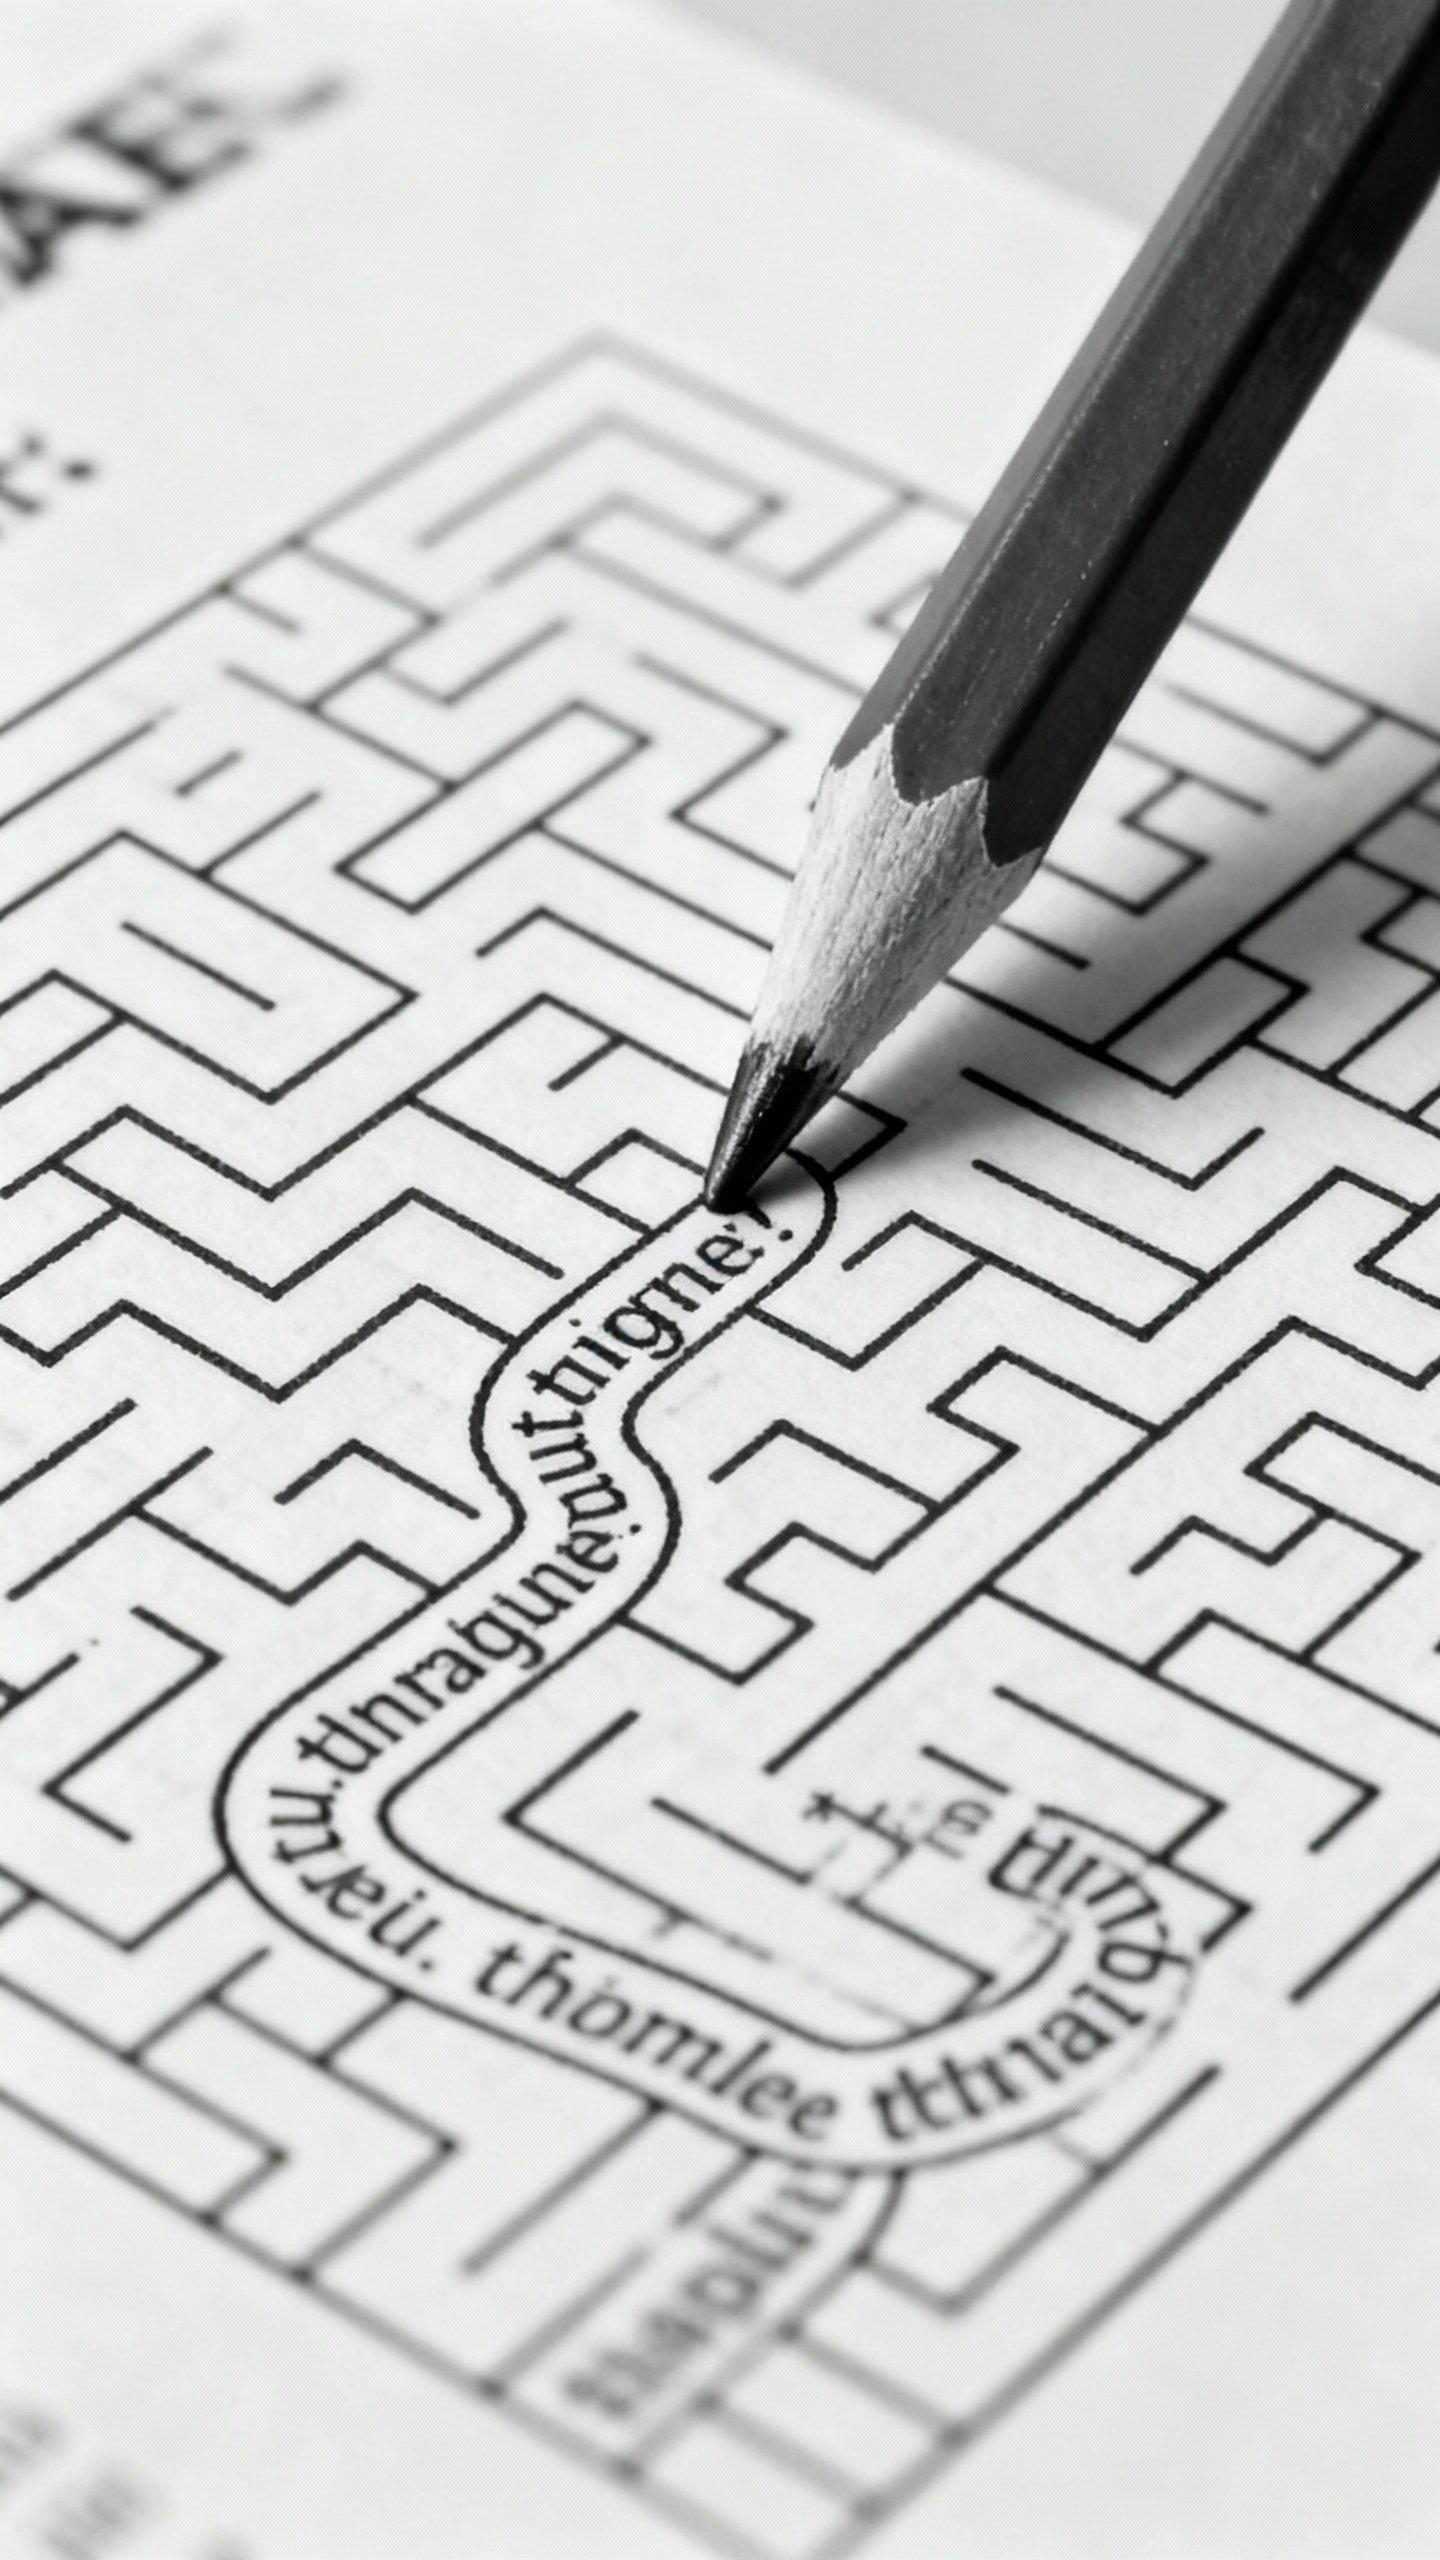
4) Move It (Yes, on paper)
- Maze chase: Create a path of target words through a simple maze. Ignore the distractor words.
- Roll and read: Put six words in boxes 1–6.
Roll a die, read the matching word five times.
- Bingo mini-board: A 3×3 board of sight words. Call words and cover with paper scraps or stickers.
Tools and Templates That Save Your Sanity
You don’t need fancy software. You need speed and flexibility.
Here’s what works.
- Google Slides/PowerPoint: Build a master template with text boxes and shapes. Duplicate, swap words, done.
- Word/Docs tables: Use 2–3 column tables for clean layouts. Insert dotted text with a tracing font.
- Tracing fonts: Search for “dashed handwriting font” to create traceable words in one click.
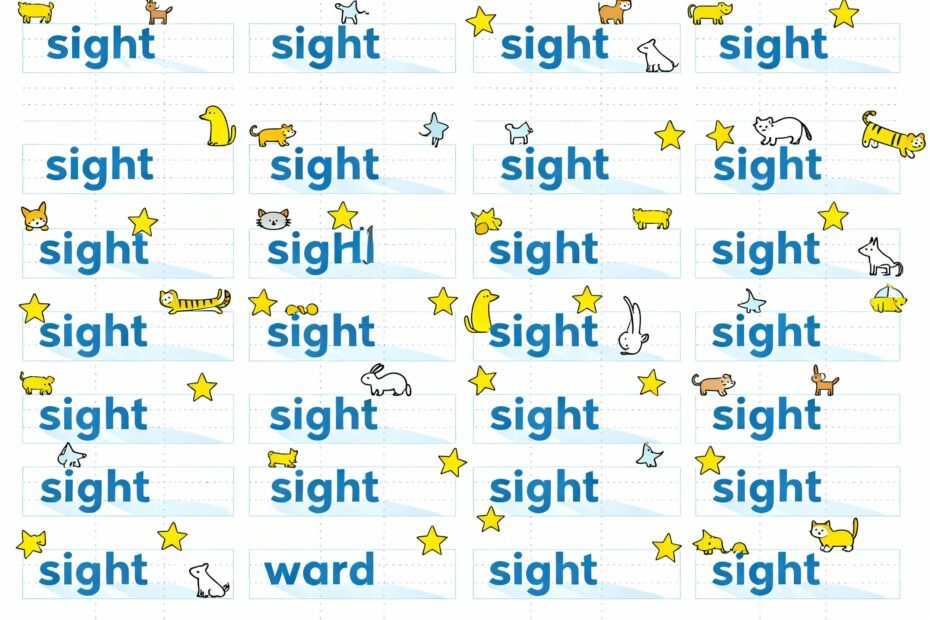
- Clip art and shapes: Add icons (stars, hearts) next to harder words so kids know to slow down.
- Printable frames: Keep pages uncluttered with simple borders—cute but not chaotic.
DIY Template Ideas You Can Reuse
- Spotlight Page: Pick 4 words.
Each gets a box with trace, write, circle, and use-in-a-sentence sections.
- Sentence Builder: 5 short sentences with one blank each. Word bank at the bottom.
- Speedy Grid: A 5×5 table of mixed words. Time a 30-second read-and-point challenge.
- Cut-Paste Sort: Sort by word, by number of letters, or by “looks similar” to teach visual differences.
Make It Hands-On (Even With a Printer Involved)
Kids remember what they do, not what they stare at.
Bring in tactile moments to lock those words in.
- Laminate a practice card: Write the weekly list on a half-sheet. Use a dry-erase marker for daily traces.
- Play dough letters: Roll and form each word. Snap a pic to show progress (kids love this).
- Sticker hunt: Hide word cards around the room.
Find it, read it, stick it on the worksheet.
- Magnet match: Put words on the fridge with magnet letters. Build them before breakfast.
Keep It Fun Without Turning It Into a Circus
Rewards help, but keep them small and tied to effort. Think stamps, checkmarks, or a silly sticker.
No need to promise a pony for reading “the.”
Switch activities quickly. Two minutes per task keeps brains fresh. Use a sand timer or your phone to pace things.
And IMO, a dramatic “reading voice” challenge makes even the word “was” feel like theater.
Micro-Games That Never Get Old
- Say It 3 Ways: Robot voice, whisper, and opera. Same word, new energy.
- Word Chef: “Cook” the word by “stirring” letters in the air, then “serve” it on the page.
- Beat the Buzzer: Read five words before the timer beeps. Simple and oddly thrilling.
Differentiate Like a Pro (Without a PhD)
Not all early readers need the same challenge.
Tweak your worksheets to match skill levels without making five versions.
- Beginner: Bigger fonts, more tracing, fewer distractors, picture cues.
- Developing: Mix tracing and independent writing, simple sentences, small word bank.
- Advanced: No tracing, sentence building with punctuation, short writing prompts using target words.
For kids who keep flipping “was/saw” or “no/on,” add bolded letter frames and vertical practice. Visual anchors help a ton.
Data Without the Drama
You don’t need spreadsheets. Track progress with a weekly check.
Keep a tiny chart of 10 words and star the ones read instantly. Revisit the rest next week.
Use color-coding. Green = mastered, yellow = practice, red = reteach.
Quick, clear, and it makes you look extremely organized, which, FYI, you are.
FAQ
Q: How many sight words should my child practice at once?
Start with 10–15 per week. Keep it manageable and revisit tricky ones until they stick. Rotate in new words only when your child reads most of the current set instantly.
Q: Should I include phonics or just sight words?
Do both.
Sight words build fluency, while phonics builds decoding power. Blend them: read a few sight words, then a short phonics-based sentence. Balance wins.
Q: What if my child memorizes the worksheet and not the word?
Great question.
Shuffle the order, change fonts, and use words in different contexts. If they truly know the word, they’ll recognize it anywhere—not just in slot three of line two.
Q: How often should we use the worksheets?
Short, daily bursts work best. Aim for 10–15 minutes, 4–5 days a week.
Consistency beats marathon sessions every time.
Q: My child hates writing. Any ideas?
Swap pencils for markers, highlighters, or stamps. Use letter tiles or magnets for building words, then write just once.
Keep the writing segment short and celebratory, not a slog.
Q: Which words should I start with?
Begin with high-frequency words your child sees in simple readers: the, a, I, is, it, to, and, in, you, we. Add 2–3 personal relevance words like their name or pet’s name for extra buy-in.
Conclusion
DIY sight word worksheets don’t need to be fancy to be effective. Pick a small word list, mix quick-hit activities, and sprinkle in hands-on fun.
Keep sessions short, swap in fresh twists, and watch those “mystery words” turn into automatic reads. You’ve got this—and your printer does too, probably.
Explore More on FreeKidsHub
Jump into your favorite category for easy printables, fun activities, and family-friendly ideas — all in one place.
Tip: Add this block to the end of every post for stronger internal links ✨