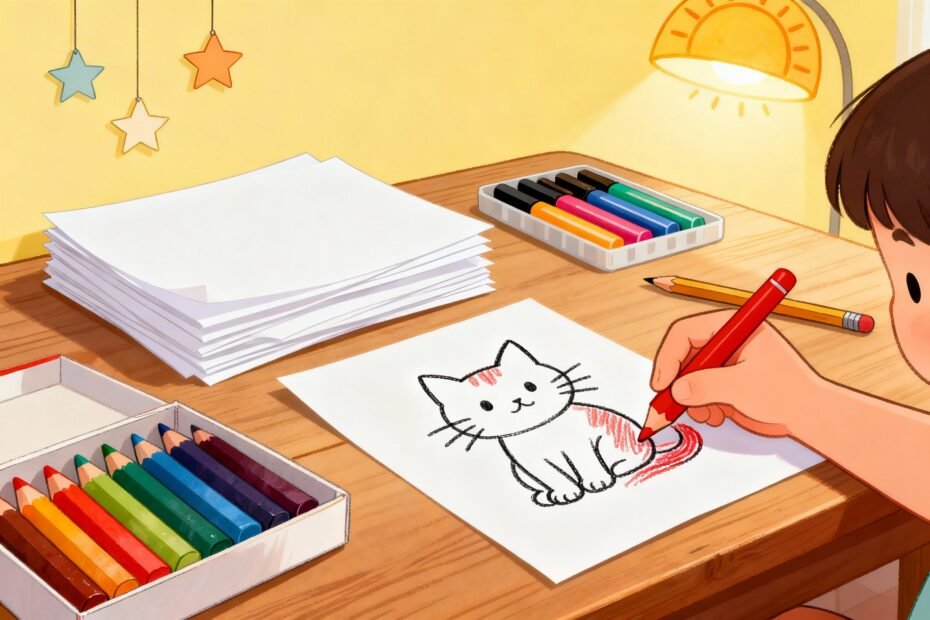
You’ve got kids, crayons, and exactly zero patience for another noisy app? Make your own coloring pages. It’s stupidly fun, wildly customizable, and you’ll end up with printable art your kids will actually want to color.
Bonus: you control the chaos, the theme, and the time limit. Let’s dive in and turn your brilliant ideas into line art the small humans can attack with markers.
Why DIY Coloring Pages Are Worth Your Time
Kids love choice. Give them a say in the theme, and they’ll color longer (and complain less).
You’ll also save money and skip the endless scrolling for “free printables” that never quite fit your vibe.
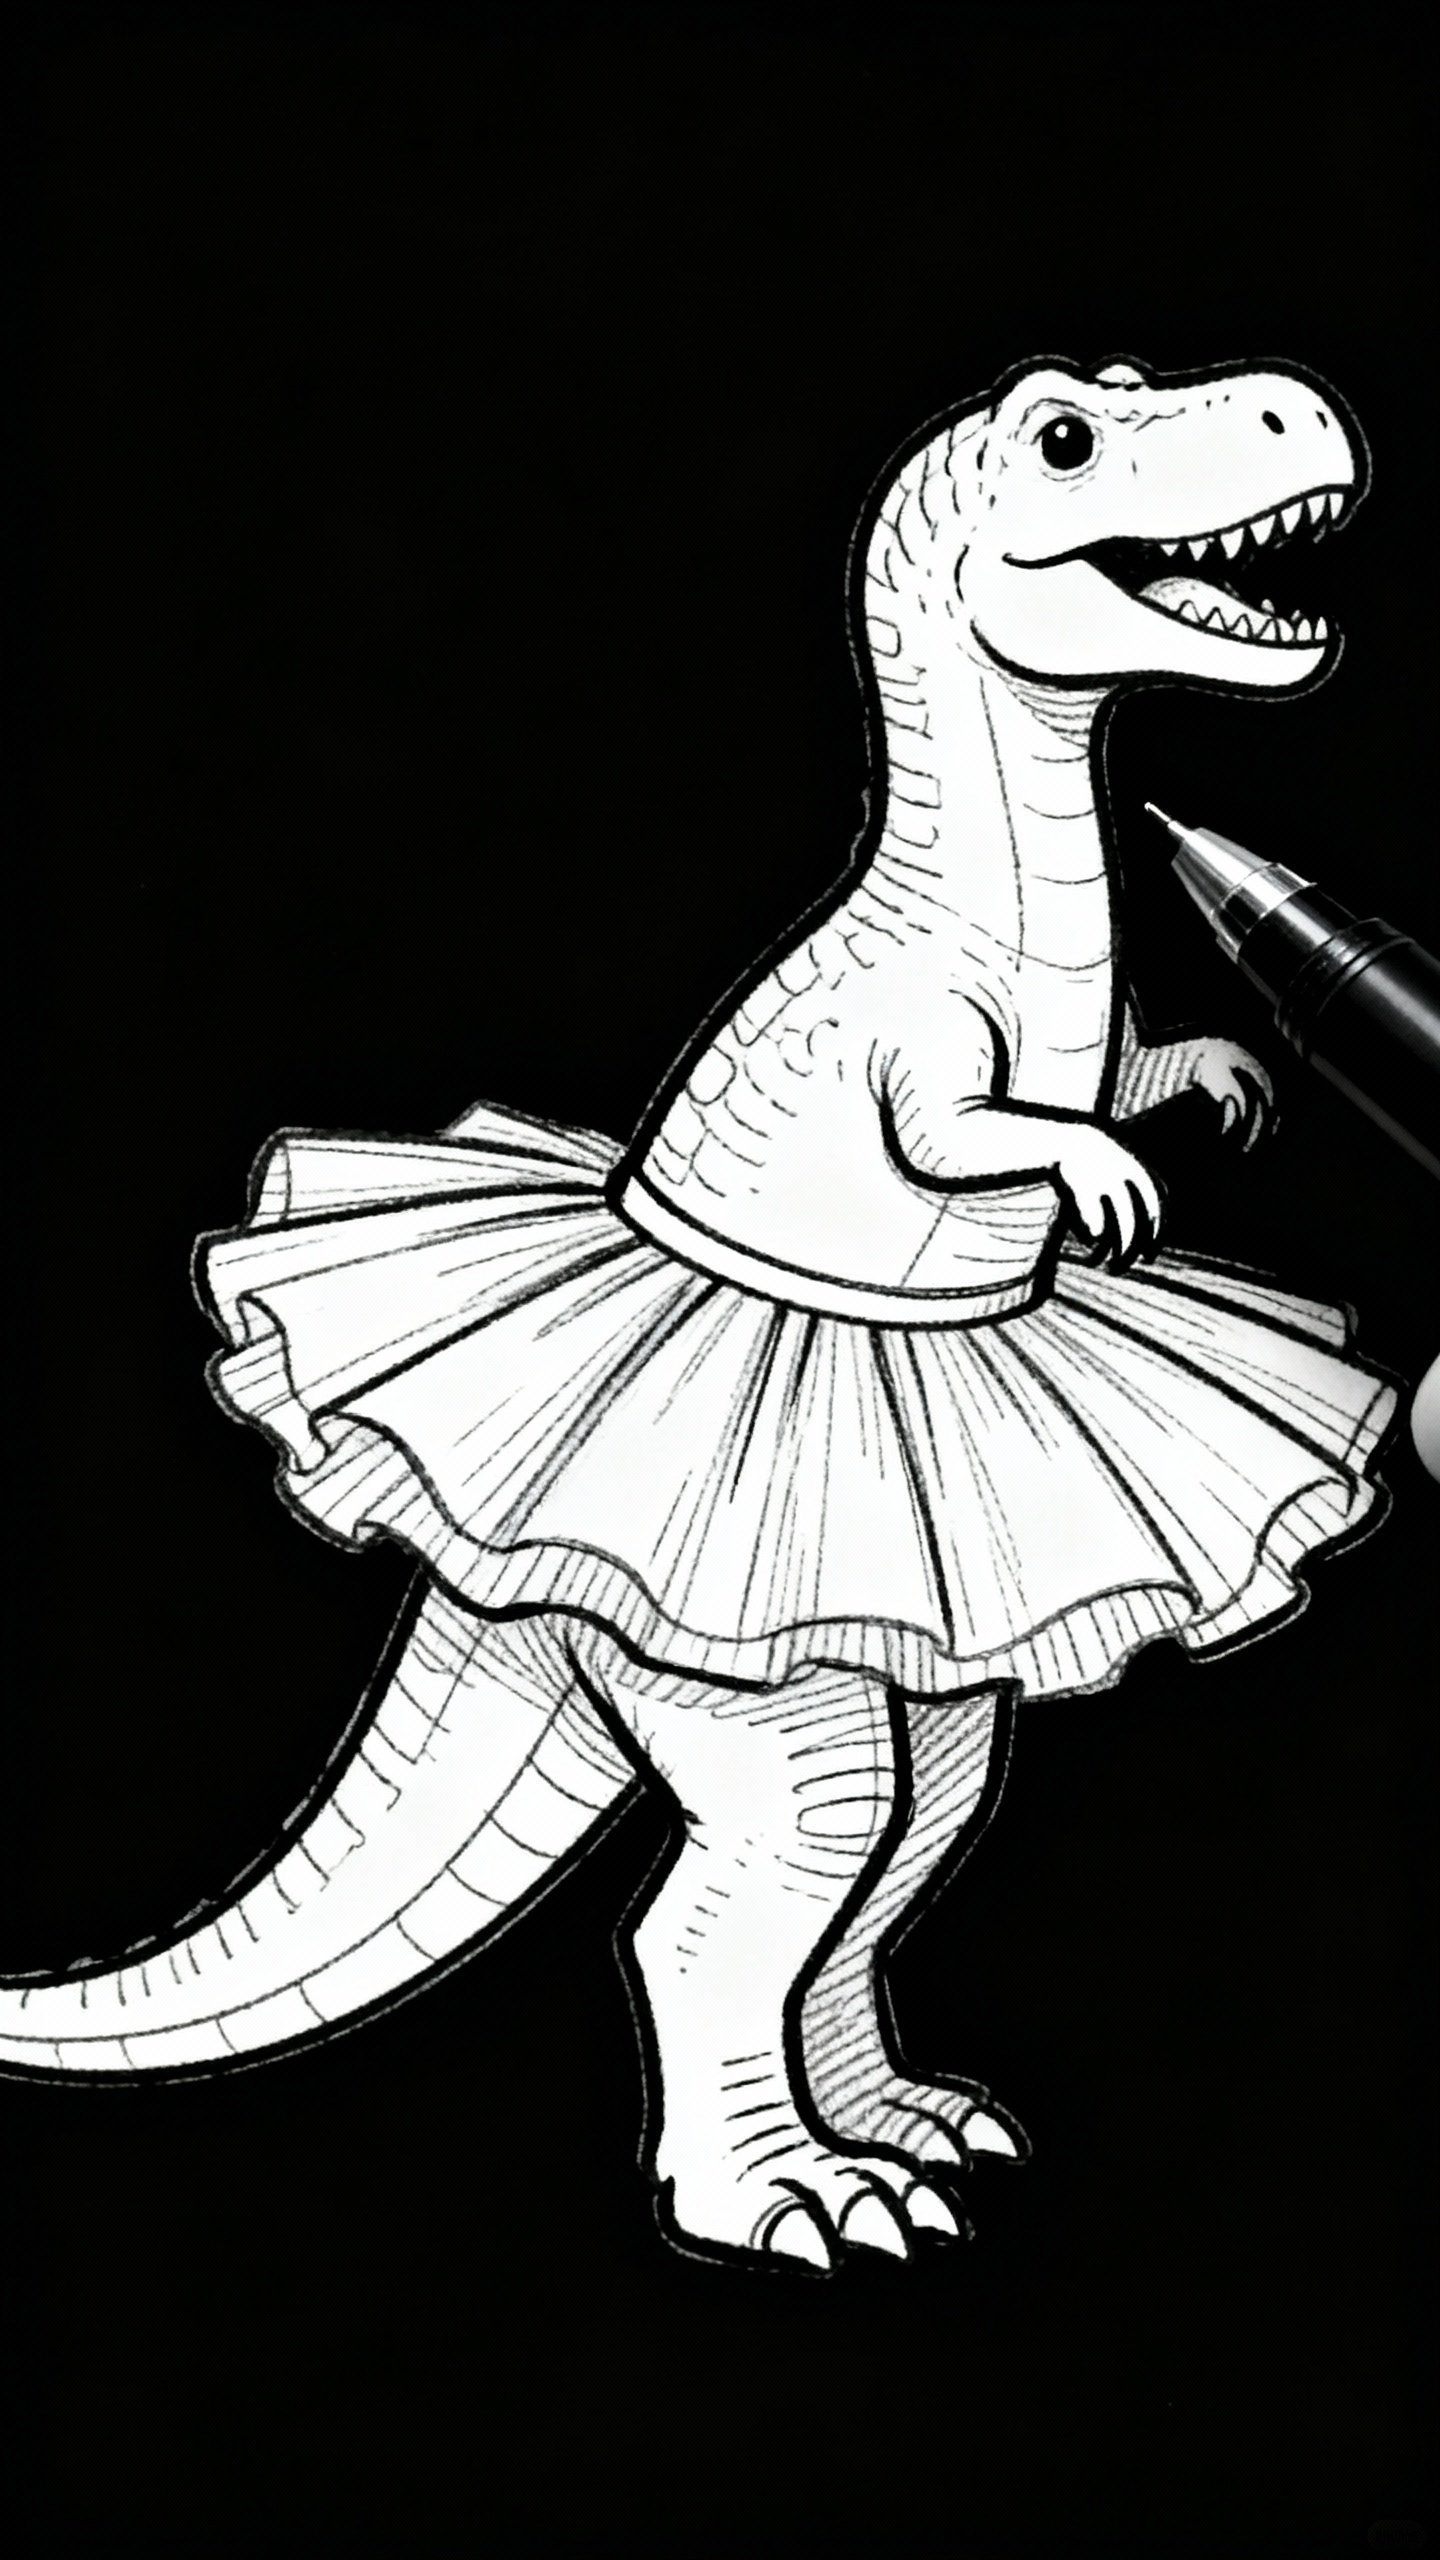
Plus, you can make pages that match your kid’s interests exactly—dinosaurs wearing tutus? Done. A robot tea party?
Absolutely.
FYI: DIY pages double as party favors, rainy-day magic, or emergency “quiet time” tools. You’re welcome.
What You’ll Need (Digital or Analog)
Use whatever you already have. You can go fancy, but you don’t need to.
- Paper & Pencil: Sketch it by hand.
Any paper works, but use a black pen to finalize outlines.
- Scanner or Camera: Scan your drawing or take a clear photo in bright light.
- Free Design Tools: Canva, Photopea, GIMP, or Inkscape.
- Tablet & Stylus (optional): Procreate, Autodesk Sketchbook, or Krita for clean digital line art.
- Printer: Plain printer paper or light cardstock for kids who color aggressively (we see you).

How to Create Simple, Kid-Friendly Designs
Think big shapes and bold outlines. Tiny details frustrate little hands and break crayons. Keep it friendly and recognizable.
Start with a Theme
- Classics: Animals, vehicles, space, fairy tales, sports.
- Seasonal: Pumpkins, snowmen, beach scenes, flowers.
- Mix-and-Match: Sharks + cupcakes, aliens + playgrounds.
Sketch the Layout
- Draw 3–5 large objects.
Leave generous white space.
- Add medium elements (clouds, stars, grass) to balance the page.
- Sprinkle small icons (hearts, dots, confetti) for easy wins.
Pro tip: Use thick outlines and avoid cross-hatching. Kids color inside shapes better than they shade textures, IMO.
Make It Colorable
- Closed shapes: Make sure every area forms a complete boundary.
- Varied sizes: Mix big spaces (for markers) and small zones (for pencils).
- Minimal clutter: If it looks busy to you, it’s chaos for a 5-year-old.
Digital Methods That Make It Easy
You can turn almost any image into a coloring page with free tools. No design degree required.
Method 1: Trace a Photo (Beginner-Friendly)
- Pick a high-contrast photo (a single animal, car, or object works best).
- Open it in Photopea, GIMP, or Canva.
- Reduce opacity of the photo and add a new layer on top.
- Use a black brush (5–10 px) to trace simple outlines only.
Skip textures.
- Delete or hide the photo layer. Clean up the lines with an eraser.
Method 2: Vectorize for Crisp Lines
- Import a clean black-and-white drawing into Inkscape.
- Use Path → Trace Bitmap → Brightness cutoff.
- Adjust threshold until you get solid, closed shapes.
- Save as PDF for high-quality printing.
Method 3: Convert a Hand-Drawn Page
- Draw with black pen on white paper.
- Scan or photograph in bright, even light.
- Open in GIMP/Photopea → Levels/Curves → Increase contrast.
- Erase smudges, thicken lines, and fill gaps.
Smart Add-Ons Kids Love
Don’t just give them a picture—give them a tiny adventure. You can add simple prompts that turn a coloring page into an activity.
- “Finish the scene”: Add dotted outlines for missing elements (a sun to complete, a hat for the cat).
- Color-by-number: Add numbers and a simple legend (keep it to 4–6 colors).
- Hidden objects: Hide small shapes (stars, fish, leaves) and add a find-and-color list.
- Pattern areas: Leave blank banners or shirts for kids to design their own patterns.
FYI: Avoid text-heavy instructions for younger kids—use icons or mini examples instead.
Make Printable Pages That Actually Print Well
Nothing worse than a low-res, blotchy print.
Spend 2 minutes on these settings and save yourself an eye twitch.
- Page Size: Set your canvas to 8.5×11″ (US Letter) or A4.
- Resolution: 300 DPI for crisp lines.
- Line Weight: 2–4 px equivalent at print size. Thin lines vanish; thick lines look bold and kid-friendly.
- File Format: PDF for sharing and printing; PNG for quick previews.
- Margins: Leave 0.25–0.5″ so nothing gets chopped.
Paper and Ink Tips
- Paper: 24–28 lb paper or light cardstock for marker lovers.
- Ink: Pure black lines only. Avoid gray shading to save ink and keep it clean.
- Test prints: Always do one test before printing a stack for a party.
Fun Themes and Ready-to-Use Prompts
Stuck for ideas?
Steal these.
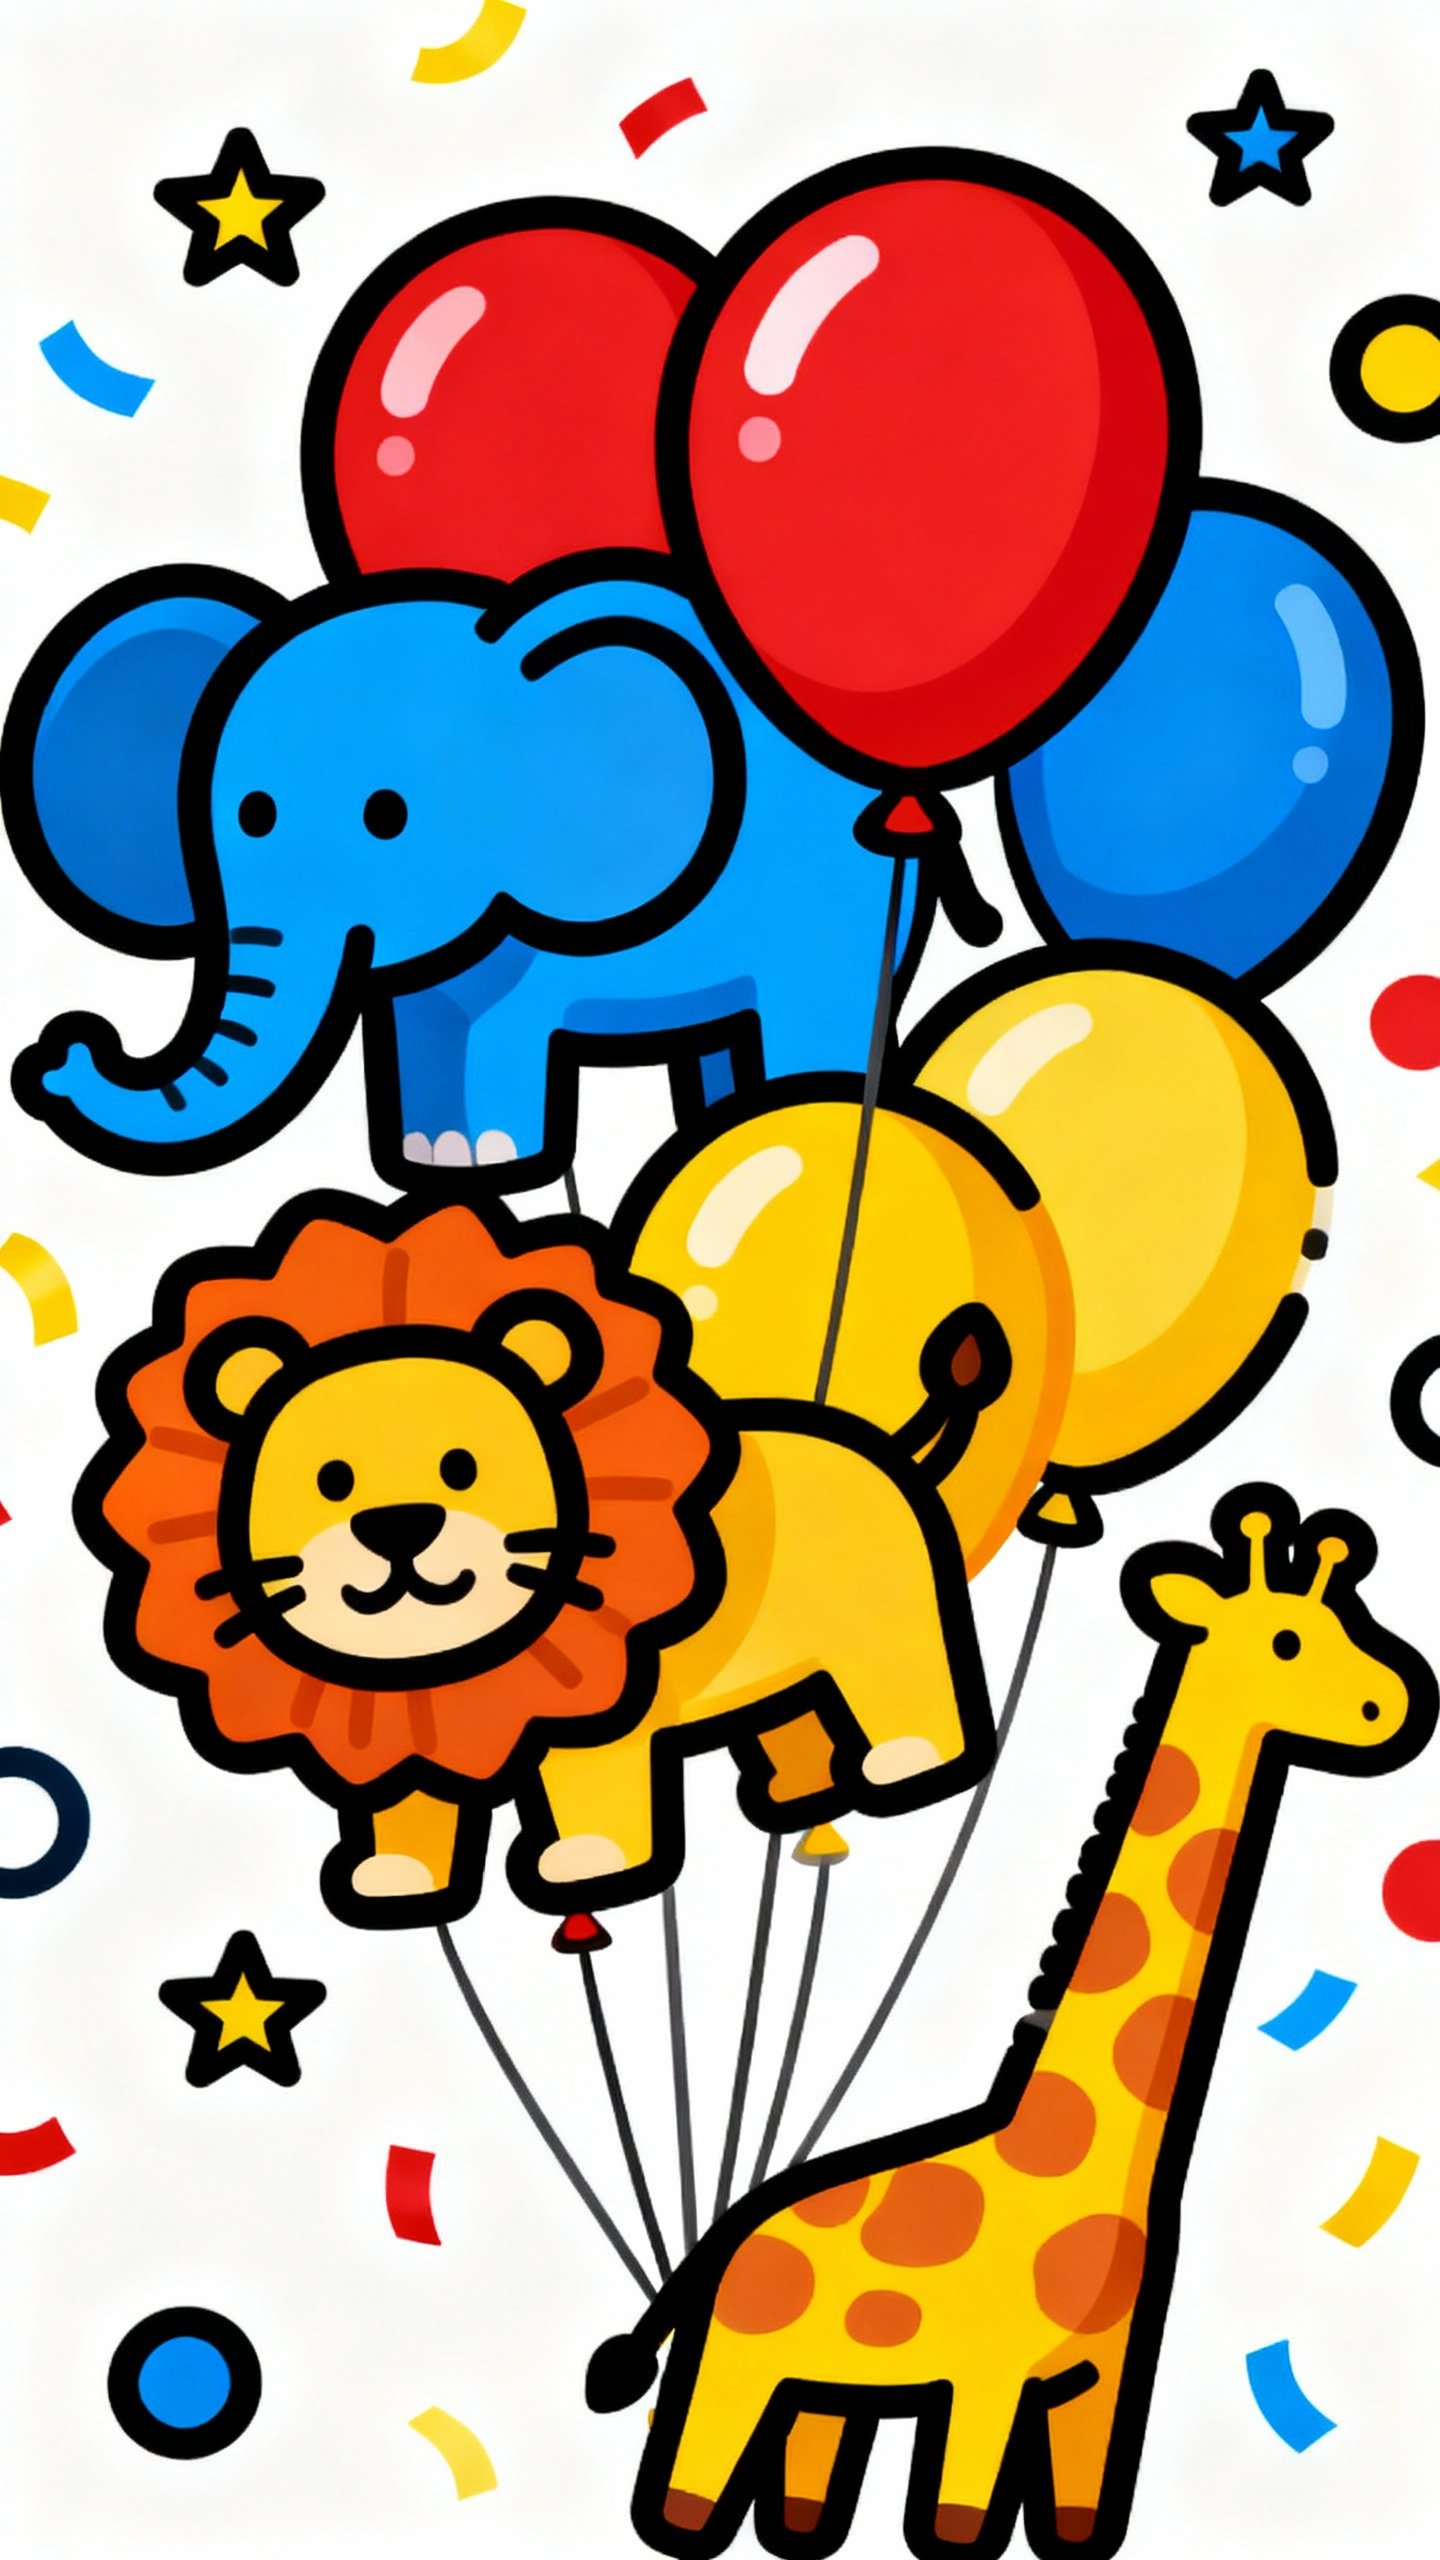
- Zoo Parade: Five animals walking in line with balloons and confetti.
- Space Picnic: Astronauts with floating sandwiches and a smiling moon.
- Monster Fashion Show: Silly monsters with blank outfits to decorate.
- Underwater City: Submarines, coral towers, and mail-delivering seahorses.
- Cozy Town: Row of houses with blank windows—kids draw who lives inside.
- Dino Playground: Slide, swings, and a T-rex trying to hula-hoop.
IMO: The weirder the prompt, the more kids giggle and color.
Organize and Share Like a Pro
Once you create a few pages, you’ll want to keep them tidy and reusable.
- Bundle sets: Group 5–10 pages around a theme and export as a single PDF.
- Add a simple cover: Title + small preview thumbnails = instant “coloring book.”
- Name files clearly: “Space-Picnic-Coloring-Set-v1.pdf” beats “final2_realfinal.pdf”.
- Share: Email to parents, upload to Google Drive, or print and bind with a staple.
FAQ
Can I use photos from the internet to trace?
Use your own photos or images with clear permission. Public domain or Creative Commons images can work—check the license first. When in doubt, snap your own pic and trace that.
Zero legal headaches.
What’s the best tool for total beginners?
Canva. Upload a photo, lower opacity, trace with the “Draw” tool, export to PDF. It’s simple and you won’t drown in menus.
If you want more control later, graduate to GIMP or Inkscape.
How do I keep lines from looking jagged?
Work at 300 DPI at full print size, use anti-aliased brushes, and avoid heavy resizing after drawing. Vector tools like Inkscape give you razor-sharp lines at any size if you’re picky.
What ages do these pages work for?
Preschoolers do best with huge shapes and minimal detail. Early elementary kids like medium complexity and hidden items.
Older kids enjoy “finish the drawing” prompts and more intricate patterns. Adjust line weight and detail to match.
How do I stop marker bleed-through?
Print on thicker paper (28 lb or light cardstock) and put a scrap sheet behind the page. Water-based markers bleed less than alcohol-based ones.
Or just embrace the chaos and print double backups.
Can I sell the coloring pages I make?
Yes, if all elements are original or licensed for commercial use. Avoid trademarked characters unless you enjoy scary emails. Package your designs as PDFs and sell on platforms like Etsy or your own site.
Conclusion
DIY coloring pages combine creativity, kid-approved fun, and just enough structure to keep your sanity intact.
Start simple, keep lines bold, and tailor the themes to your little artists. Before you know it, you’ll have a whole library of printable art—and a few precious minutes of quiet while the crayons do their magic.
Explore More on FreeKidsHub
Jump into your favorite category for easy printables, fun activities, and family-friendly ideas — all in one place.
Tip: Add this block to the end of every post for stronger internal links ✨