Sunlight, fresh air, and free art supplies—what’s not to love? If your craft stash looks like a tiny tornado hit a glitter factory, let’s take a breather and head outside. Leaves and flowers can turn into gorgeous DIY art with minimal tools and maximum chill.
Ready to make something beautiful without emptying your wallet or vacuuming confetti for weeks?
Why Nature Art Just Works
Nature gives you color, texture, and patterns that designers try (and fail) to fake. You get organic lines, quirky shapes, and seasonal vibes built in. Plus, you create with what you have—no pressure, no perfection police.
Also, you spend time outside collecting materials.
That counts as self-care and a scavenger hunt. Win-win, IMO.
Gathering Your Materials (Without Being That Person)
Start simple: a basket or tote, scissors or snips, and a notebook for ideas. Look for fallen leaves, petals, seed pods, grasses, and small branches.
Go for a mix of sizes and colors—contrast makes the art pop.
- Harvest responsibly: Take only what you need and skip rare or protected plants.
- Choose fresh-but-not-wet: Damp leaves mold and ruin projects fast.
- Think ahead: Grab a few extra in case some tear or shrink oddly.
Seasonal Cheat Sheet
- Spring: Tender petals, blossoms, fern fronds.
- Summer: Bold leaves, hydrangea heads, grasses.
- Autumn: Colorful maples, oak leaves, seed pods.
- Winter: Evergreens, berries (non-toxic only), dried stalks.
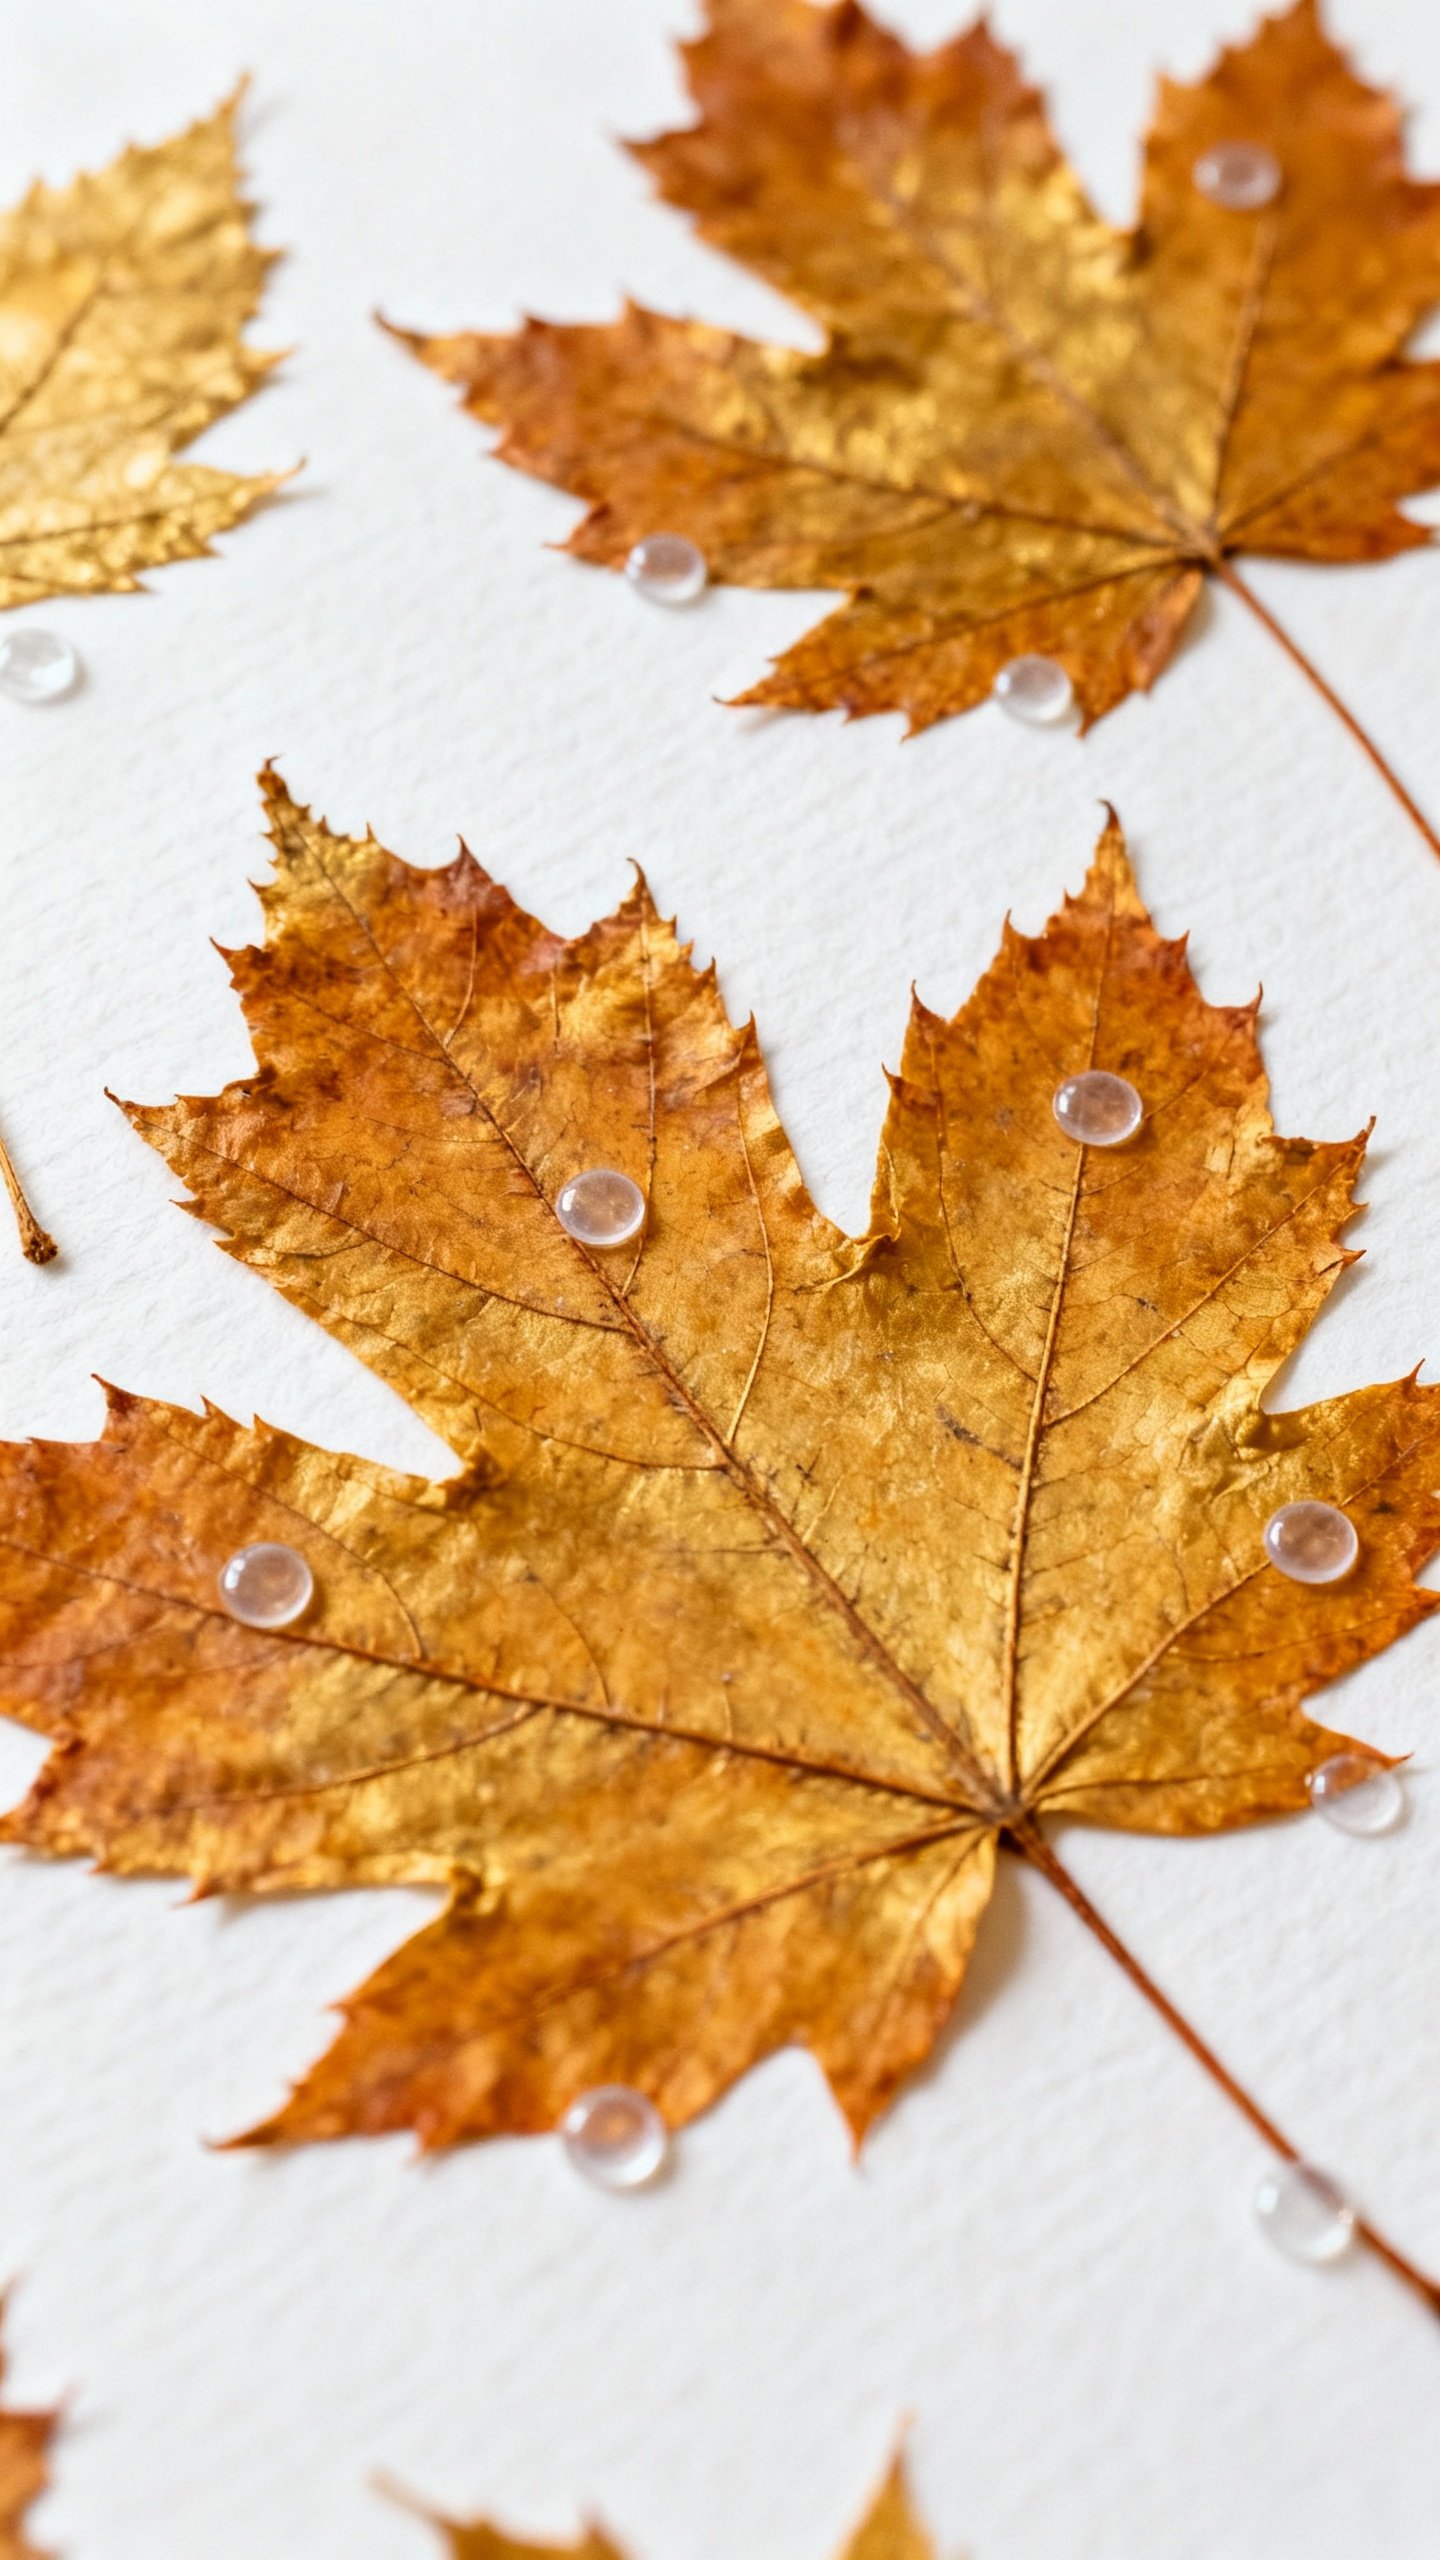
Pressing and Preserving: Make Your Leaves Behave
You can use fresh materials for some projects, but pressed leaves and flowers last longer and look cleaner. Pressing flattens and preserves color, and it stops your art from warping like a sad tortilla.
- Blot first: Pat leaves/petals dry with a paper towel.
- Sandwich: Place between parchment or coffee filters to prevent sticking.
- Weight: Slip the sandwich in a heavy book or a flower press.
- Wait: 7–10 days for most leaves, 10–14 for thicker blooms.
Speed Option: Iron Press
FYI, you can press fast with an iron. Place leaves between paper, set iron to low with no steam, and press for 10–15 seconds at a time.
Check frequently. Don’t cook them. You’re crafting, not sautéing.
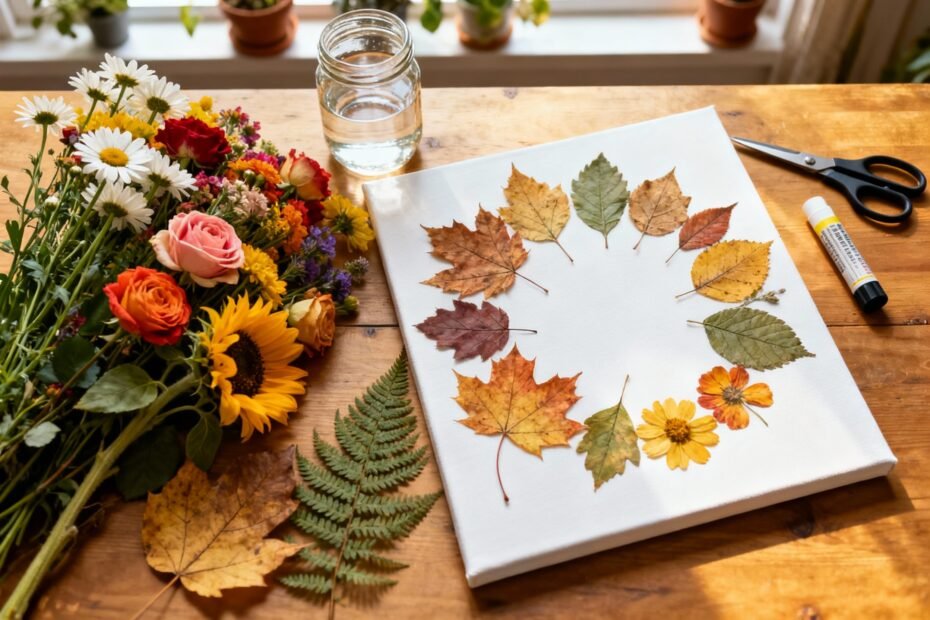
Project 1: Framed Leaf Collage That Looks Designer
Minimal effort, maximum “wow.” Arrange pressed leaves like abstract shapes.
Mix large anchor leaves with smaller ones to create movement and balance.
- Tools: Pressed leaves, cardstock or watercolor paper, acid-free glue, frame with mat.
- Steps:
- Lay out a rough design first. Think diagonals or clusters.
- Glue lightly—just a few dots per leaf, especially on the veins.
- Let it dry under a book so everything stays flat.
- Frame with a mat so leaves don’t press against the glass.
Style Tips
- Monochrome: All greens or all browns looks chic and calm.
- Contrast: Dark leaves on light paper (or vice versa) punch harder.
- Grid layout: Line up similar leaves like a specimen display—very museum-core.
Project 2: Petal Mandalas for Your Inner Zen
If you like patterns and calm vibes, petal mandalas are your jam. Use petals, small leaves, and seeds to build a radial design.
It’s like meditation you can hang on your wall.
- Tools: Petals/leaves, tweezers, glue, round template (use a bowl to trace), heavy paper.
- Steps:
- Draw light guidelines from the center—think pizza slices.
- Start in the middle and work outwards with repeating shapes.
- Glue as you go so nothing shifts.
- Let dry completely, then frame.
Design Variations
- Color rings: One color per ring for a gradient effect.
- Mixed textures: Alternate soft petals with spiky grasses.
- Mini mandalas: Make a series and hang as a trio.
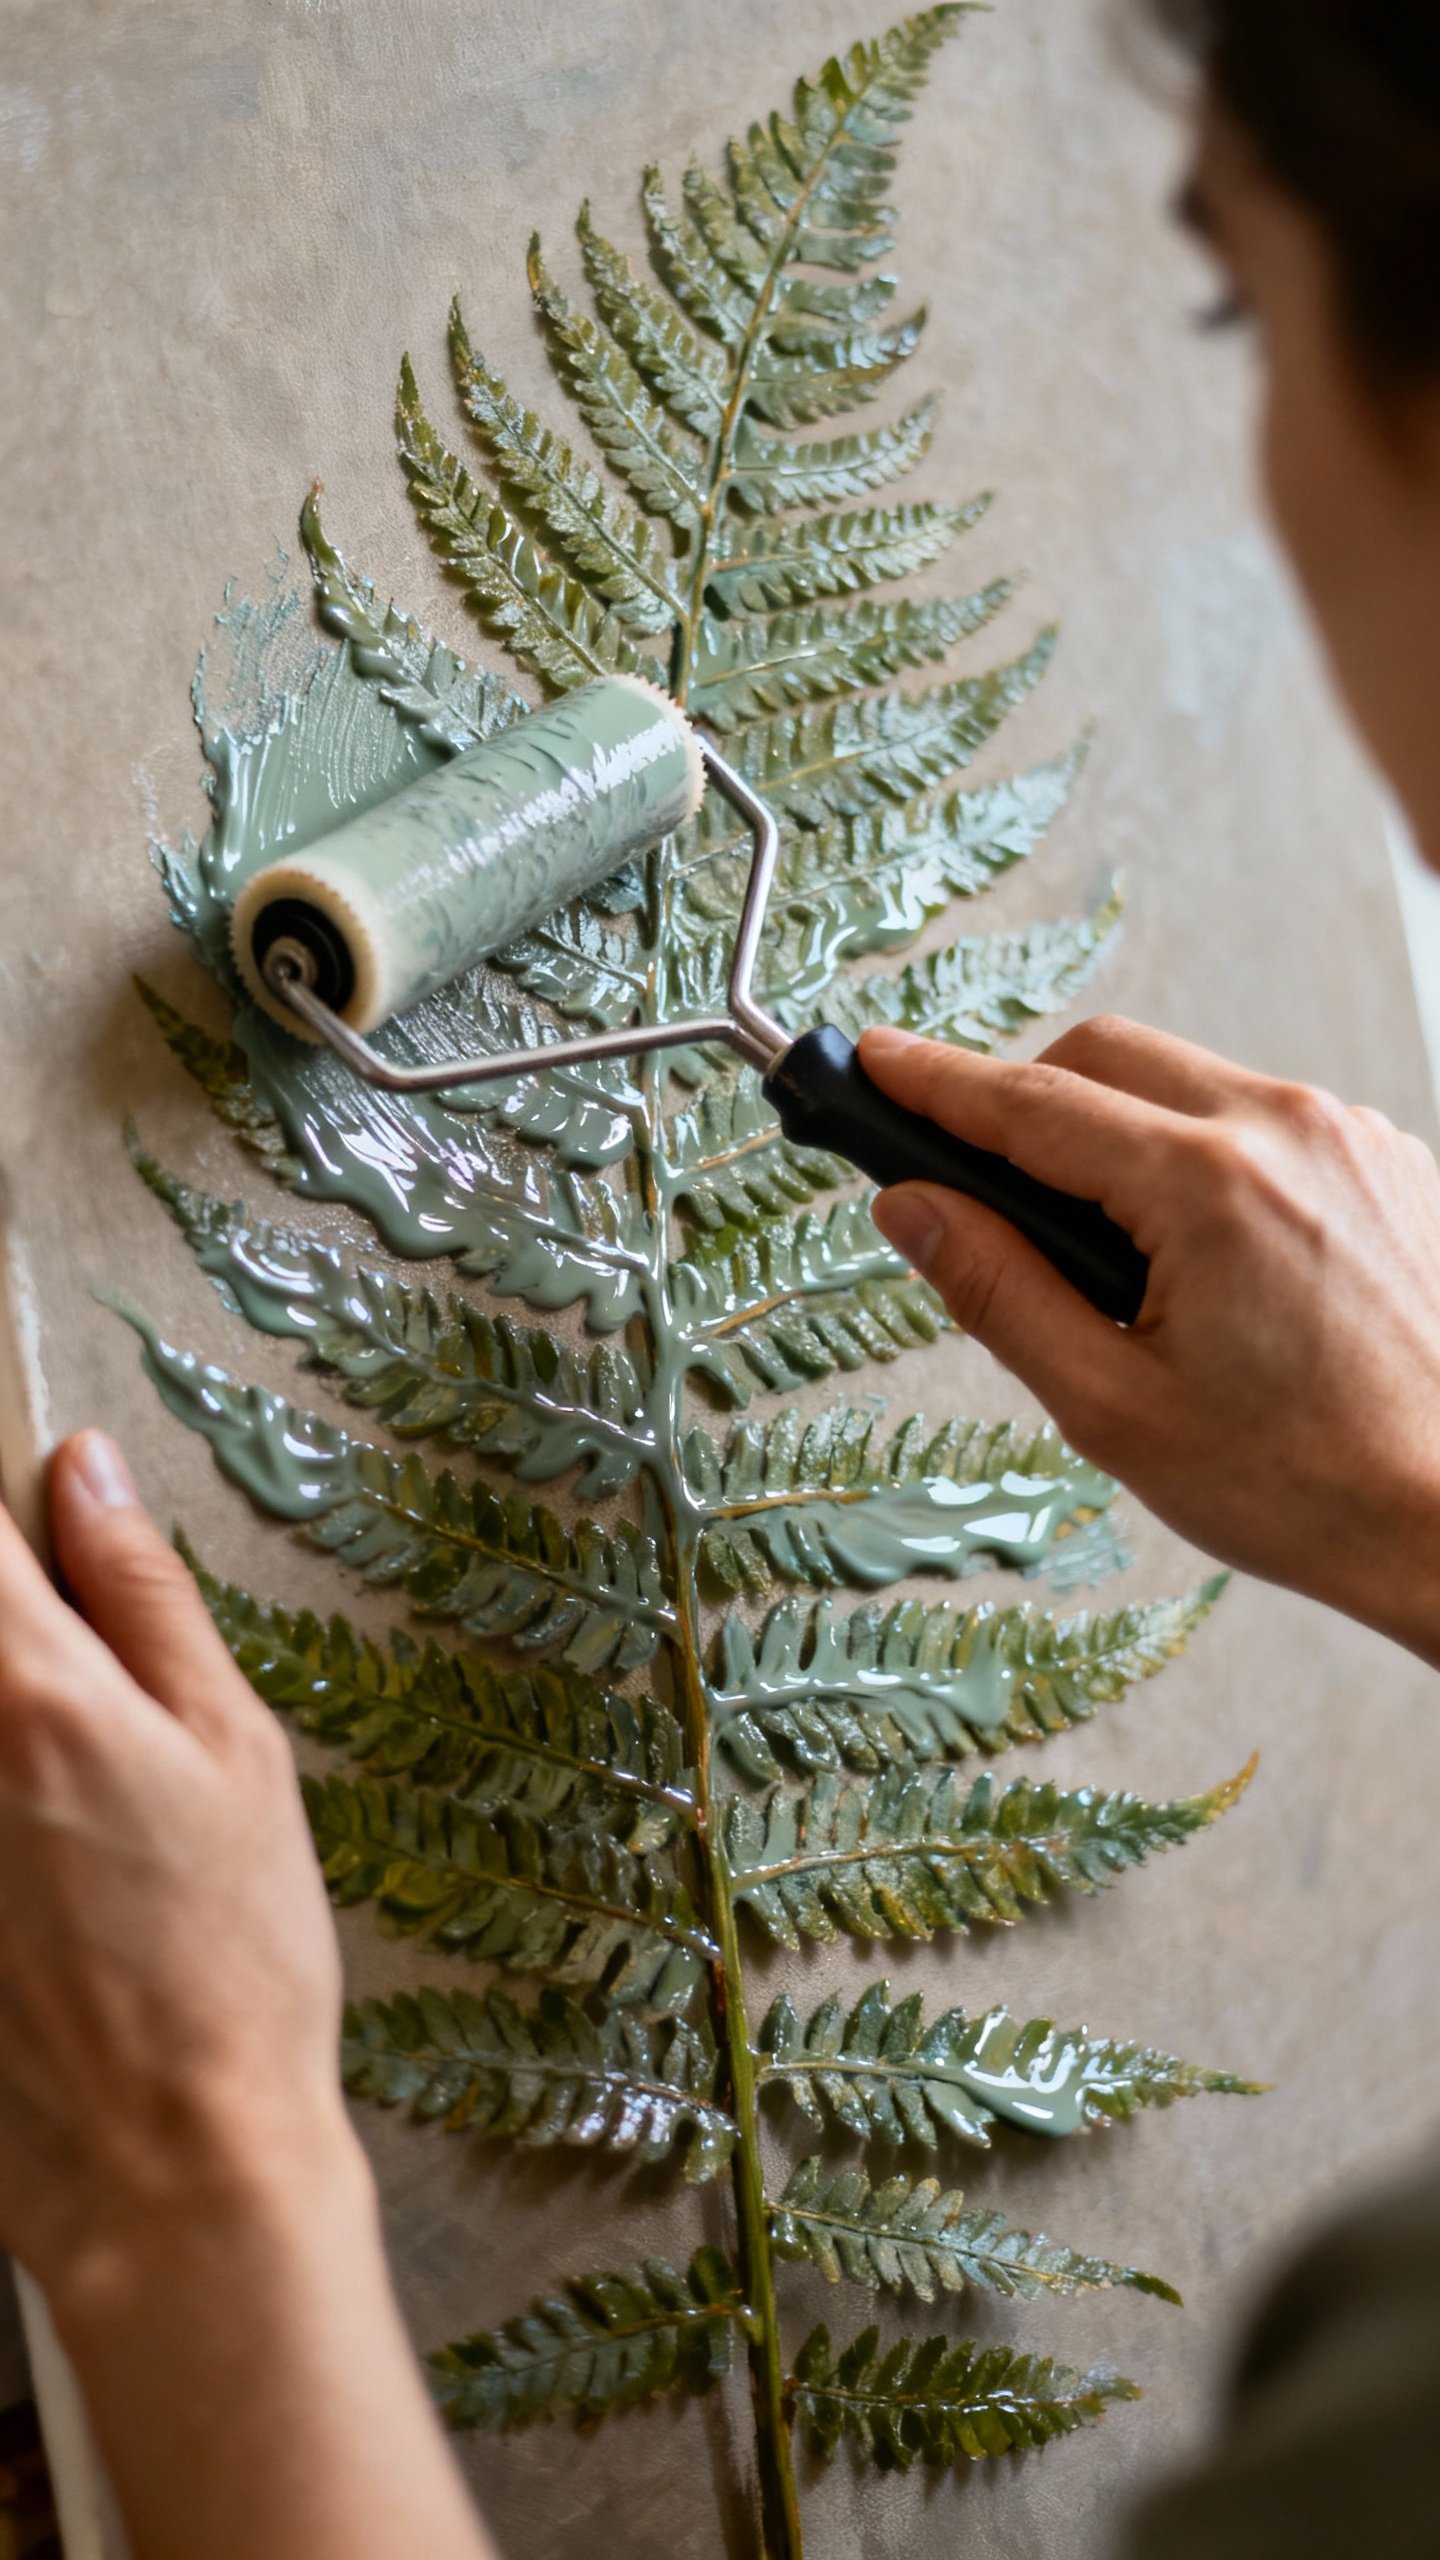
Project 3: Nature Prints Without Carving Anything
Leaf printing gives you crisp botanical shapes with zero woodblock drama. Bonus: your hands get delightfully inky.
- Tools: Fresh, veiny leaves; acrylic paint or fabric paint; brayer or sponge; paper or fabric; scrap paper.
- Steps:
- Paint the backside of the leaf lightly so veins show.
- Press onto your surface with even pressure. Use scrap paper on top to prevent smudges.
- Lift carefully to reveal the print.
Try layering colors.
Where to Use Prints
- Stationery sets: Cards, envelopes, gift tags.
- Tea towels or tote bags: Use fabric paint and heat-set per instructions.
- Wrapping paper: Kraft paper + leaf prints = instant aesthetic.
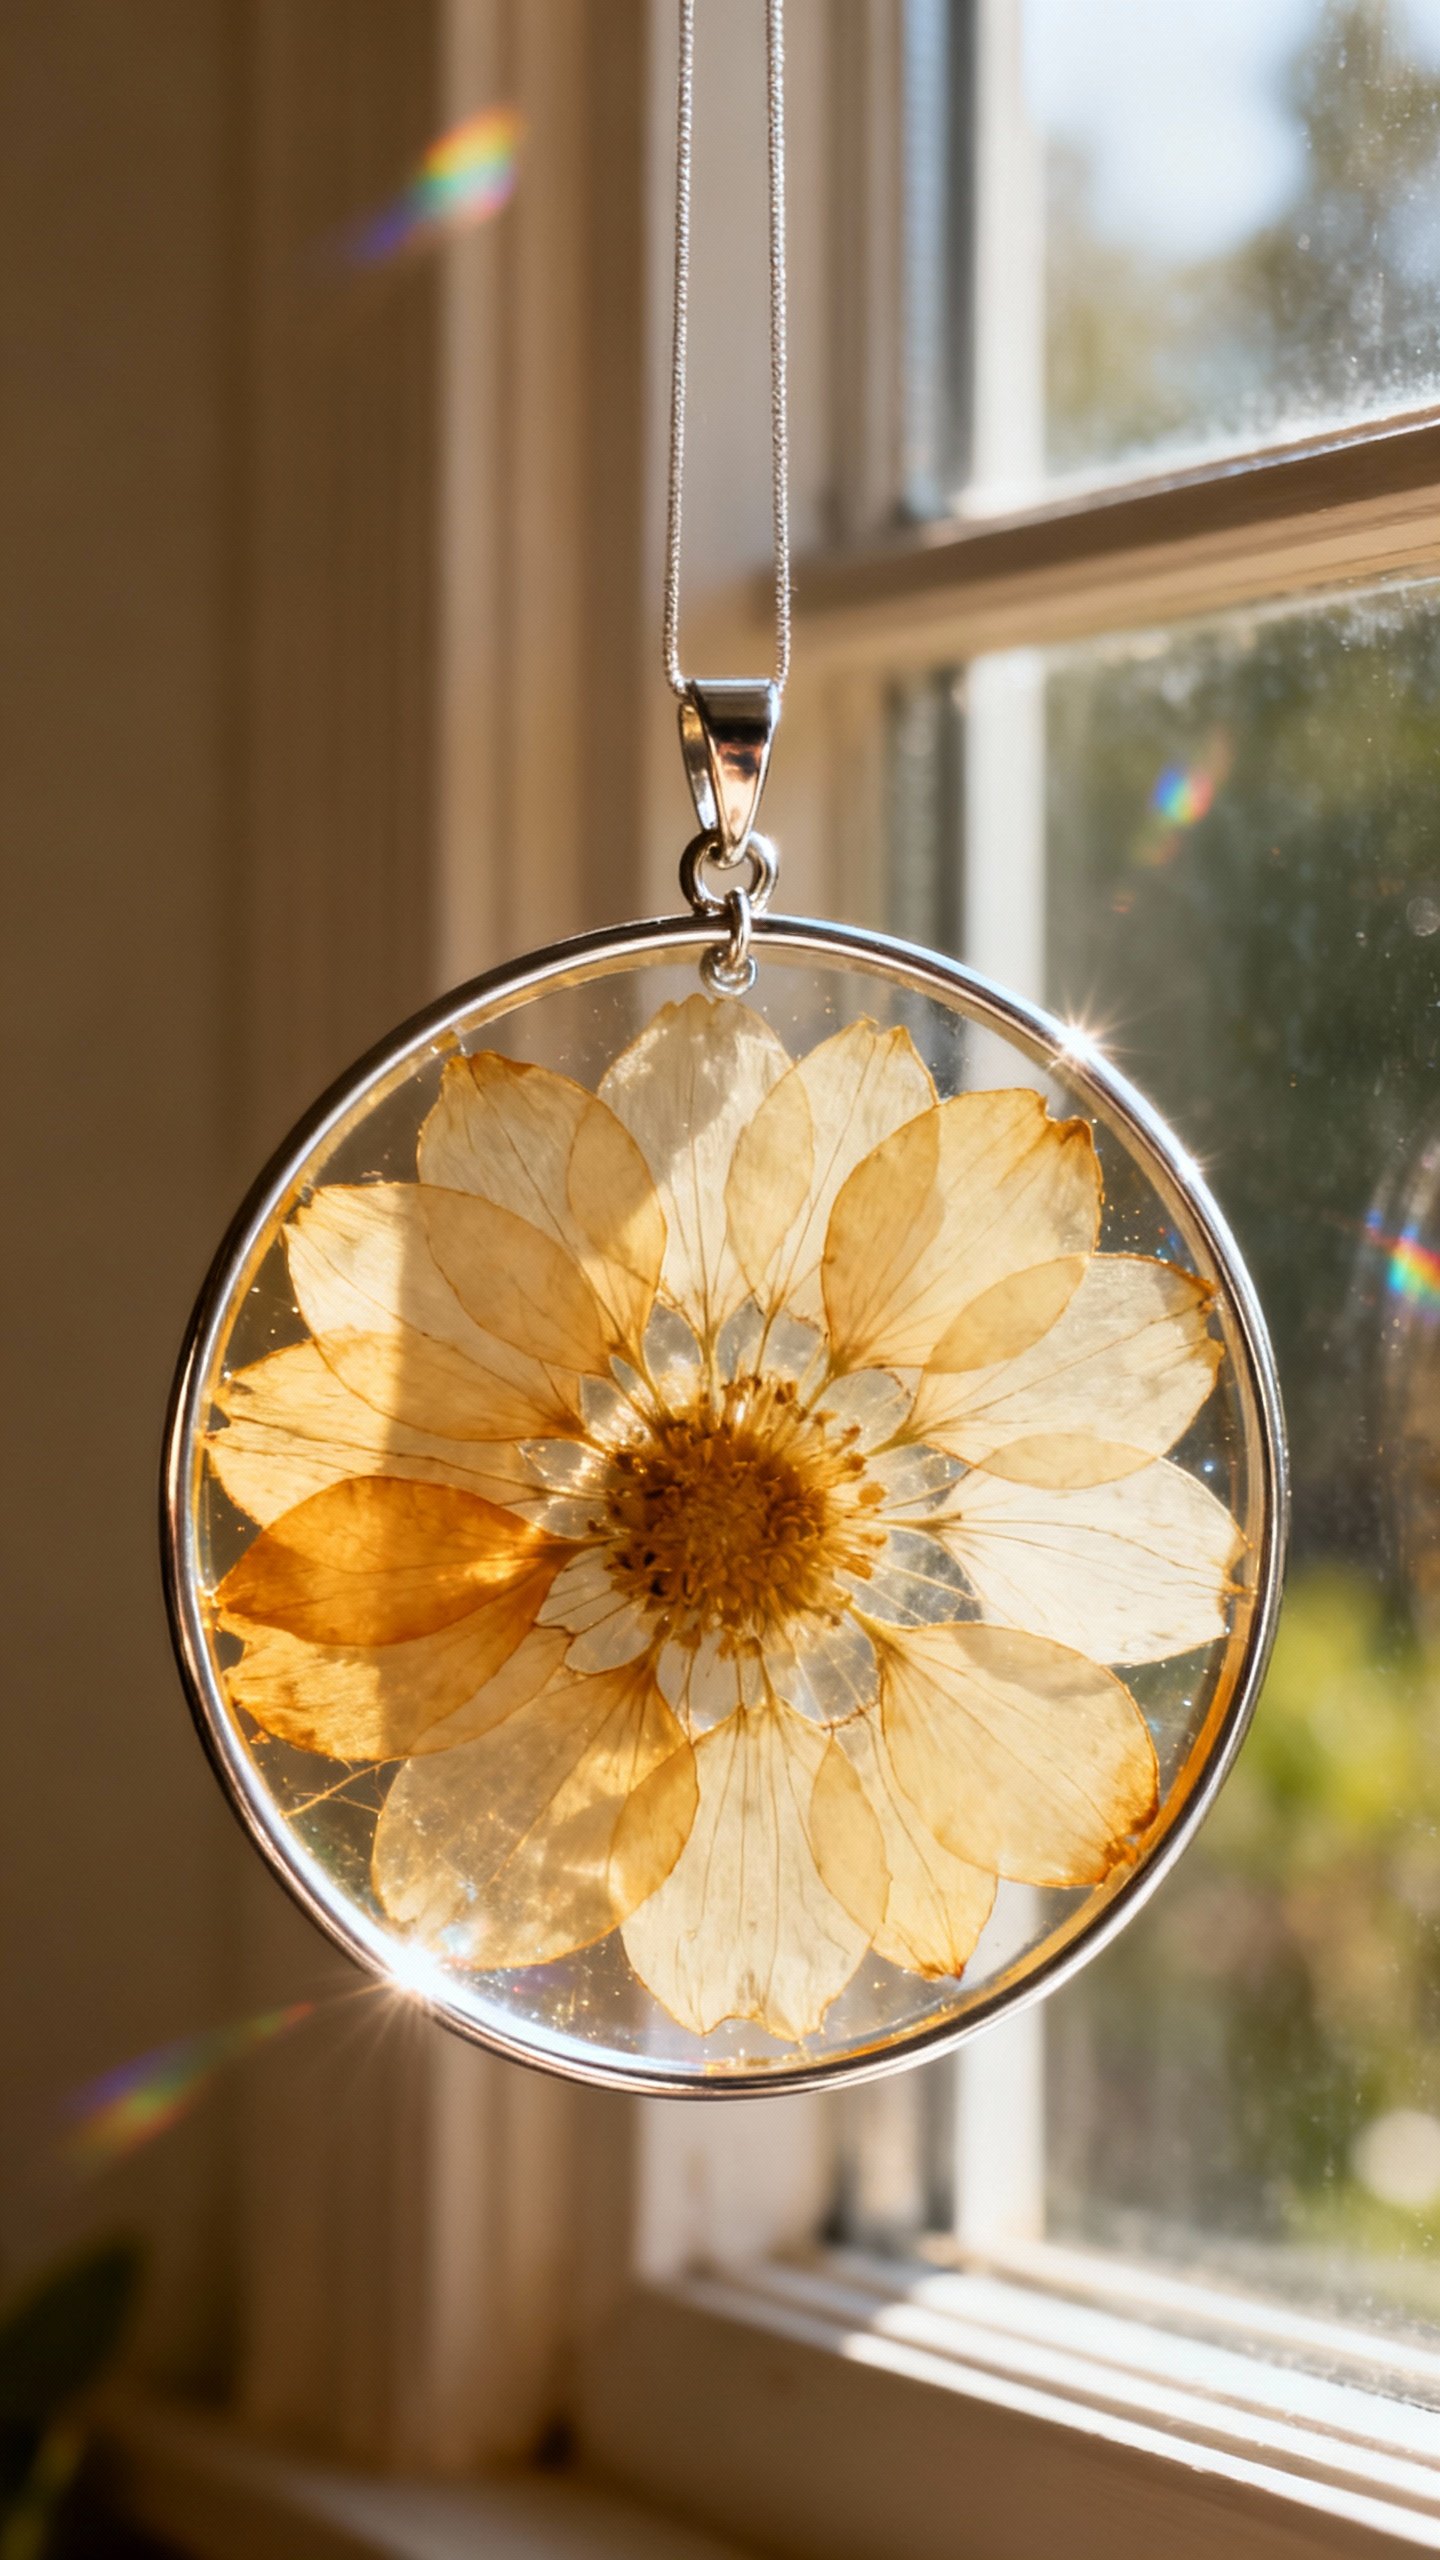
Project 4: Sun Catchers and Window Art
Capture that stained-glass vibe with pressed flowers and clear contact paper. It’s simple, kid-friendly, and looks magical when sunlight hits.
- Tools: Pressed flowers/leaves, clear contact paper or laminator sheets, scissors, embroidery hoop or frame.
- Steps:
- Cut two equal contact-paper pieces.
- Arrange botanicals on the sticky side of one piece.
- Seal with the second piece. Trim edges.
- Mount in a hoop or frame.
Hang with fishing line.
Pro Tip
Thin is in: Thinner petals and leaves look more luminous. Thick leaves go muddy. Choose translucent bits for best glow.
Project 5: Nature Bookmarks That Don’t Crumble
Bookmarks make quick gifts and small wins.
We love small wins. Use slender leaves or fern tips for a clean, elegant look.
- Tools: Pressed botanicals, laminator or self-adhesive laminating sheets, hole punch, ribbon.
- Steps:
- Arrange on a narrow strip of paper or directly on the laminate.
- Seal thoroughly and trim.
- Punch a hole and add ribbon if you feel fancy.
Customization Ideas
- Label the species: Write names for a botanical-library vibe.
- Metallic accents: Add a thin gold paint outline, FYI it looks expensive.
- Quotes: Glue a tiny paper quote before laminating.
Finishing Touches That Make Your Art Last
You want your masterpiece to survive longer than a bouquet. Seal and protect strategically.
- Use acid-free everything: Glue, paper, and mats.
Keeps colors from yellowing.
- Seal gently: For collages, use a light brush-on matte medium. Test first; some petals darken.
- Frame smarter: UV-protective glass helps preserve color, especially for sunny spots.
- Store extras: Keep unused pressed pieces in envelopes with silica packs.
Color-Fade Reality Check
Nature fades over time. That’s part of the charm.
Display pieces away from direct sun if you want them to last; rotate art with the seasons—also fun, IMO.
Common Pitfalls (And Easy Fixes)
- Leaves curl after gluing: You used too much glue or the leaves weren’t fully dry. Use dots of adhesive and dry under weight.
- Petals turn brown: They were damp or too thick. Press longer, or use thinner petals.
- Air bubbles in laminates: Start sealing from one edge and smooth with a ruler.
- Prints look blotchy: Too much paint.
Roll thin layers and practice on scrap.
FAQ
Q: Can I use fresh flowers without pressing?
Yes, for short-term pieces like table art or temporary mandalas. For anything framed or laminated, press first so moisture doesn’t cause mold or warping.
Q: How do I keep colors bright?
Choose flowers known for good retention (pansies, delphinium, cornflower). Press quickly after picking, avoid direct sun display, and use UV glass.
Silica gel drying helps preserve vivid hues.
Q: Is Mod Podge safe for petals and leaves?
Usually, yes. Use thin coats and test first because some botanicals darken. A matte archival medium often gives better long-term results.
Q: What if I don’t have a laminator?
Use self-adhesive laminating sheets or clear contact paper.
Press slowly from one edge and smooth with a card to avoid bubbles.
Q: Which leaves print best?
Leaves with strong veins and flexible backs: maple, fern, bracken, ivy, and lemon. Avoid super waxy leaves—they repel paint like it’s their job.
Q: Any kid-friendly project ideas?
Try window sun catchers, simple leaf rubbings with crayons, or sticker-style collages on card. Keep scissors rounded and skip toxic plants, obviously.
Final Thoughts
Nature art keeps you curious, creative, and slightly smudged with paint—in the best way.
Start with a walk, collect a handful of textures, and try one project today. Keep it imperfect and playful. Your walls (and your mood) will thank you.
Explore More on FreeKidsHub
Jump into your favorite category for easy printables, fun activities, and family-friendly ideas — all in one place.
Tip: Add this block to the end of every post for stronger internal links ✨