You want your non-verbal kid to tell you what they need without turning your living room into a game of charades? A visual choice board can do that. It turns options into clear pictures, cuts down on frustration, and gives your child a voice without forcing words.
Let’s build one that actually works in real life—not just on Pinterest.
Why Visual Choice Boards Work (and Work Fast)

You show a picture; your child points, taps, or looks at it; you both understand—boom, success. Visuals stick because many non-verbal kids process pictures faster than words. They reduce anxiety, simplify decisions, and offer consistent structure.
Bonus: you’ll see fewer meltdowns when “I want snack” doesn’t require psychic powers. And you’ll build communication muscles that later transition into more complex systems like PECS or AAC devices. FYI, you don’t need fancy tools to get started.
Start Simple: Pick One Situation
Don’t create a 50-option mega-board that covers every possible need from snacks to life choices.
Start with one situation your child faces daily.
- Snacks – Let them choose between 2–4 items.
- Activities – “Play,” “Outside,” “Tablet,” “Blocks.”
- Routines – Steps for brushing teeth or bedtime.
- Feelings – “Happy,” “Sad,” “Tired,” “Overwhelmed.”
Use a choice board where frustration happens most. Hungry kids make fast learners. IMO, “snack board” is the easiest win.

Gather Your Building Blocks
You need clear visuals, a base to display them, and a way to stick/unstick choices.
That’s it.
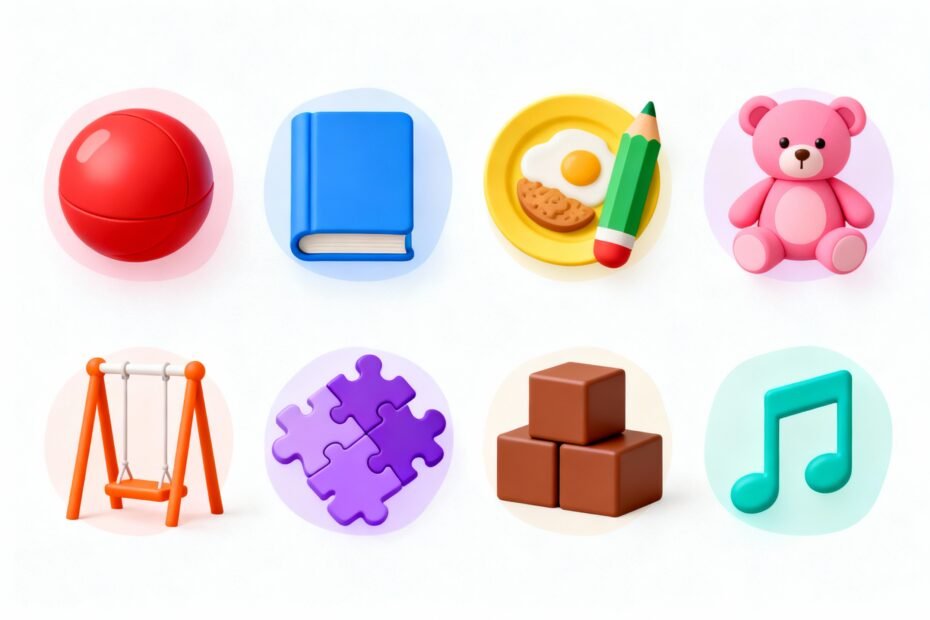
What to Use for Images
- Real photos – Take pictures of your child’s actual snacks, toys, or rooms. Super concrete.
- Icons/symbols – Use PECS-style or Boardmaker-style symbols. Great for consistency.
- Drawings – Sketches work if they’re clean and recognizable.
No art degree required.
Where to Get Images
- Your phone camera (fast and free)
- Free icon sites or symbol sets
- AAC apps – Many include libraries you can print from
Materials
- Base – Small whiteboard, clipboard, binder cover, or laminated cardstock.
- Attachment – Velcro dots or magnets (Velcro = MVP).
- Extras – Laminator or clear packing tape for durability.
Design It: Make Choices Obvious, Not Overwhelming
You want clarity and quick recognition. You don’t want a Where’s Waldo puzzle.
Layout Tips That Actually Help
- Keep it small – 2–4 choices for beginners. Add more later.
- Use large images – High-contrast, minimal clutter, recognizable objects.
- Add text labels under each picture, even if your child doesn’t read yet—adults need prompts too.
- Consistent sizes – Same dimensions reduce visual noise.
- Spacing matters – Leave room between images to prevent accidental taps.
Pro Moves
- Yes/No cards – Useful for clarifying understanding.
- “All done” and “More” – These two unlock smoother transitions.
- Choice limits – Rotate a few preferred items to avoid decision fatigue.
Teach the Board: Script It, Keep It Short
Want your child to use it?
Model it. Every. Single.
Time. You ask a question, show options, wait, then honor the choice immediately.
Step-by-Step Teaching Script
- Present 2 options: “Do you want crackers or apples?”
- Point to each picture while naming it. Slow and clear.
- Wait 5–10 seconds.
Watch for a point, touch, look, or hand-over-hand cue.
- Confirm and deliver fast: “You chose crackers!” Give the crackers.
- Celebrate: high five or a smile. Keep it light, not over the top.
If they don’t pick, reduce to one choice vs. blank. Build success.
FYI, consistency beats perfection.
Prompting Without Over-Prompting
- Start with least intrusive – gesture or eye gaze prompts.
- Use hand-under-hand instead of grabbing their finger. Respect autonomy.
- Fade prompts quickly as they learn to initiate.
Customize for Sensory and Motor Needs
Every kid interacts differently. Optimize so your child can succeed without a struggle.
- Motor challenges? Use bigger cards, strong contrast borders, and stable surfaces.
- Visual processing? Choose simple photos, no busy backgrounds, and consistent colors.
- Sensory seekers? Add textured stickers to preferred choices as a tactile cue.
- Eye gaze users? Hold two large cards and watch carefully where the eyes land.
Environment Tweaks
- Keep the board in the same spot so your child knows where to go.
- Use a travel ring or mini-board for outings.
Chaos loves grocery stores.
Keep It Fresh and Functional
A dusty board no one touches? Useless. Keep the board alive by updating and rotating.
- Swap items weekly based on interest (seasonal snacks, new toys).
- Track wins – Notice what gets chosen most; add similar items.
- Retire dead weight – If no one picks raisins for three weeks, let them go.
- Add categories as skills grow: Food, Play, People, Places, Feelings.
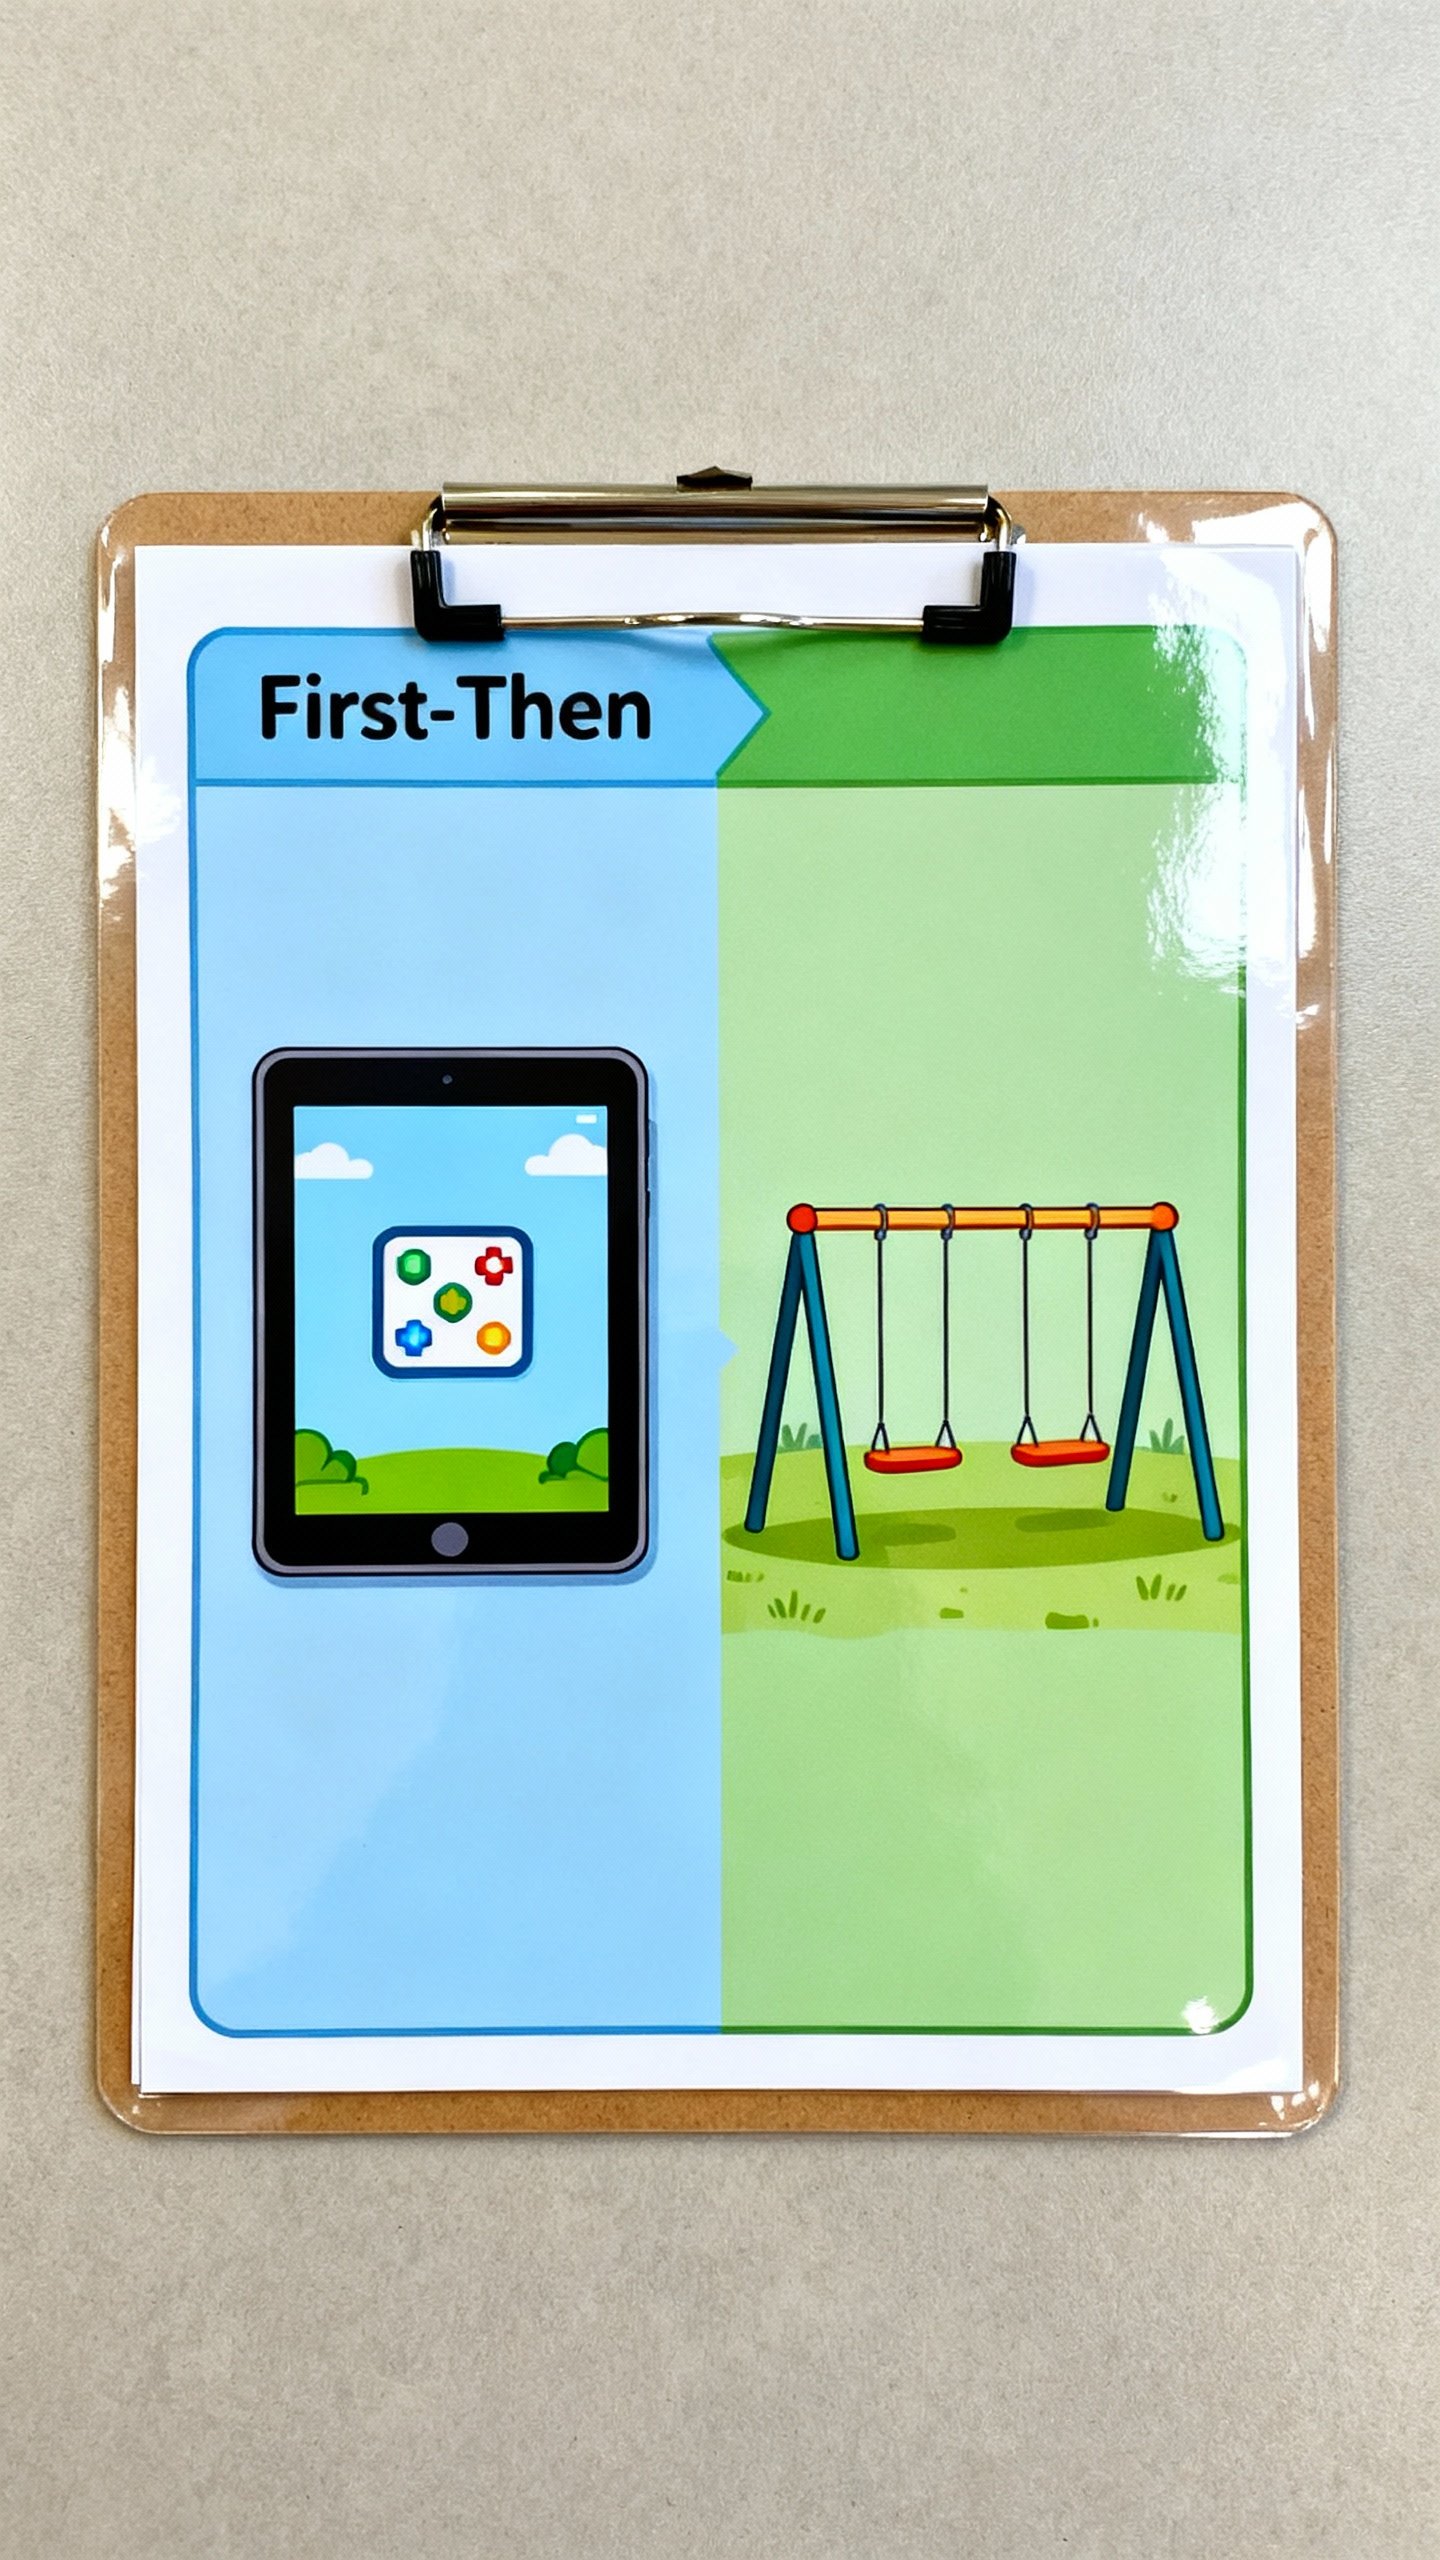
Level Up to Routines
Upgrade from “Which snack?” to “What next?” Use a horizontal strip for sequence:
- First: Homework
- Then: Tablet
- All done: Outside
“First-Then” visuals reduce battles and make transitions smoother.
IMO, this trick saves sanity.
Troubleshooting: Common Hiccups
No system works perfectly out of the gate. Here’s how to dodge the biggest pitfalls.
- They ignore the board – Model more, make the items irresistible, and reduce choices.
- They grab everything – Use firmer Velcro and teach “one pick.” Hold the board steady.
- They always pick the same thing – Introduce a “Try” token with tiny rewards for new choices.
- They change their mind – Offer a “switch” option once, then follow through.
- They don’t generalize – Use the board in different rooms and with different people.
Digital vs. Physical: Which One Wins?
Short answer: whichever your child uses consistently.
Physical boards offer fewer distractions and easy customization. Digital boards (on tablets or AAC apps) offer portability, bigger libraries, and voice output. Best of both worlds?
Start physical to teach the concept, then mirror it digitally once they get the hang of it. Consistent visuals across both help a ton.
FAQs
How many choices should I start with?
Start with 2–3. Add one new option after your child reliably makes choices for a week.
Too many choices = confusion and checkouts at meltdown city.
What if my child can’t point?
You can accept taps, eye gaze, touching with the whole hand, or giving you the card. Hand-under-hand guidance helps build independence without forcing finger isolation.
Do I need to laminate everything?
No, but durability helps. If your kid loves chewing or crumpling, laminate or cover with clear tape.
Otherwise, cardstock or photo prints can survive just fine.
Will a choice board delay speech?
Nope. Research shows visuals support communication and can actually encourage speech by reducing stress and building language associations.
How do I handle “not available” items?
Remove the picture or use a “not available” cover with a clear explanation: “No crackers today. You can choose yogurt or apple.” Honesty beats bait-and-switch.
Can I use real brand images?
Yes, especially for food or favorite shows.
Real brands often increase motivation. Just keep alternatives visible so you don’t get stuck with only one option forever.
Conclusion
A visual choice board gives your non-verbal kid a practical way to be heard—no decoding required. Start small, keep it consistent, and tweak it for your child’s needs.
You’ll see less frustration, faster decisions, and more independence. And when your kid picks “apple” instead of launching the banana across the room? That’s a win you can feel.
Explore More on FreeKidsHub
Jump into your favorite category for easy printables, fun activities, and family-friendly ideas — all in one place.
Tip: Add this block to the end of every post for stronger internal links ✨